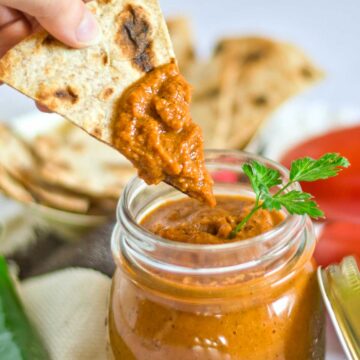
Homemade Mediterranean Hummus is so easy to make, there’s no excuse for eating inferior store-bought hummus again.
The beauty of homemade hummus is it only requires a few simple ingredients, most of which you can have on hand in your pantry.
This easy Mediterranean Hummus recipe only takes around 20 minutes to whip up so can be made last minute or well in advance. Whizz up a batch and freeze in portions so you always have some on hand.
Not only is hummus a delicious and amazingly healthy dip, its my go-to dip for charcuterie boards and a delicious foundation for so many vegan picnic recipes.
Ingredient Notes & Tips for Great Hummus
While there are key ingredients in Mediterranean Hummus, I feel like much of the recipe is “to taste.” Some people like garlicky hummus and some regional recipes call for little or no tahini.
These tips will help you finesse your hummus game.

See my recipe card below for a complete list of the ingredients with measurements and notes.
Chickpeas (garbanzo beans): It’s OK to use canned chickpeas. This makes it an easy hummus recipe. To ensure smooth hummus, you still want to boil the canned chickpeas for about 20 minutes in plenty of water to make them extra soft. If you can be bothered, remove the skins when you rinse them. You will get a smoother hummus.
Peeling Chickpeas: Soak the cooked chickpeas in hot water and 1 ½ teaspoons of baking soda for a few minutes. Rub handfuls of chickpeas under running water to remove the skins. Make sure the chickpeas cool completely before blending them.
Dry Chickpeas: If using dry chickpeas, you must soak them overnight in plenty of water to allow for expansion. After soaking, drain them and place them in a large pot covered with water—allow 2-3 inches of water above the chickpeas. Bring to a boil, then reduce the heat and simmer until soft—around 1.5-2 hours. Don’t worry about overcooking them.
Tahini: The quality of tahini greatly affects the flavor of hummus, use a quality tahini. Look for tahini made from Ethiopian sesame seeds, which are known for their creamy and rich taste. Brands like Soom Foods Pure Ground Sesame Tahini are the best.
Garlic: Always use fresh cloves. You can add the crushed garlic or simply slice a peeled clove in two and add to the blender. I prefer to add it crushed. I tend to go easy on the garlic as its flavor develops over time as the garlic mellows. There is nothing worse than hummus that has an overwhelming raw garlic taste.
Fresh Lemon Juice: Again, use fresh to achieve that fresh citrusy zing hummus needs to bring it to life. Hummus knows the difference between a real lemon and bottle lemon. And add incrementally. While hummus needs the freshness of lemon, you don’t want it to be too lemony.
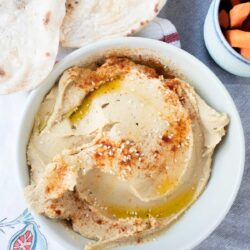
Olive Oil: Some don’t use any olive oil in the mix and save it only to dress the top. I like to do both. Whichever you prefer, use the best olive oil you can afford, especially for dressing the top of your hummus. Bad olive oil is worse than using substandard tahini.
Chickpea Water or Ice Cubes: Liquid will help your hummus become a light and smooth paste and help start the blending process. Even if oil is added, chickpeas and other ingredients are often too dry to get the blending process underway.
Some hummus purists believe that adding the chickpea cooking water or even the liquid from canned chickpeas called Aquafaba, will enhance your hummus, making it fluffy and lighter. The trick is that it is cold. Ice cubes will do the same. You can add ice cubes one at a time while blending to make a light, fluffy hummus in the same way you might churn ice cream. I do both ways and find either works well.
Cumin: It’s not hummus without cumin. Cumin, along with garlic, lemon and salt is the combination which gives hummus its traditional flavour.
Salt: I use only a small pinch of sea salt because I don’t believe hummus needs any more than that. Remember, you are looking for a balance of flavours that ultimately allows those nutty chickpeas to still shine through.
How to Make Mediterranean Hummus
This easy Mediterranean hummus recipe uses canned chickpeas. If you decide to use dry chickpeas, you will need to add some prep time, but it is not a lot of extra effort. Ensure you soak and cook well for a nice mushy consistency before preparing the hummus.
- Drain and peel the chickpeas – either from the can or after soaking and/or cooking dry chickpeas. Keep the aquafaba (the can water or cooking water) if you choose to use this over ice cubes *see notes – either is fine.
- Add chickpeas to a blender or food processor.
- Peel and add the garlic either crushed or chopped.
- Add some tahini, a good squeeze of lemon juice, a drizzle of the olive oil, some cumin and a small pinch of salt.
- Add a small amount of chickpea water or an ice cube to start the blending process. Blend for at least 4 to 5 minutes, adding water or ice cubes while blending to achieve a smooth, fluffy consistency.
- Use a spatula to scrape the hummus down the sides. Taste to see if more tahini, cumin, or lemon is needed. If the consistency is too thick, add more water or ice cubes.
- After adjusting the seasoning, blend again until smooth.
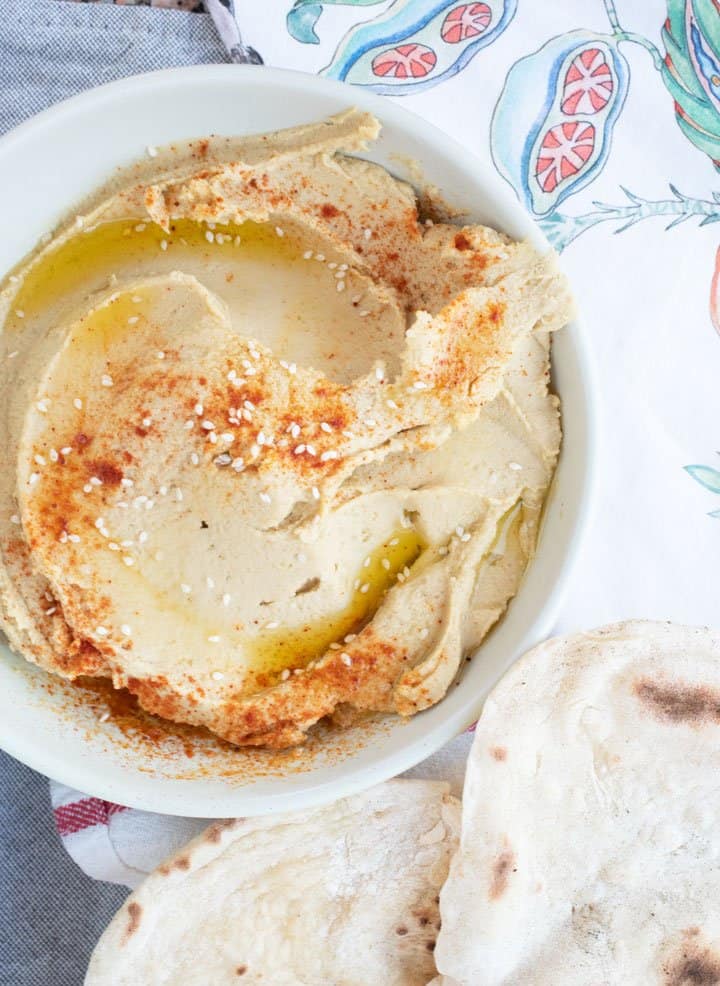
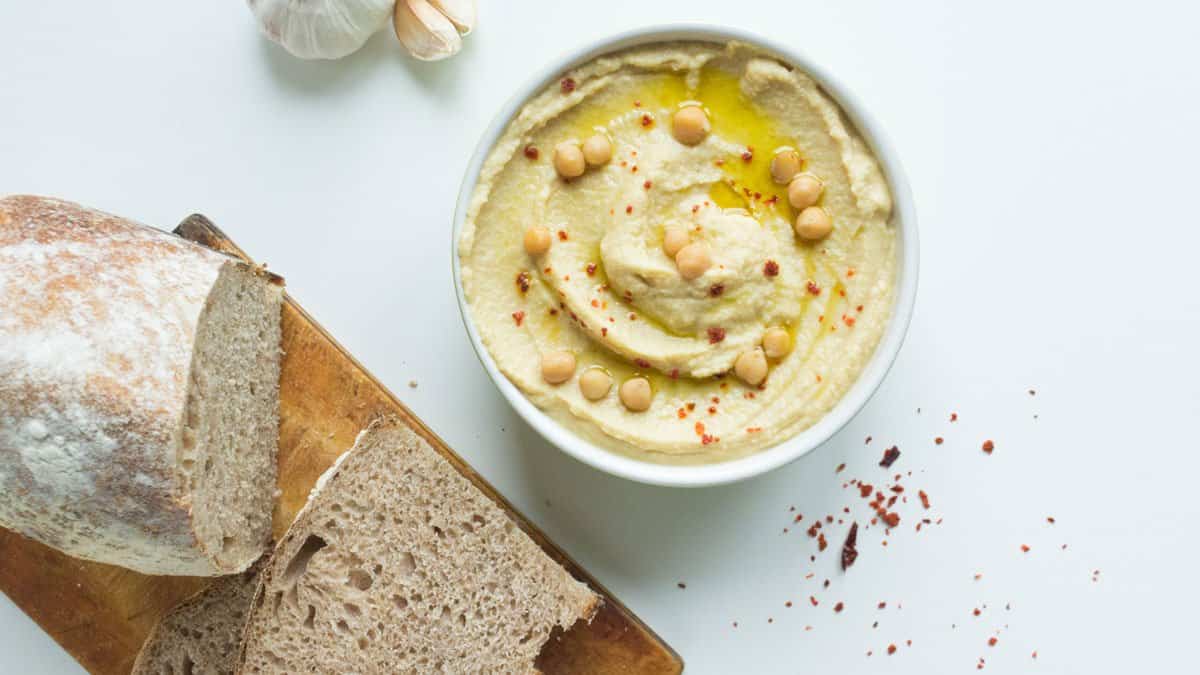
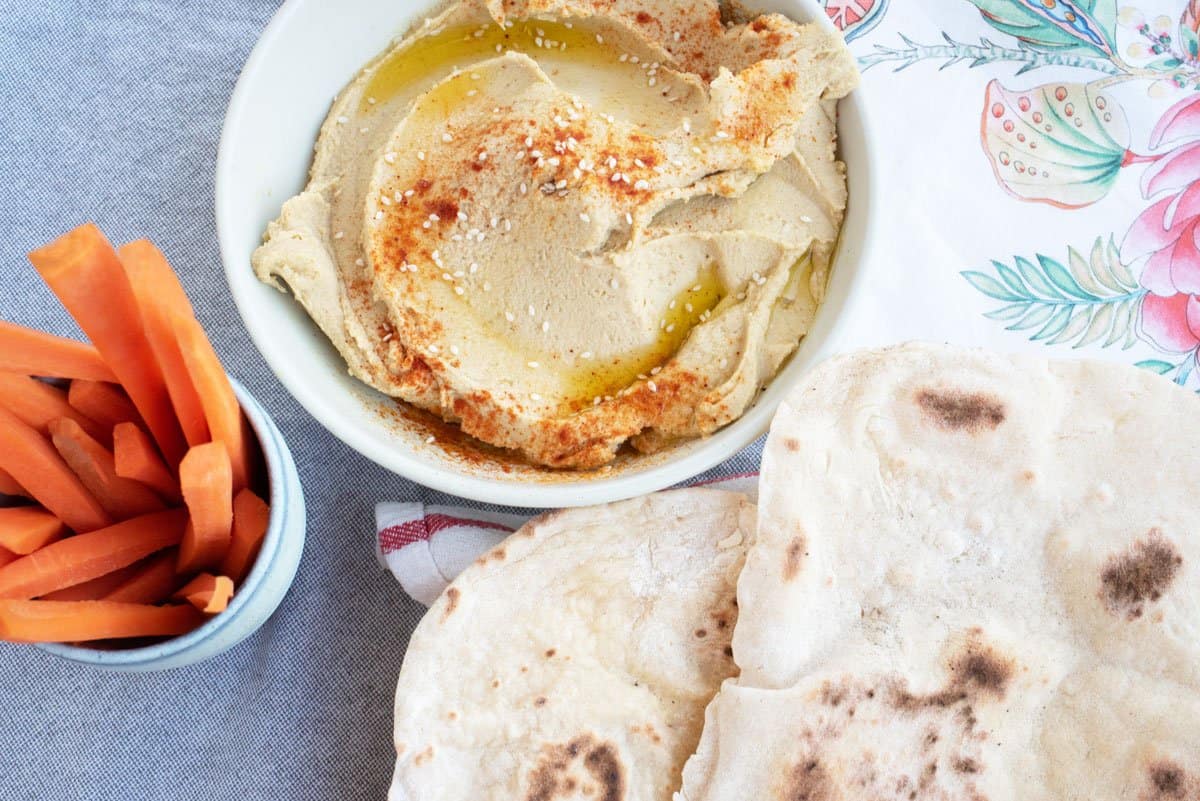
- Once you are happy with the smoothness and taste, transfer to a bowl, make a swish indent in the top to hold a good glug of olive oil and garnish.
- If freezing, transfer directly to airtight freezer containers.
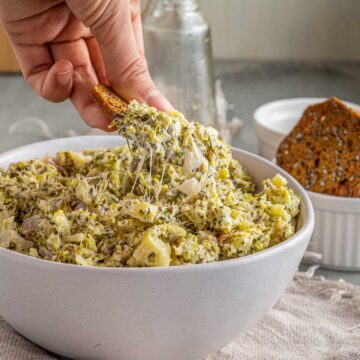
Hummus Variations
Make a base hummus recipe and make simple additions to jazz up your hummus flavours such as these:
- Smoked Pumpkin Hummus
- Add Roasted Peppers for Roast Pepper Hummus.
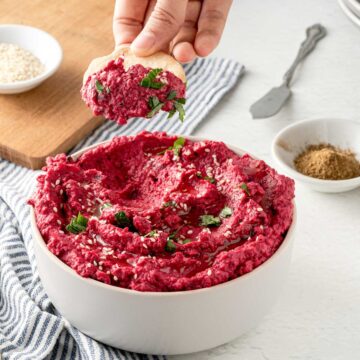
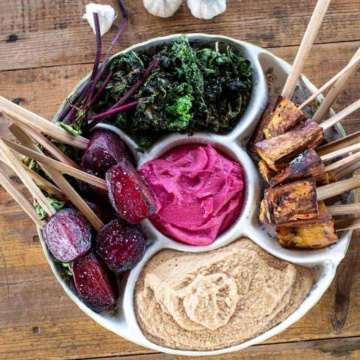
- Beet hummus
- Roast carrot hummus
- Avocado Hummus
There’s really no limit to the hummus variations you can create once you have your base hummus.
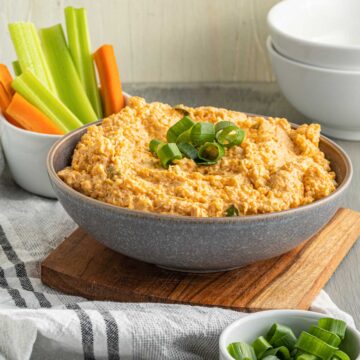
What to Eat With Hummus
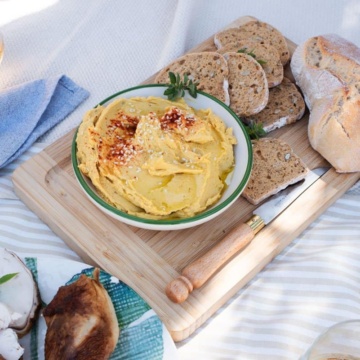
There are literally thousands of ways to use hummus, which is why it’s always worth whizzing up a big batch. These are a few ways you can incorporate hummus into your picnic routine.
- Use hummus as a dip on a cruditè platter.
- Serve it with fresh bread, warm pita or even crackers.
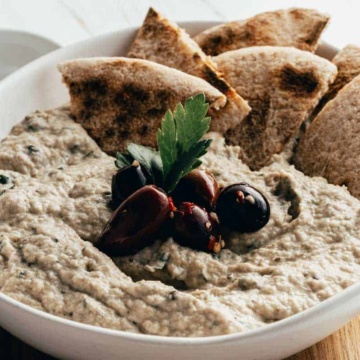
- Add it to a Mediterranean mezze along with my other favorite dip, Baba Ganoush.
- Lather it on sandwiches or add it to wraps. It’s a great addition to my Raw Veggie Wraps.
- Hummus is delicious served with grilled meats such as Moroccan spiced lamb, chicken kebabs or even a quality bbq sausage.
- Use it on a Mediterranean style burger.

FAQs
Homemade hummus must be refrigerated within a few hours of making and will last in the fridge for up to 5 days. See my tips here for keeping foods cold at a picnic to ensure your perishable picnic food stays fresh.
Hummus is perfect for freezing and will keep frozen for as long as six months, which is another reason you should always whizz up a big batch.
Make sure not to overfill your containers as the hummus will expand when it freezes. It is also good to freeze in smaller portion size containers so you can defrost what you need.
Place in the fridge the day before to thaw. When it has defrosted, you may see some liquid sitting on top so make sure you give it a good stir before serving to get that creamy consistency back.
More Dip Recipes
Have you tried this Mediterranean Hummus Recipe?
Please leave me a ⭐ rating below and let me know in the comments how you enjoyed it.
Easy Mediterranean Hummus
Ingredients
- 30 oz canned chickpeas rinsed and drained - or dry chickpeas that have been well soaked or cooked.
- 4 tablespoons tahini - add incrementally to get your desired sesame levels.
- 1/4 cup extra-virgin olive oil - divided for drizzling.
- 1 clove crushed garlic.
- pinch salt or to taste.
- 1 tablespoon ground cumin - adjust to taste.
- 2 tablespoons fresh lemon juice - more to taste.
- 5 tablespoons cold chickpea water or 2-4 ice cubes - or chickpea cooking or can water, or as needed to blend.
Suggested Garnishes
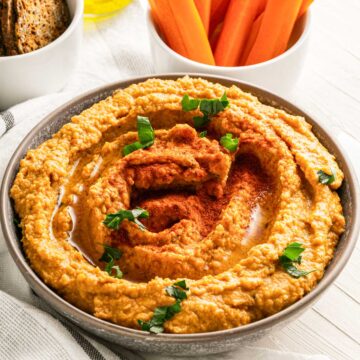
- A sprinkle of sweet or smoked paprika.
- Chilli flakes or cayenne pepper if you like a little heat.
- Sesame seeds - crushed pistachio nuts or toasted pine nuts.
- Chopped parsley.
Instructions
- Drain and peel the chickpeas – either from the can or after soaking and/or cooking dry chickpeas. Keep the aquafaba (the can water or cooking water) if you choose to use this over ice cubes *see notes – either is fine.
- Add chickpeas to a blender or food processor.
- Peel and add the garlic either crushed or chopped.
- Add some tahini, a good squeeze of lemon juice, a drizzle of the olive oil, some cumin and a small pinch of salt.
- Add a small amount of chickpea water or an ice cube to start the blending process. Blend for at least 4 to 5 minutes, adding water or ice cubes while blending to achieve a smooth, fluffy consistency.
- Use a spatula to scrape the hummus down the sides. Taste to see if more tahini, cumin, or lemon is needed. If the consistency is too thick, add more water or ice cubes.
- After adjusting the seasoning, blend again until smooth.
- Once you are happy with the smoothness and taste, transfer to a bowl, make a swish indent in the top to hold a good glug of olive oil and garnish.
- If freezing, transfer directly to airtight freezer containers.
Leave a Reply