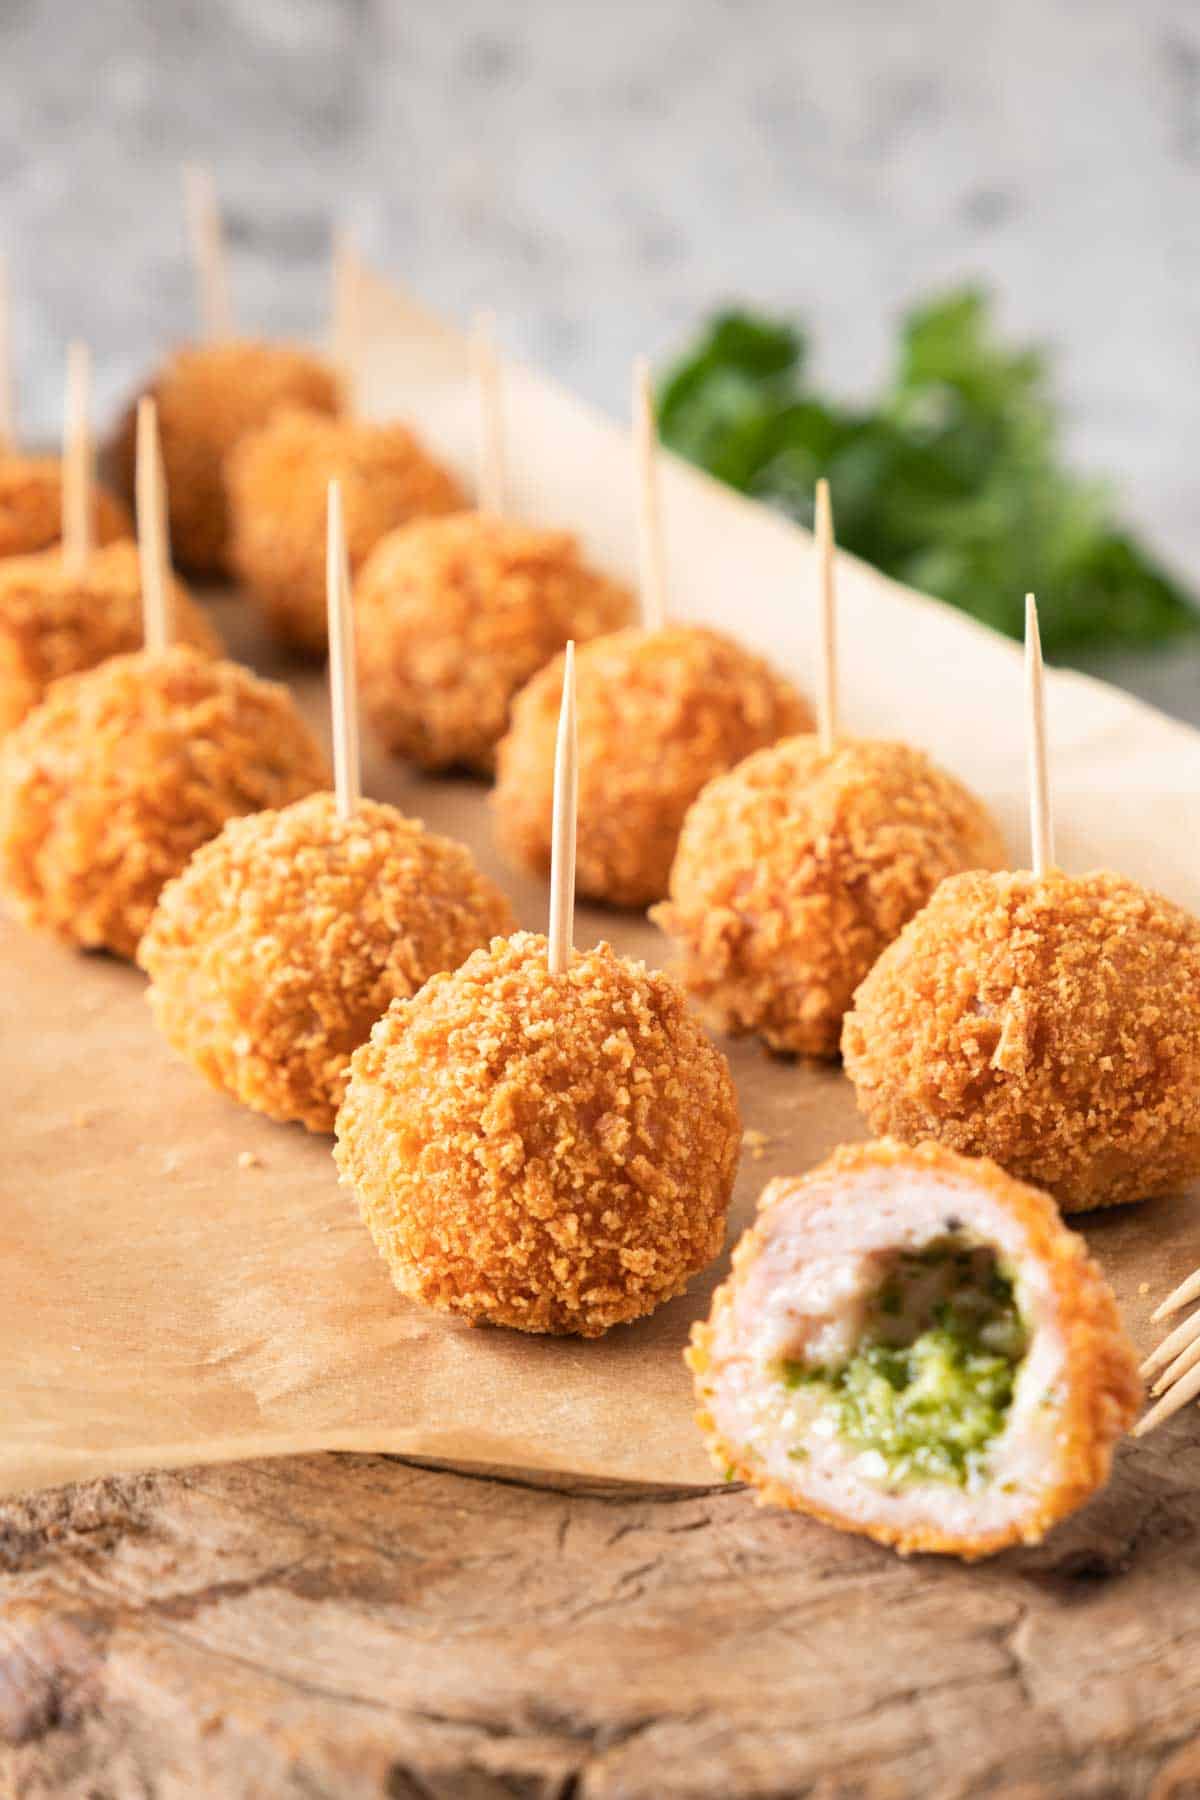
I gave the classic Chicken Kiev a makeover and made a bit size, picnic portable version everyone will love.
Deliciously crispy bite-sized balls oozing with herbed garlic butter, these Mini Chicken Kiev Balls are so easy to make that they’ll become your favorite party appetizer or picnic finger food.
Jump to:
Why I Love This Recipe
I love picnic finger food. It’s so easy to transport and makes excellent sharing dishes. Picnic chicken recipes are also very popular and versatile.
These chicken balls are an excellent finger food idea for kid’s picnics or appetizers for birthday picnics where you might need to feed a crowd.
Easy-to-make mini Chicken Kievs are perfect for sharing at picnics and can be made in advance for easy picnic prep. Make all your balls, coat them, and refrigerate them until you are ready to fry them.
Ingredient Notes
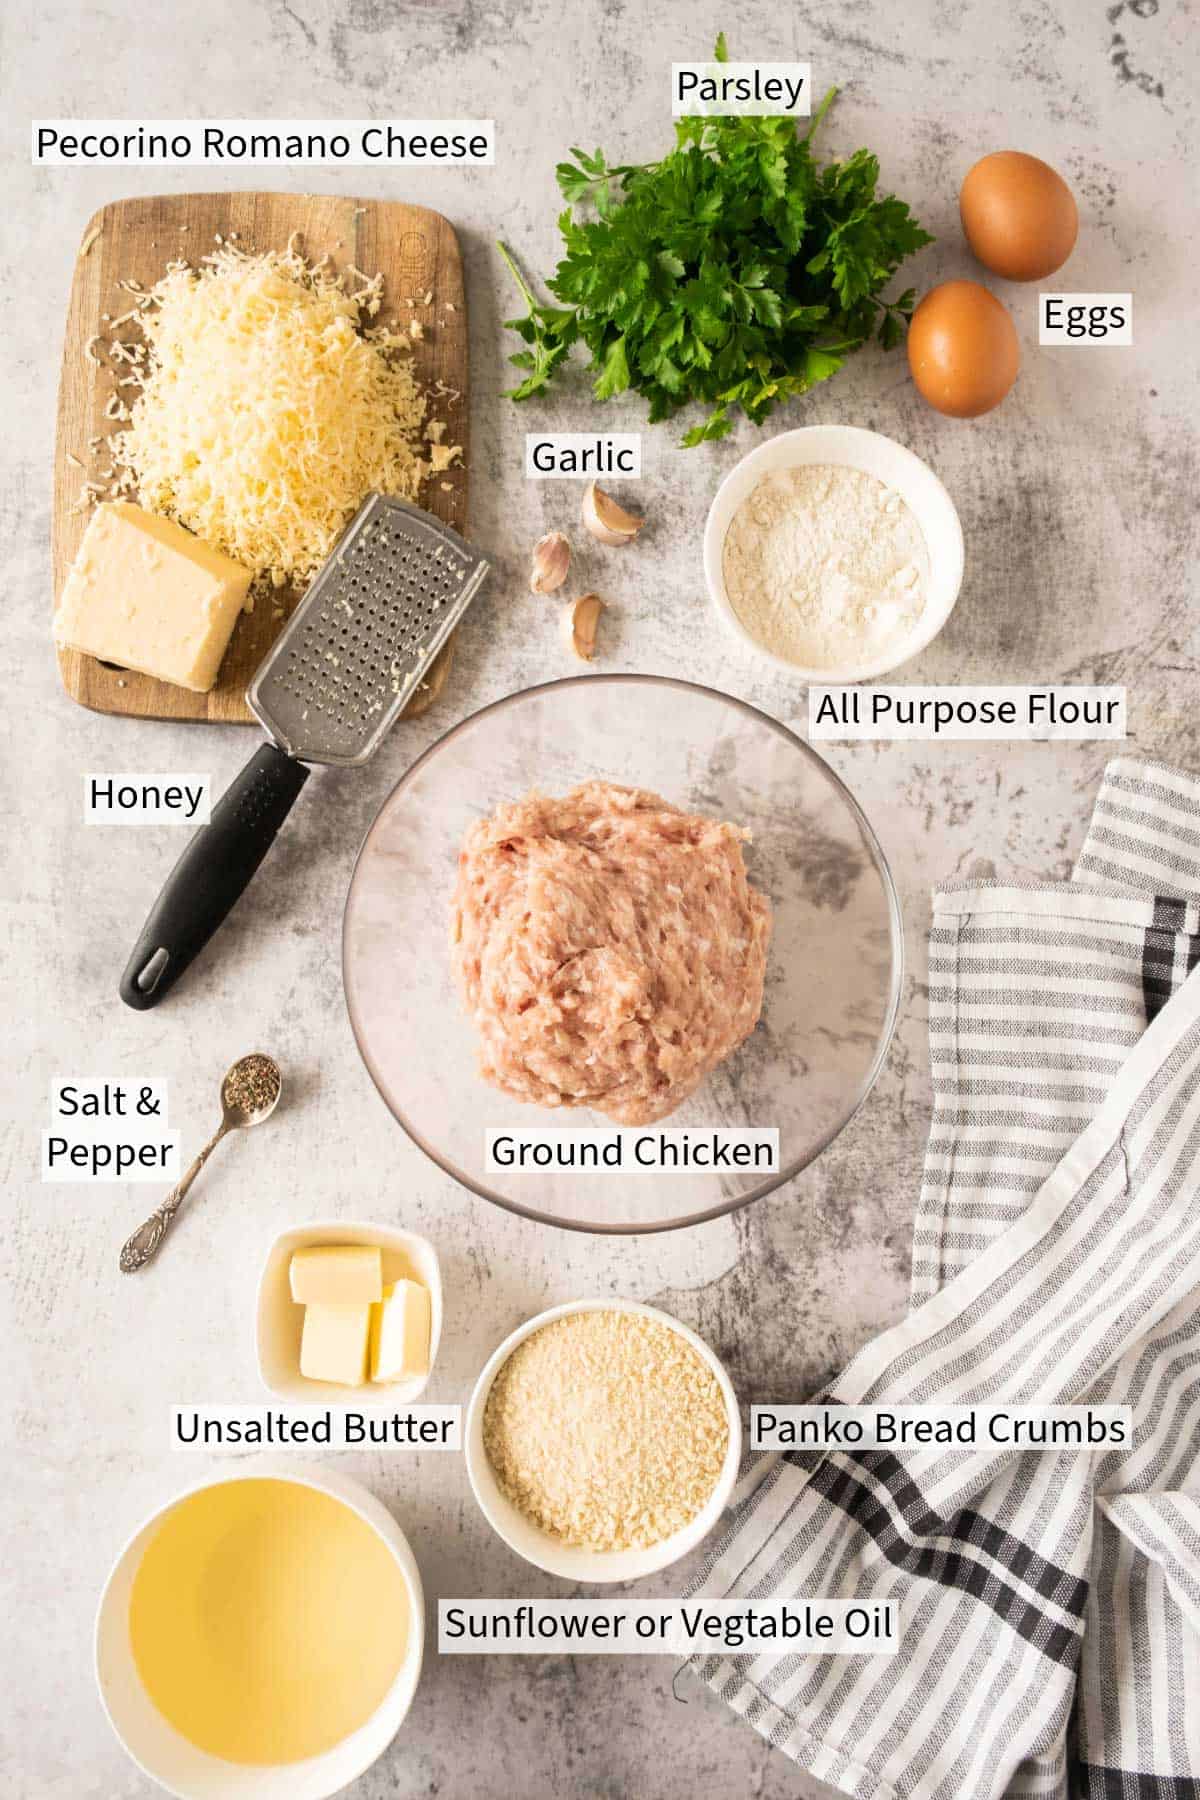
See my recipe card below for a complete list of the ingredients with measurements and notes.
Recipe Variations and Substitutions
Cheese: You can use another cheese, such as finely grated cheddar, but I find finely grated parmesan works best for melting the butter.
Bread Crumbs: You can use ordinary bread crumbs, but Panko gives a much airier and crispy finish. Ordinary breadcrumbs tend to be a bit dense.
Chicken: You can switch chicken for turkey or even make a mix of the two.
Baked, Not Fried: Baking offers a healthier alternative and simplifies cooking. However, with this dish, baking is not my favorite. I find the additional cooking time required for the crispiness can cause the butter to leak out. While baking does achieve a decent level of crunchiness, it still doesn’t measure up to frying.
See my Sigara Boregi Cheese Pastry Roll recipe for deep and shallow frying tips.
An alternative is air frying like with my Airyer Scotch Eggs. This will produce a nice outer crisp.
If you must bake them, I recommend refrigerating them well to set the butter and putting them nice and cold into a hot oven. Preheat the oven to 375F. Bake for approximately 15 minutes or until golden brown. You may want to turn them during cooking to ensure even crispiness.
Step by Step Instructions
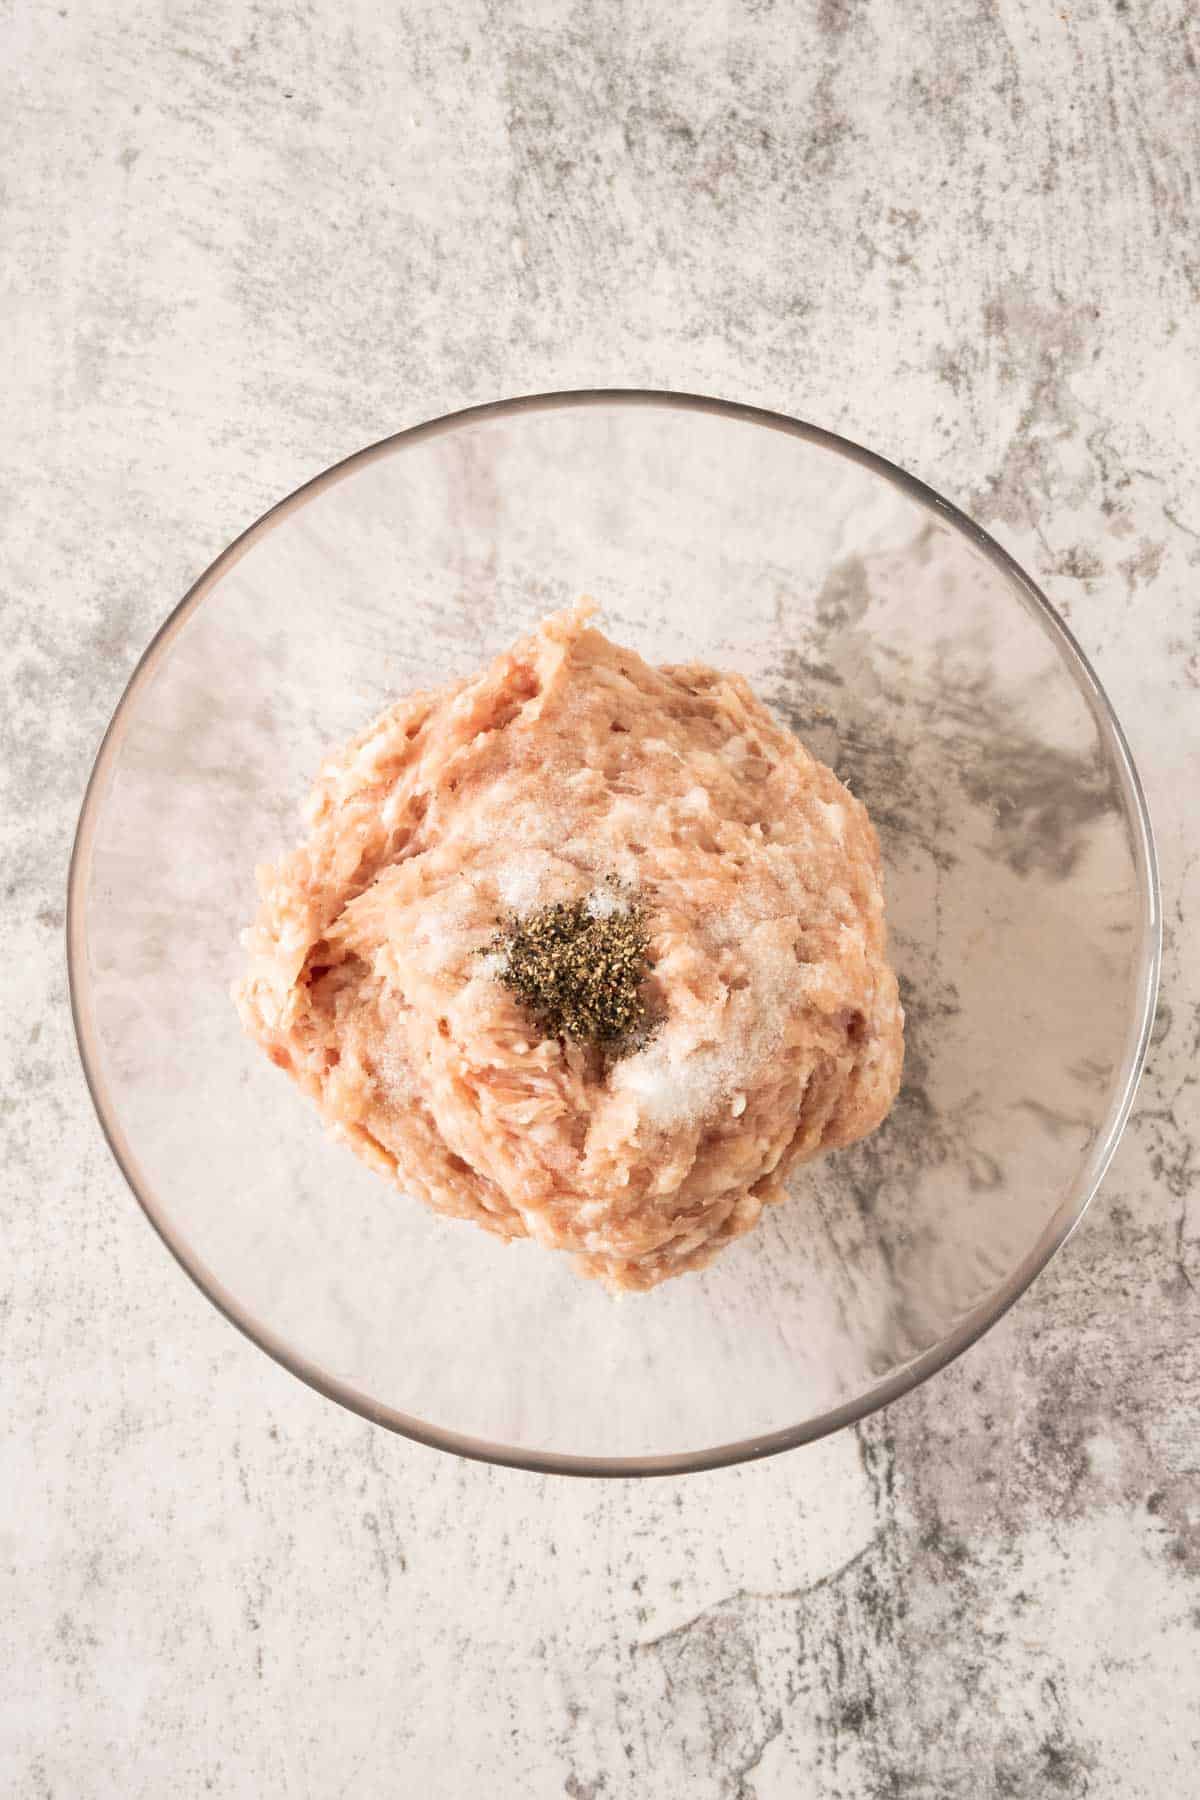
Step 1: Season the ground chicken with salt and pepper. Mix well to combine.
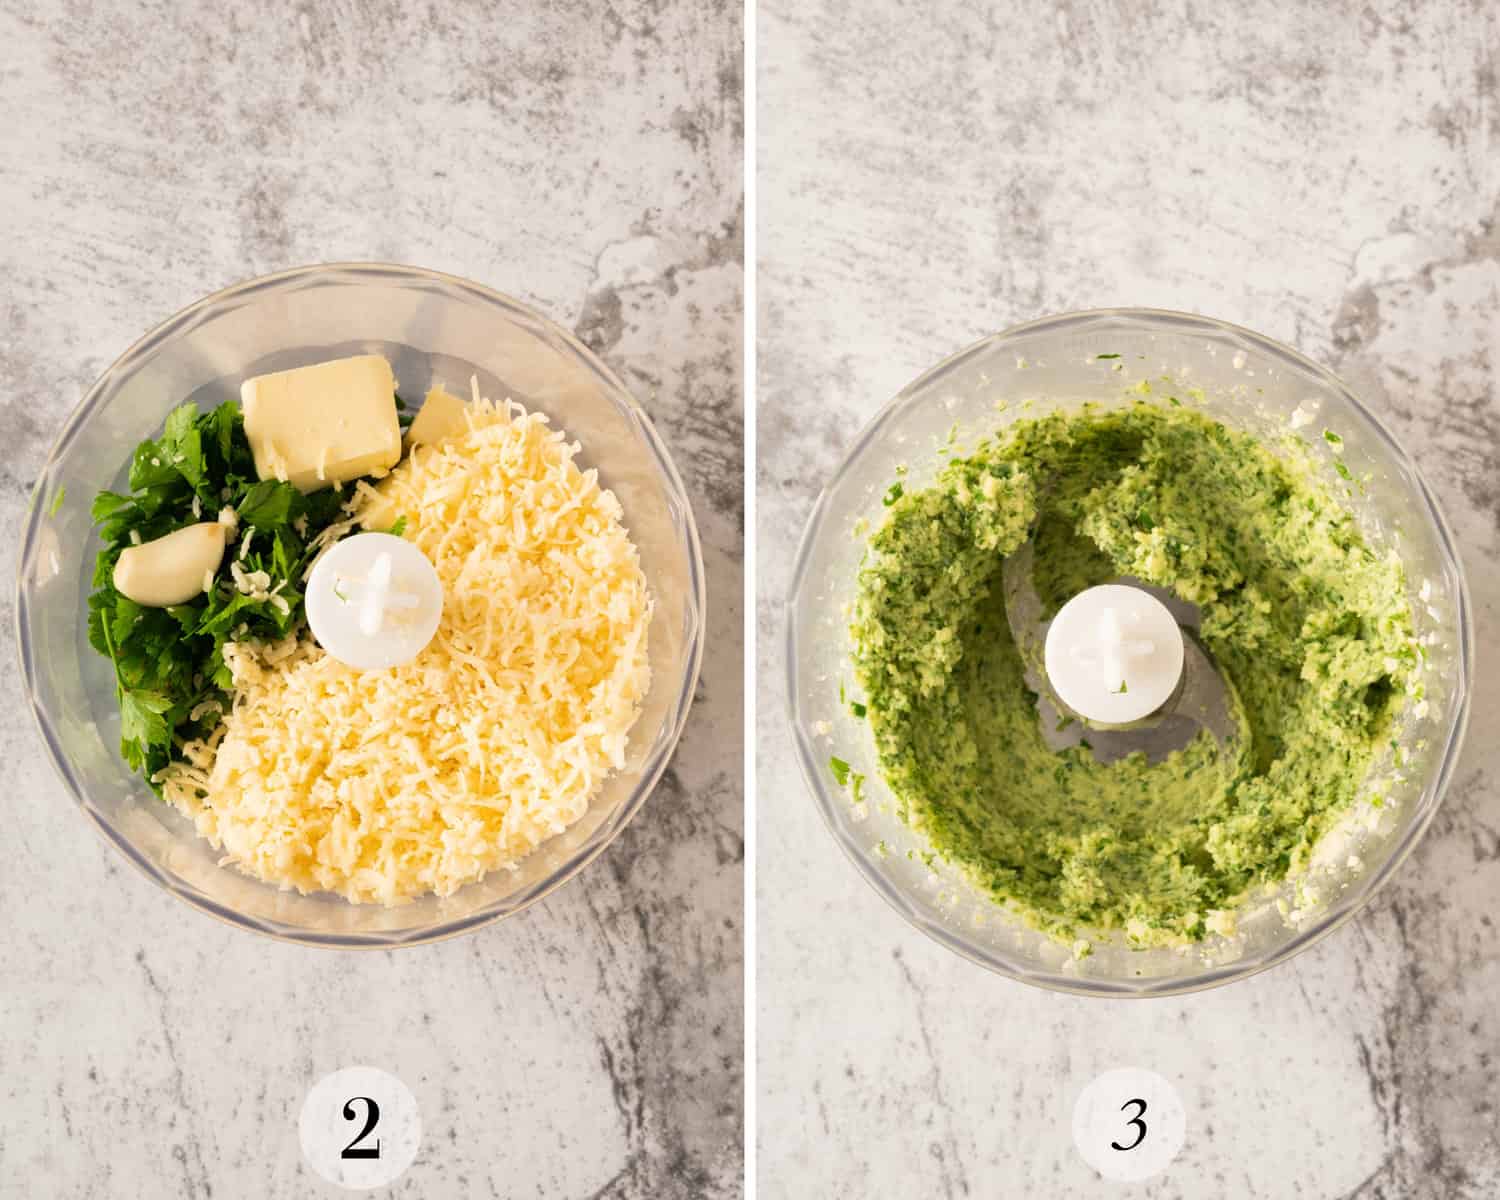
Step 2: Add parsley, butter, garlic, and Pecorino Romano cheese to a food processor.
Step 3: Blend until all the ingredients are well combined.
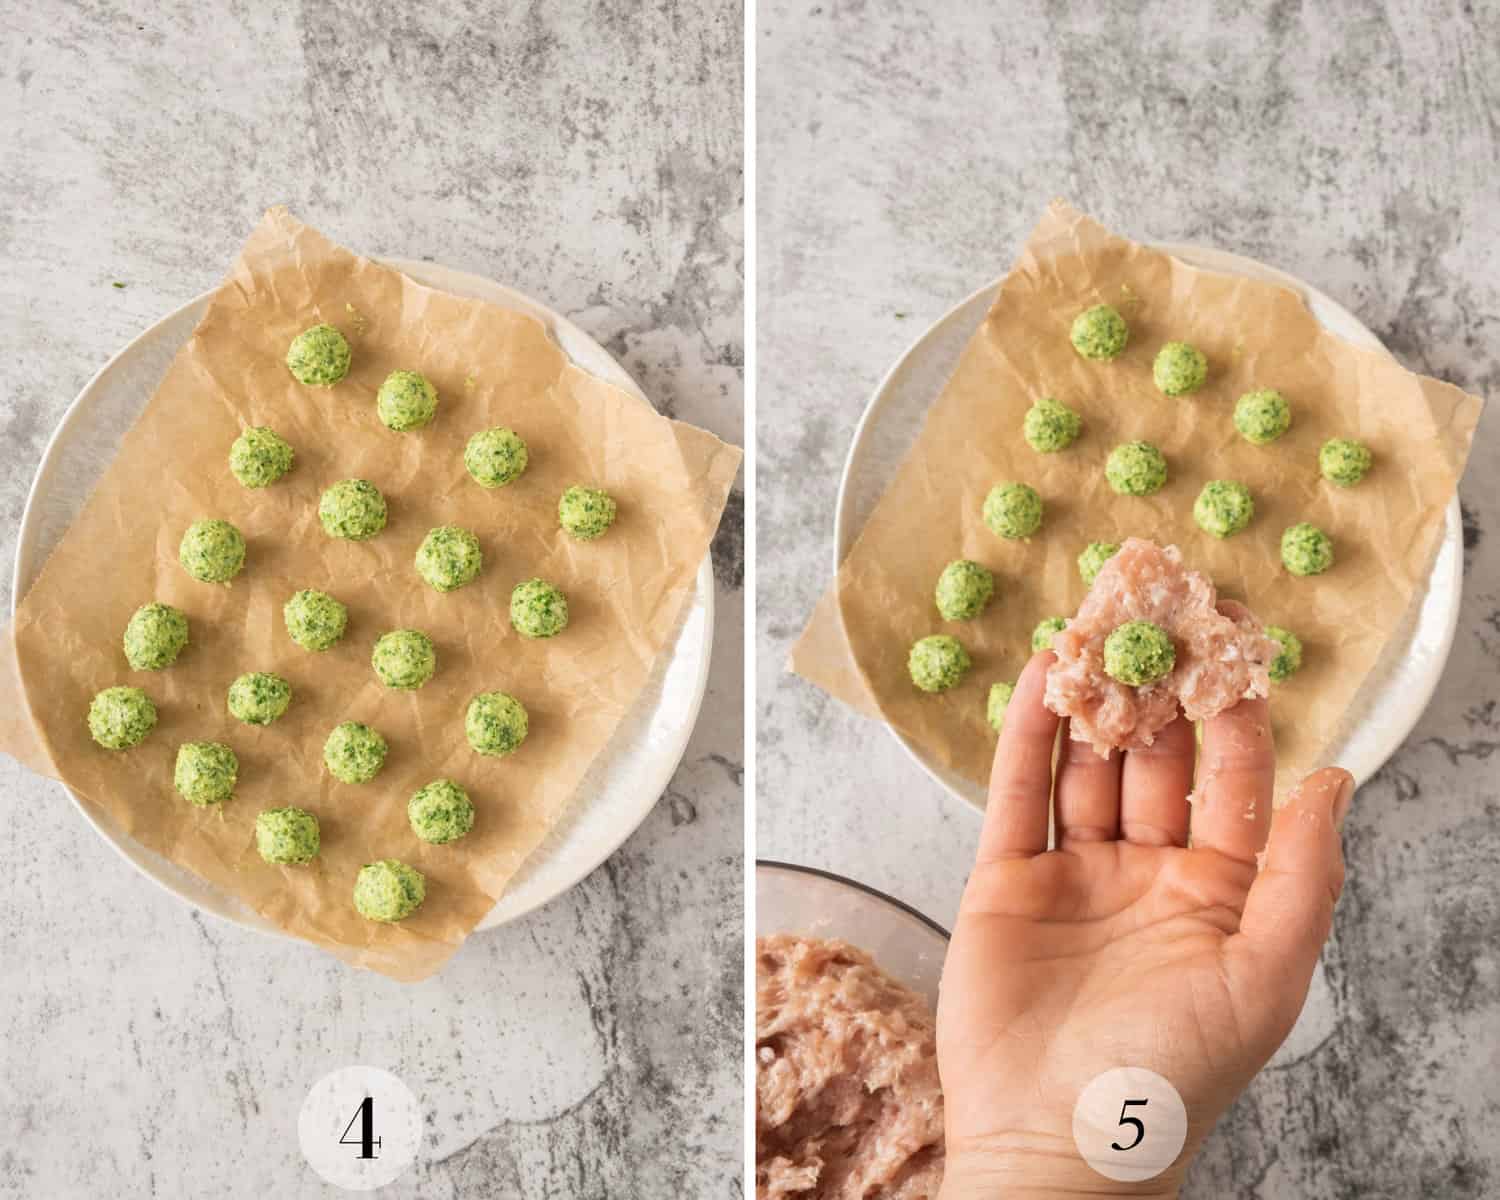
Step 4: Roll the garlic butter mixture into small balls, approx. 1 teaspoon each. Arrange them on a piece of baking paper so they aren’t touching.
Place the butter balls in the freezer for 15- 30 minutes to make them nice and firm.
Step 5: Take about 1½ tablespoons of the ground chicken and form it into a ball. Flatten the ball in your palm and place a butter ball in the middle. Wrap the chicken around it, shaping it into a ball. Ensure the butter is well sealed with the chicken to prevent butter leakage when cooking.
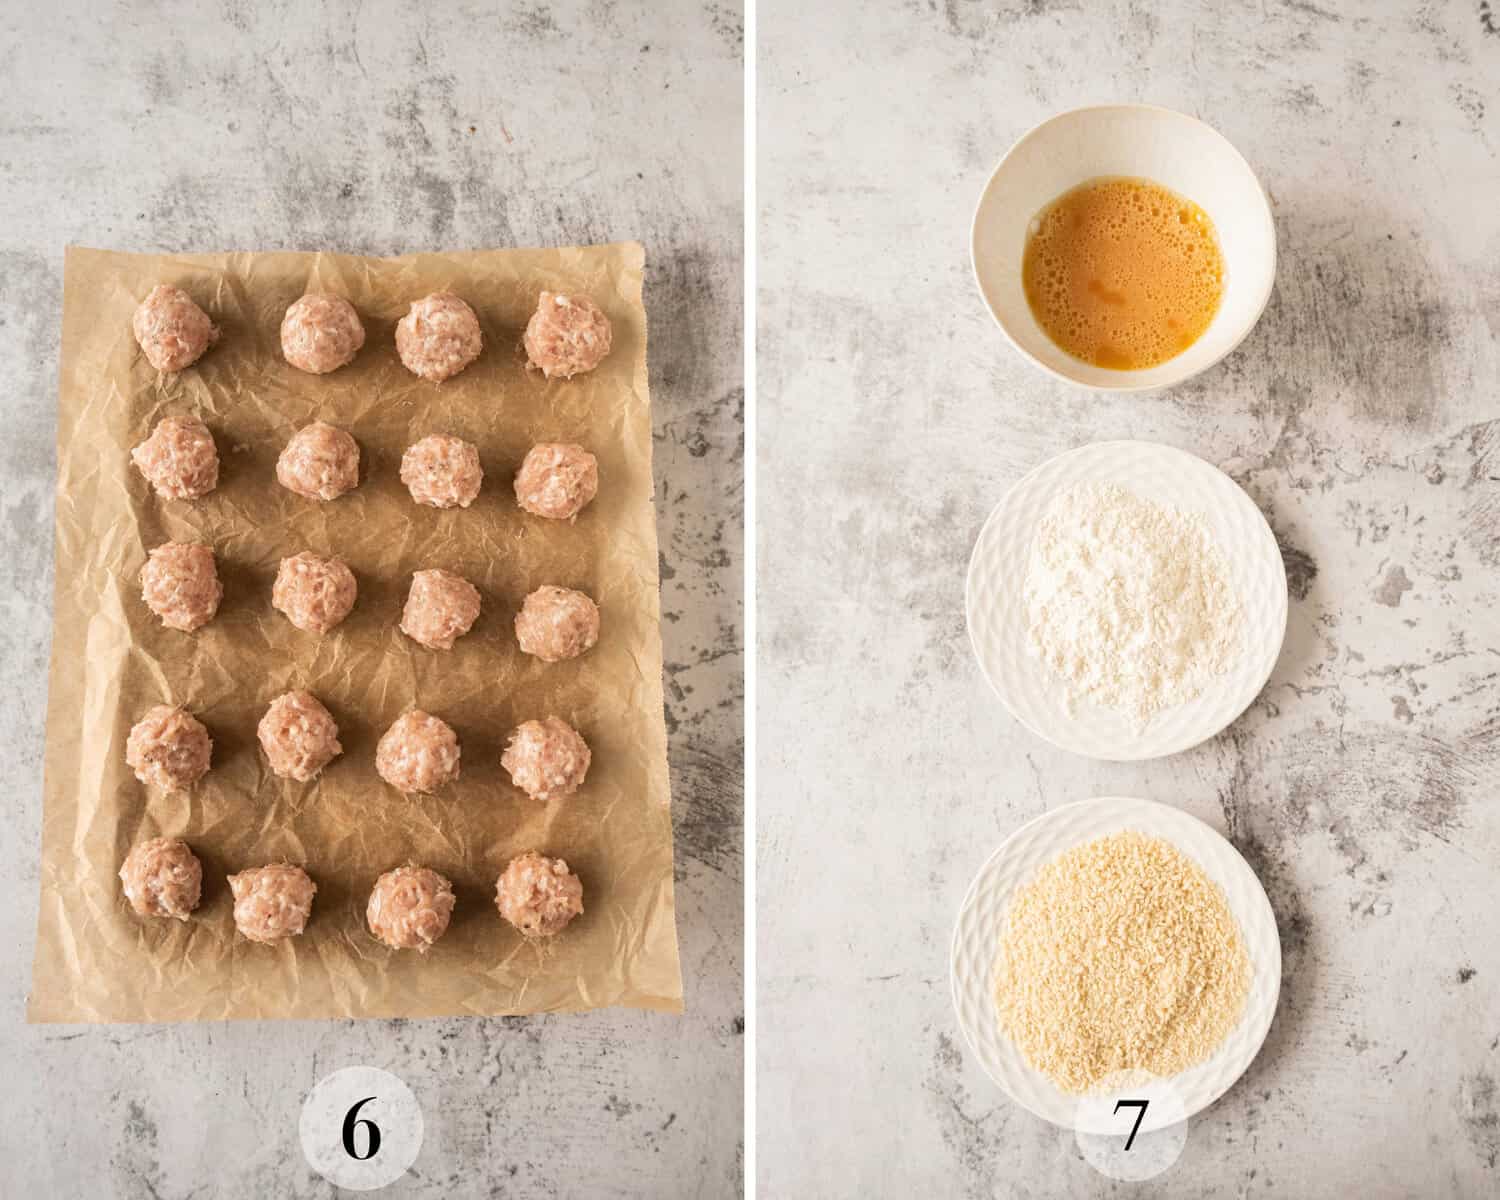
Step 6: Repeat this step with the remaining cheese balls. Place them on the baking paper.
Step 7: Prepare the breading ingredients:
- In a shallow bowl, beat the eggs with a little salt.
- Add the Panko breadcrumbs to a flat plate or shallow bowl.
- On a third flat plate, add the flour.
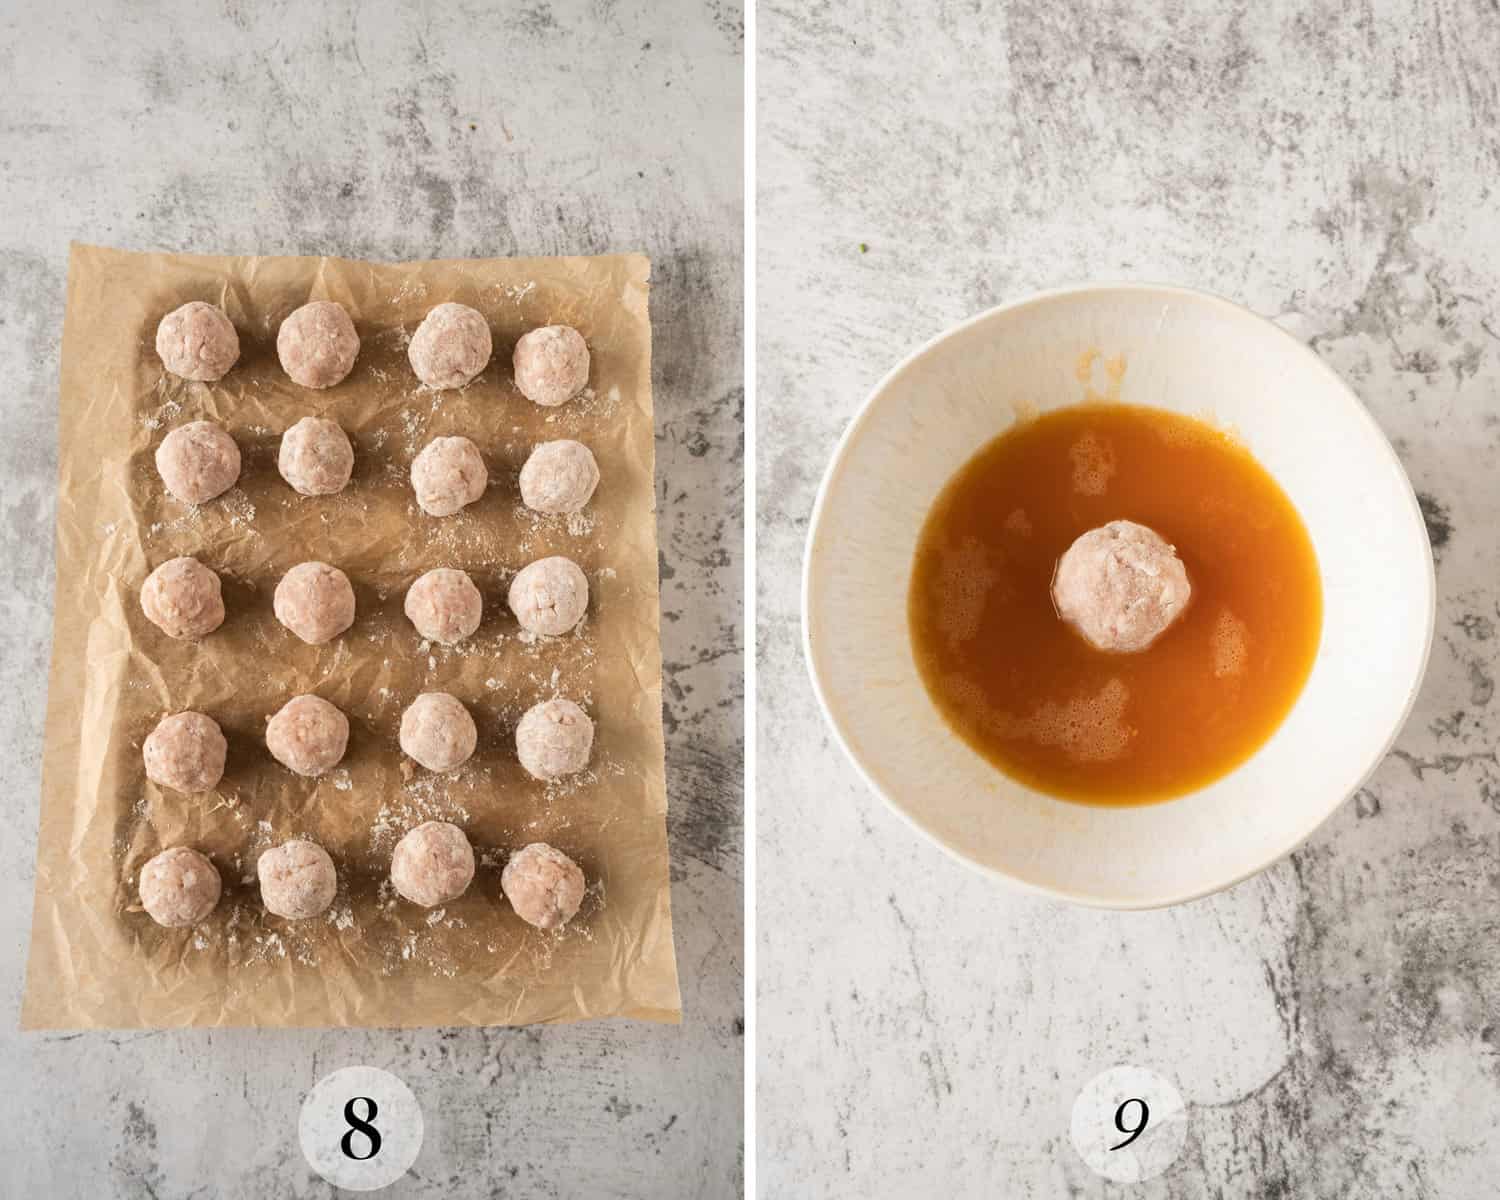
Step 8: Roll all the balls in flour, shaking off the excess.
Step 9: Dip each floured chicken ball into the egg mixture coating well.
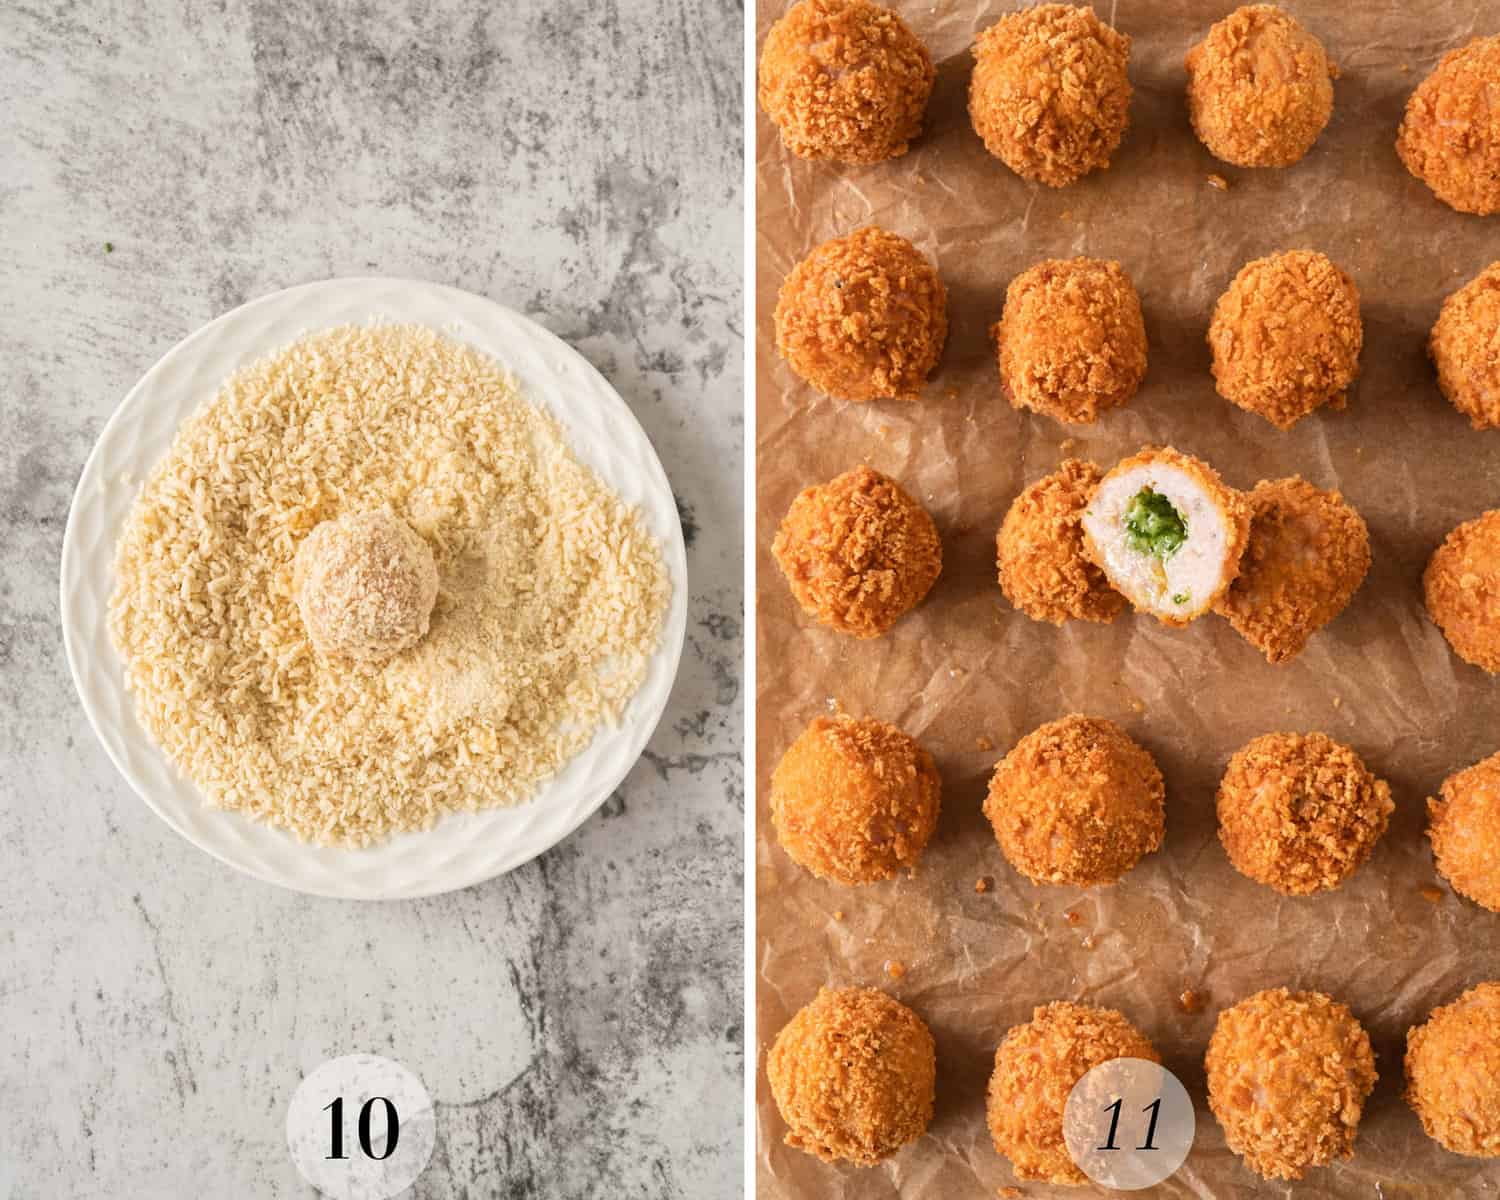
Step 10: Roll each chicken ball in the panko crumbs, ensuring they are well covered.
Once all the balls are covered, return them to the freezer for another 15 minutes to firm the chicken up around the butter ball and set the butter again. This will prevent any butter leakage.
Step 11: Heat oil in a large, deep pan or a deep saucepan. You need enough oil to cover the balls, and you want the oil temperature to reach around 350F. Reduce the heat a little so they cook through without burning and carefully place the balls in batches of 5-6, and cook, turning frequently, until golden brown – about 5-6 minutes. Remove with a slotted spoon to drain the oil.
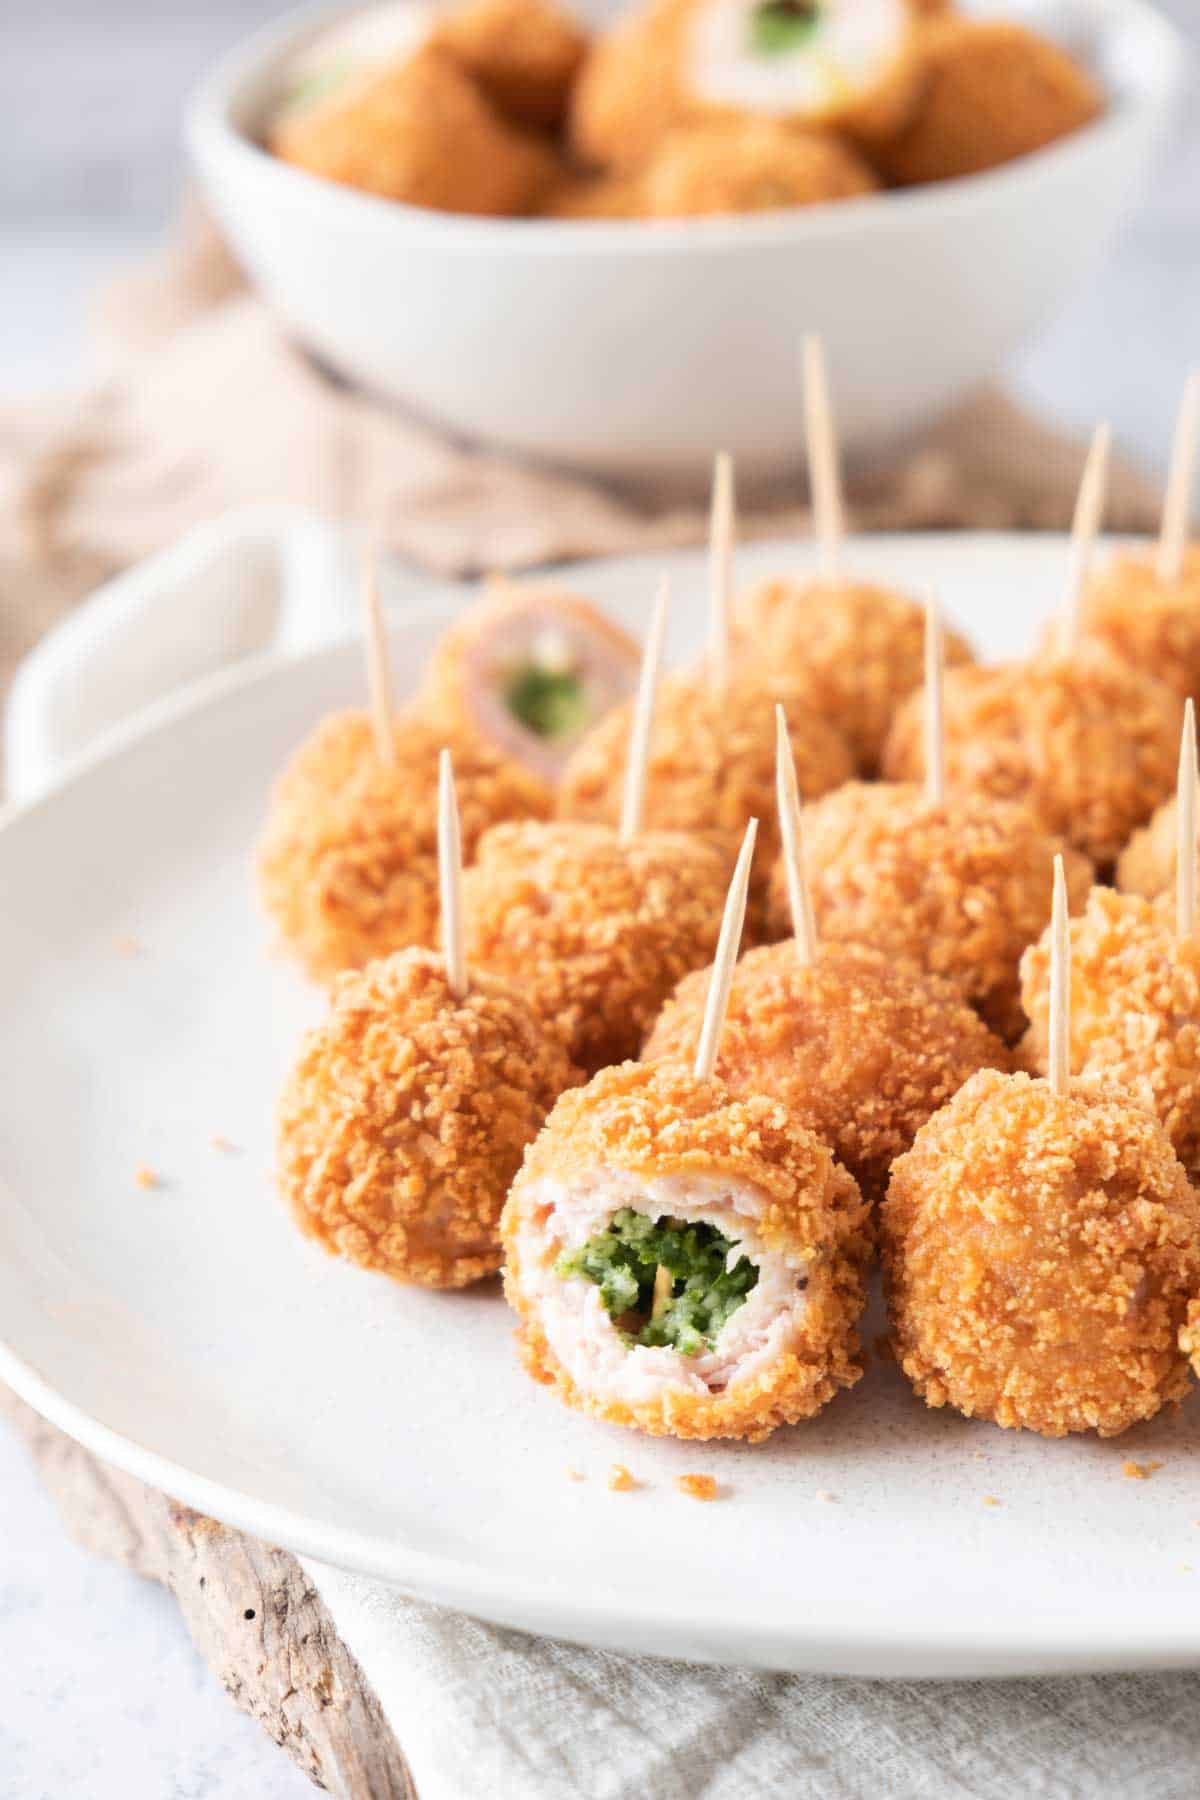
Step 12: Allow the balls to rest a little so the chicken retains its juiciness and the butter doesn’t burn your mouth. Serve them hot or warm. For the best transport options, see my tips on how to keep food warm for a picnic. You can serve these at room temperature, but they won’t be as nice if they are too cold, as the garlic butter center will solidify too much.
Recipe FAQs
Yes, you can prepare Chicken Kiev Balls ahead of time. You can freeze them either before or after cooking. If you freeze them before cooking, you can cook them straight from frozen, adding a few extra minutes to the cooking time to ensure they cook through properly. Thes tips on cooking chicken from frozen will ensure you do it safely.
Absolutely, cooking Chicken Kiev Balls in an air fryer is a healthier alternative to deep frying. Ensure they’re cooked at the right temperature enough to turn golden brown and cook through. The exact time and temperature may vary based on your air fryer model.
Yes, if ground chicken is unavailable, you can pulse chicken breast in a food processor until it reaches a ground texture. However, ensure it’s not too finely processed.
Tips for Great Mini Kiev Balls
Securing the Butter Inside: When forming the chicken balls, ensure the butter is fully encased in the chicken mince to prevent it from leaking out during cooking. This may require carefully sealing and smoothing the chicken around the butter. Before cooking, the final stint in the freezer (or fridge if prepping in advance) will ensure the butter and chicken stay attached and the seal is tight.
Butter Preparation: Ensuring the butter is well-chilled after rolling and again after wrapping in chicken mince will help to prevent it from melting too quickly during cooking and leaking out of the ball.
Cooking Temperature: When deep frying, ensure the oil is at medium heat. Too high heat can cause the balls to brown too quickly on the outside while leaving the inside undercooked. Using a kitchen thermometer can help you monitor and maintain the correct oil temperature.
Rest After Cooking: Allow the Chicken Balls to rest for a few minutes after frying. This helps to avoid burning your mouth with hot butter, but it also gives the chicken time to settle and retain its juices.
Reheating: If you have leftovers or made the chicken balls ahead of time, reheat them in the oven or air fryer instead of the microwave. This helps to keep the exterior crispy and the interior juicy without becoming soggy.
Related Recipe Ideas
Did you try these Chicken Kiev Balls?
Please leave me a ⭐ rating below and let me know in the comments how you enjoyed them.
Chicken Kiev Balls
Ingredients
- 1 pound ground chicken
- 1 tsp ground black pepper
- Salt to taste
- 2 oz unsalted butter
- 3 garlic cloves - minced
- 1 cup Pecorino Romano cheese or Parmesan
- ½ bunch parsley
- ½ cup all-purpose flour
- 2 eggs
- 1 cup Panko breadcrumbs
- 3 cups Sunflower or Vegetable Oil for frying - Oil with a high smoking point like rapeseed, vegetable or sunflower oil.
Instructions
Chicken Meatballs
- Season the ground chicken with salt and pepper. Mix well to combine.
Garlic Butter
- Add parsley, butter, garlic, and Pecorino Romano cheese to a food processor.
- Blend until all the ingredients are well combined.
- Roll the garlic butter mixture into small balls, approx. 1 teaspoon each. Arrange them on a piece of baking paper so they aren’t touching.
- Place the butter balls in the freezer for 15- 30 minutes to make them nice and firm.
Making the Kiev Balls and Coating
- Take about 1½ tablespoons of the ground chicken and form it into a ball. Flatten the ball in your palm and place a butter ball in the middle. Wrap the chicken around it, shaping it into a ball. Ensure the butter is well sealed with the chicken to prevent butter leakage when cooking.
- Repeat this step with the remaining cheese balls. Place them on the baking paper.
- Prepare the breading ingredients: In a shallow bowl, beat the eggs with a little salt. Add the Panko breadcrumbs to a flat plate or shallow bowl. On a third flat plate, add the flour.
- Roll all the balls in flour, shaking off the excess.
- Dip each floured chicken ball into the egg mixture coating well.
- Roll each chicken ball in the panko crumbs, ensuring they are well covered.
- Once all the balls are covered, return them to the freezer for another 15 minutes to firm the chicken up around the butter ball and set the butter again. This will prevent any butter leakage.
- Heat oil in a large, deep pan or a deep saucepan. You need enough oil to cover the balls, and you want the oil temperature to reach around 350F.
- Reduce the heat a little so they cook through without burning and carefully place the balls in batches of 5-6, and cook, turning frequently, until golden brown – about 5-6 minutes. Remove with a slotted spoon to drain the oil.
- Allow the balls to rest a little so the chicken retains its juiciness and the butter doesn't burn your mouth. Serve them hot or warm. You can serve these at room temperature, but they won't be as nice if they are too cold, as the garlic butter center will solidify too much.
Notes
- Cheese: You can use another cheese, such as finely grated cheddar, but I find finely grated parmesan works best when melting the butter.
- Bread Crumbs: You can use ordinary bread crumbs, but Panko gives a much airier and crispy finish. Ordinary breadcrumbs tend to be a bit dense.
- Chicken: You can switch chicken for turkey or even make a mix of the two.
- Herbs: I use fresh parsley because it’s how the traditional Kieve is made, but feel free to switch it up. My only recommendation is to make sure you use fresh herbs.
- Securing the Butter Inside: When forming the chicken balls, ensure the butter is fully encased in the chicken mince to prevent it from leaking out during cooking. Before cooking, the final stint in the freezer (or fridge if prepping in advance) will ensure the butter and chicken stay attached and the seal is tight.
- Cooking Temperature: When deep frying, ensure the oil is at medium heat. Too high heat can cause the balls to brown too quickly on the outside while leaving the inside undercooked.
- Rest After Cooking: Allow the Chicken Balls to rest for a few minutes after frying. This helps to avoid burning your mouth with hot butter, but it also gives the chicken time to settle and retain its juices.

Leave a Reply