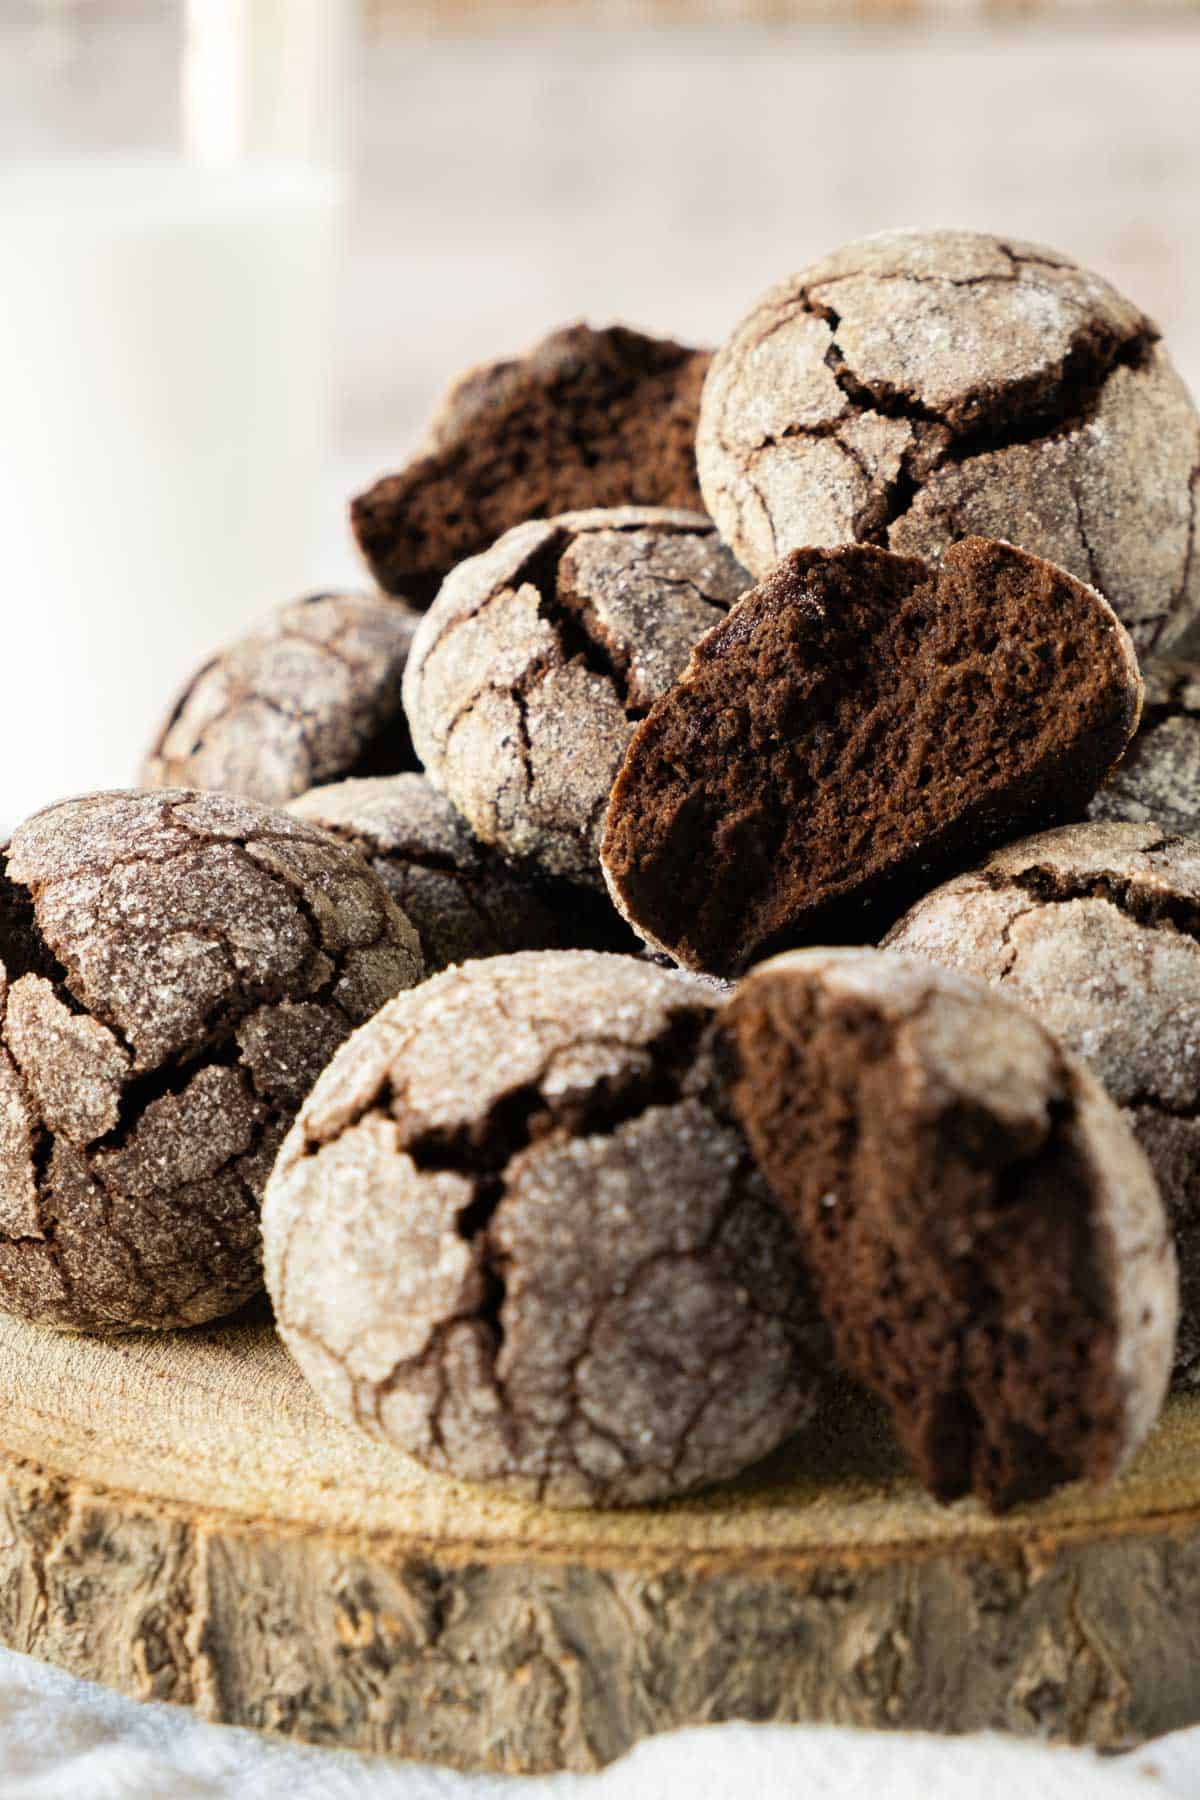
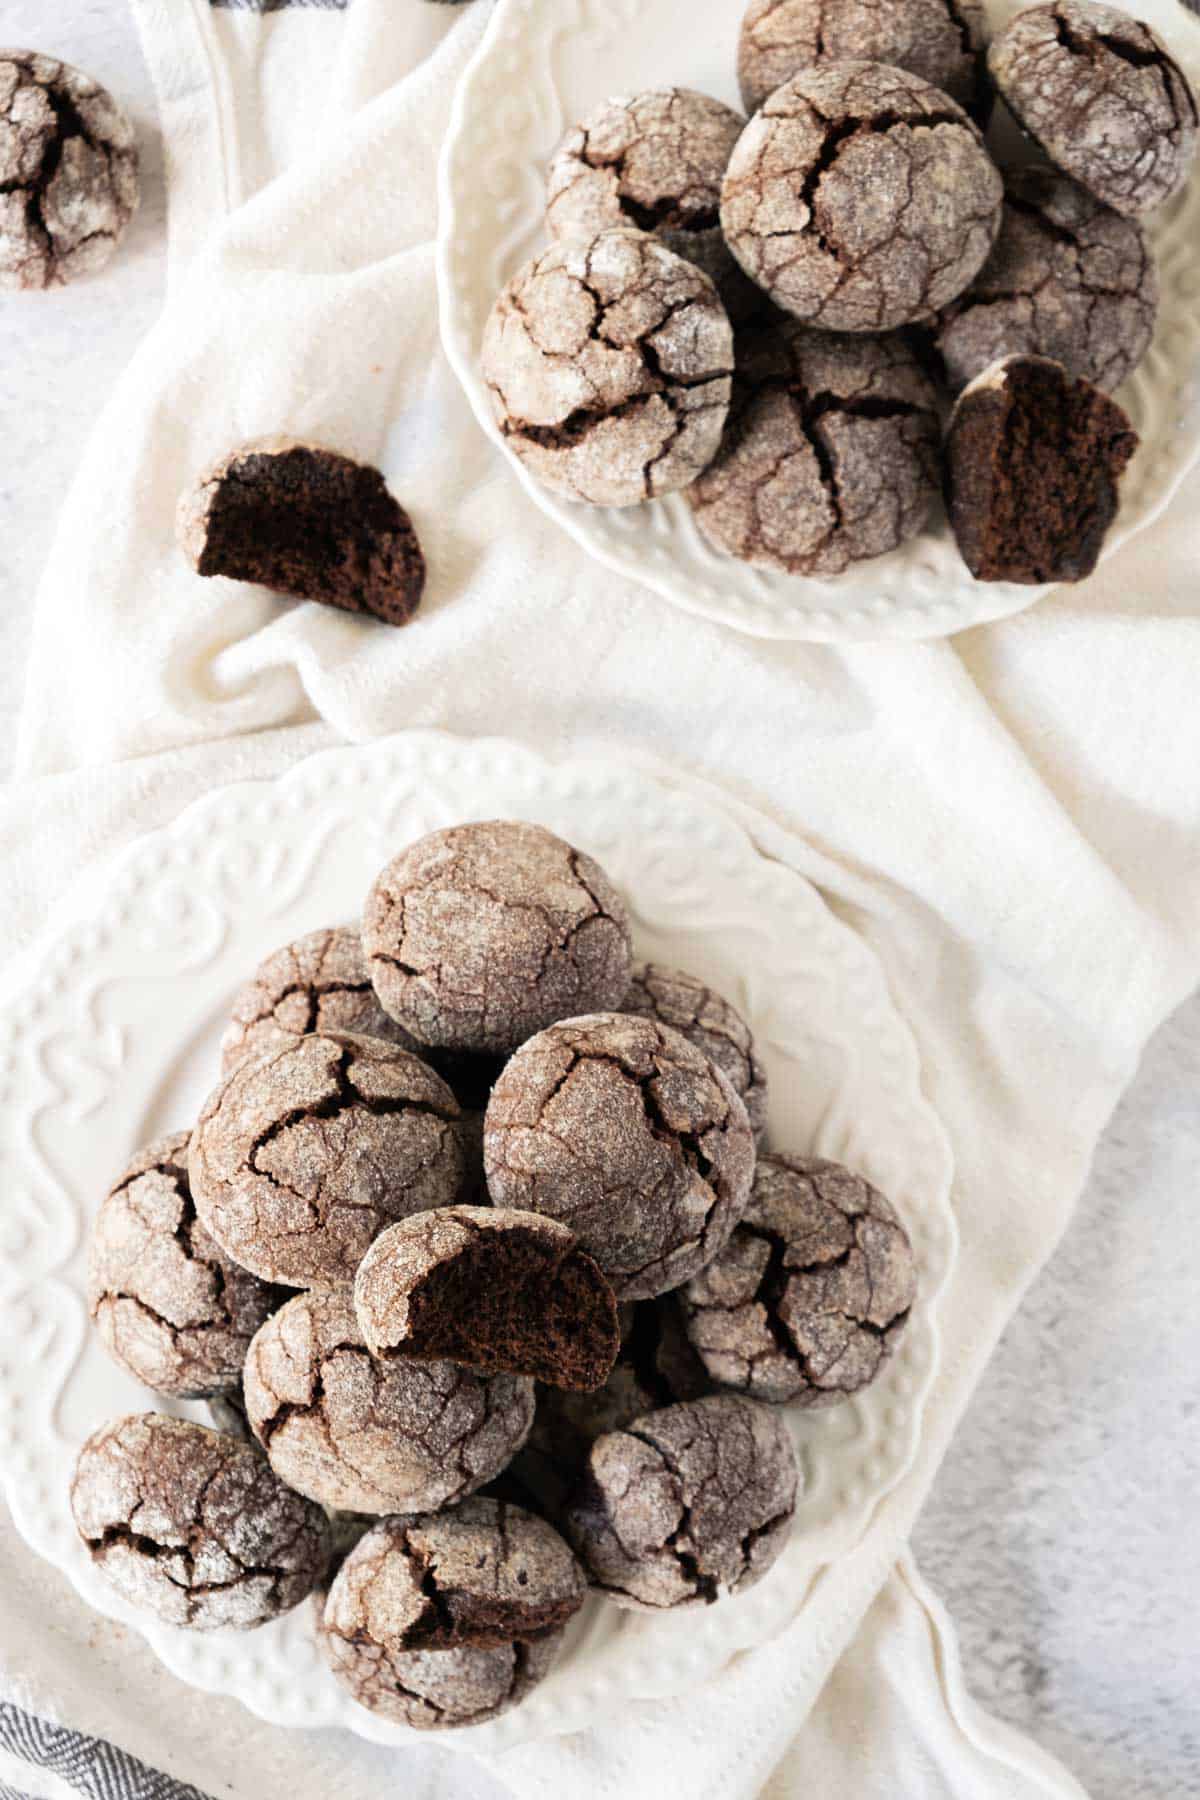
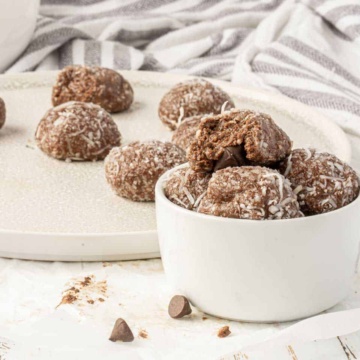
Delve into the delightful world of Chocolate Snowball Cookies.
With a rich cocoa base and a hint of seasonal spices, these sweet treats are perfect for the holiday season and winter picnics, and they’re so easy to make.
Jump to:
Snowball cookies go by many names. Most recognizable are Russian tea cakes and Mexican wedding cakes (I feature them in my Mexican Picnic Ideas). Traditionally, they are made from a blend of nuts, sugar, butter, and flour, but many delightful variations exist.
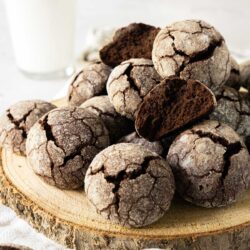
In this particular variation, chocolate takes center stage (which gives the other name – Chocolate Crinkle Cookies). This recipe also has no nuts, making it a perfect choice when nut allergies are an issue.
Ingredient Notes
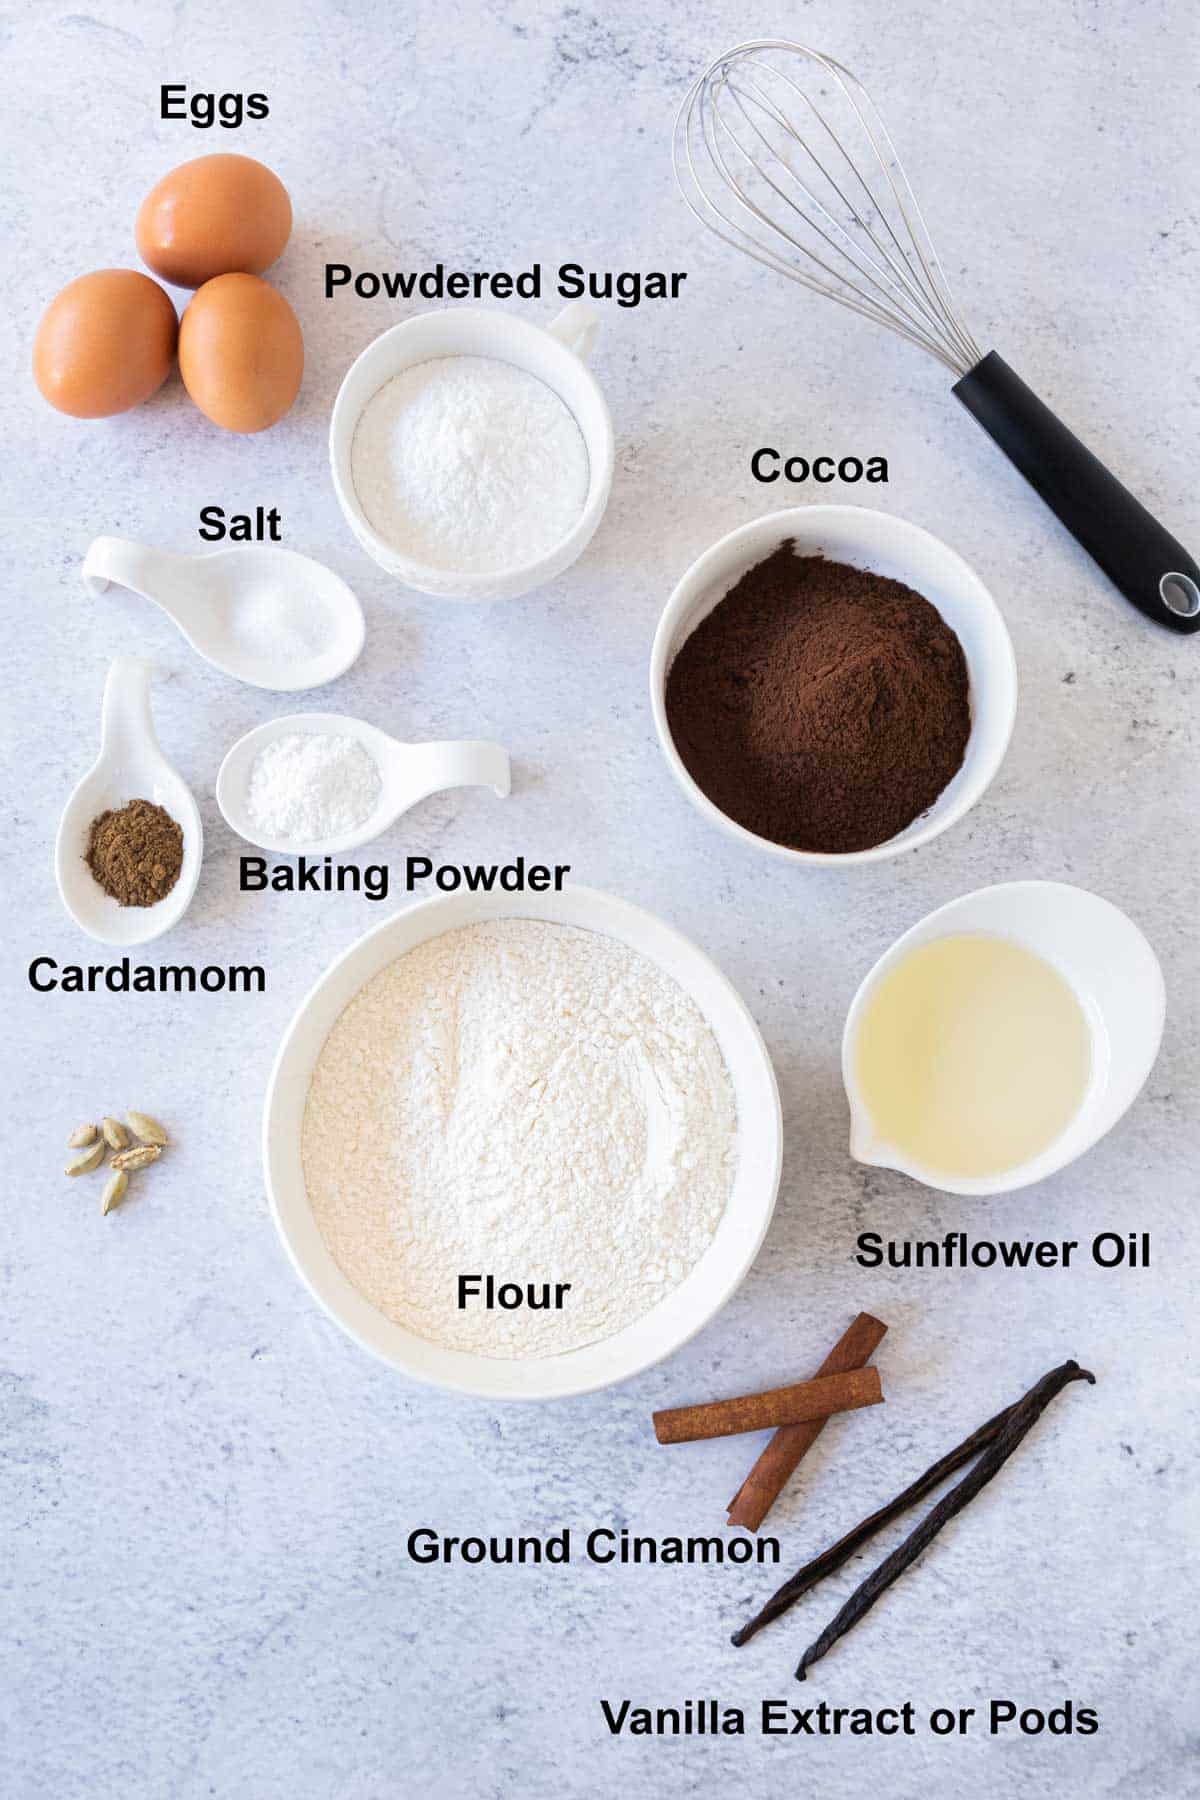
See my recipe card below for a complete list of the ingredients with measurements and notes.
Recipe Variations and Substitutions
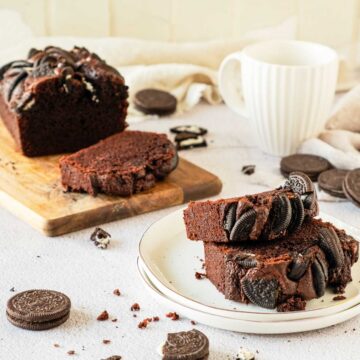
- Cocoa Varieties: As with my Oreo Chocolate Cake, I use dark, unsweetened cocoa powder. You can try using different types of cocoa powder, like Dutch-processed or natural cocoa, to alter the cookies’ taste and color. You might be surprised at the variety of cocoa powder types and their flavor profiles.
- Spice Alternatives: Instead of cinnamon and cardamom, you can use other warm spices like nutmeg, cloves, or allspice.
- Nuts: Incorporate chopped nuts like pecans, walnuts, or almonds for added texture and flavor.
- Chocolate Chips: Mix in chocolate chips or chunks for an extra burst of chocolate in each bite.
Step by Step Instructions
Step 1: Preheat the oven to 375F
Sift the flour together with the cocoa and baking powder. Add the salt, cinnamon, and cardamom. Note: If using vanilla seeds from a pod, you can add them now.

Step 2: Beat the eggs and the sugar with a blender or wire whisk. Add the oil and mix again. Add the vanilla now if using vanilla extract.
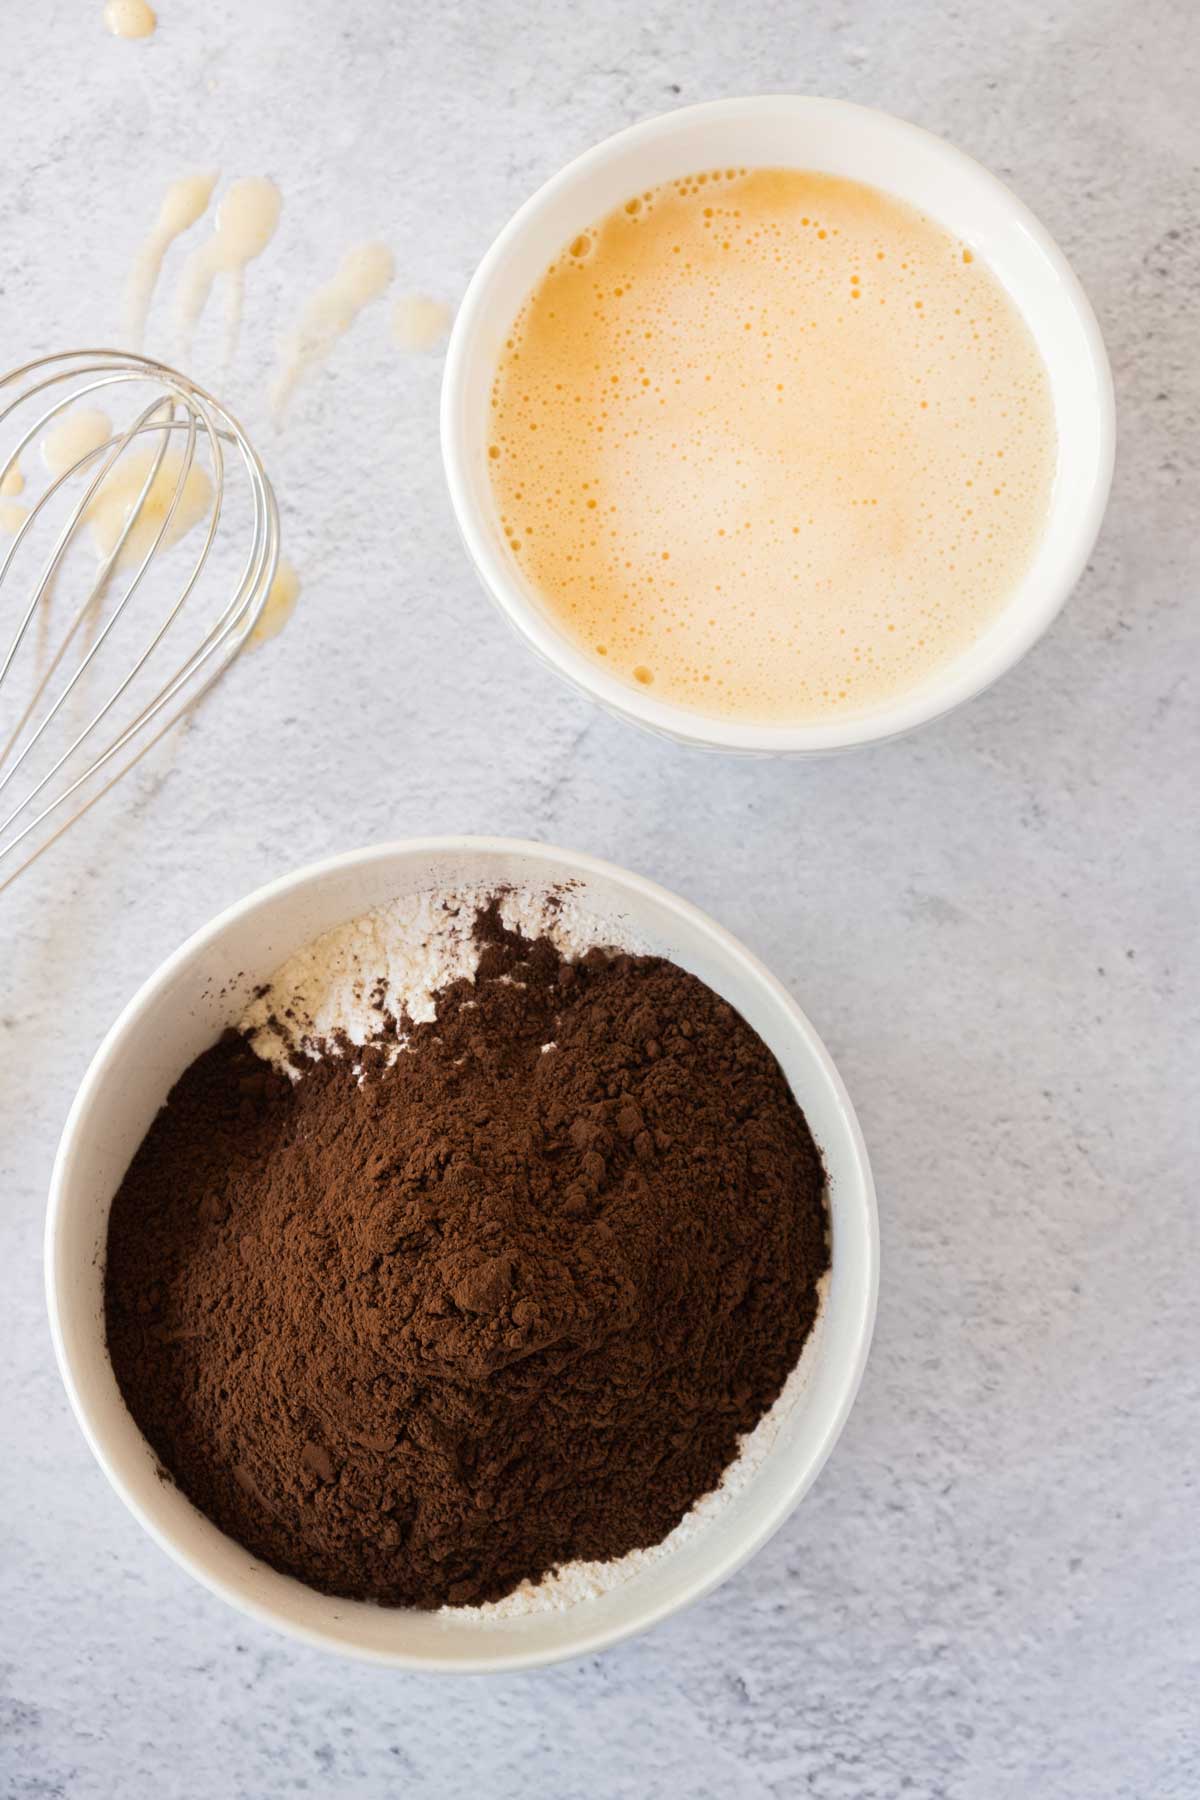
Step 3: Gradually combine the wet and dry ingredients.
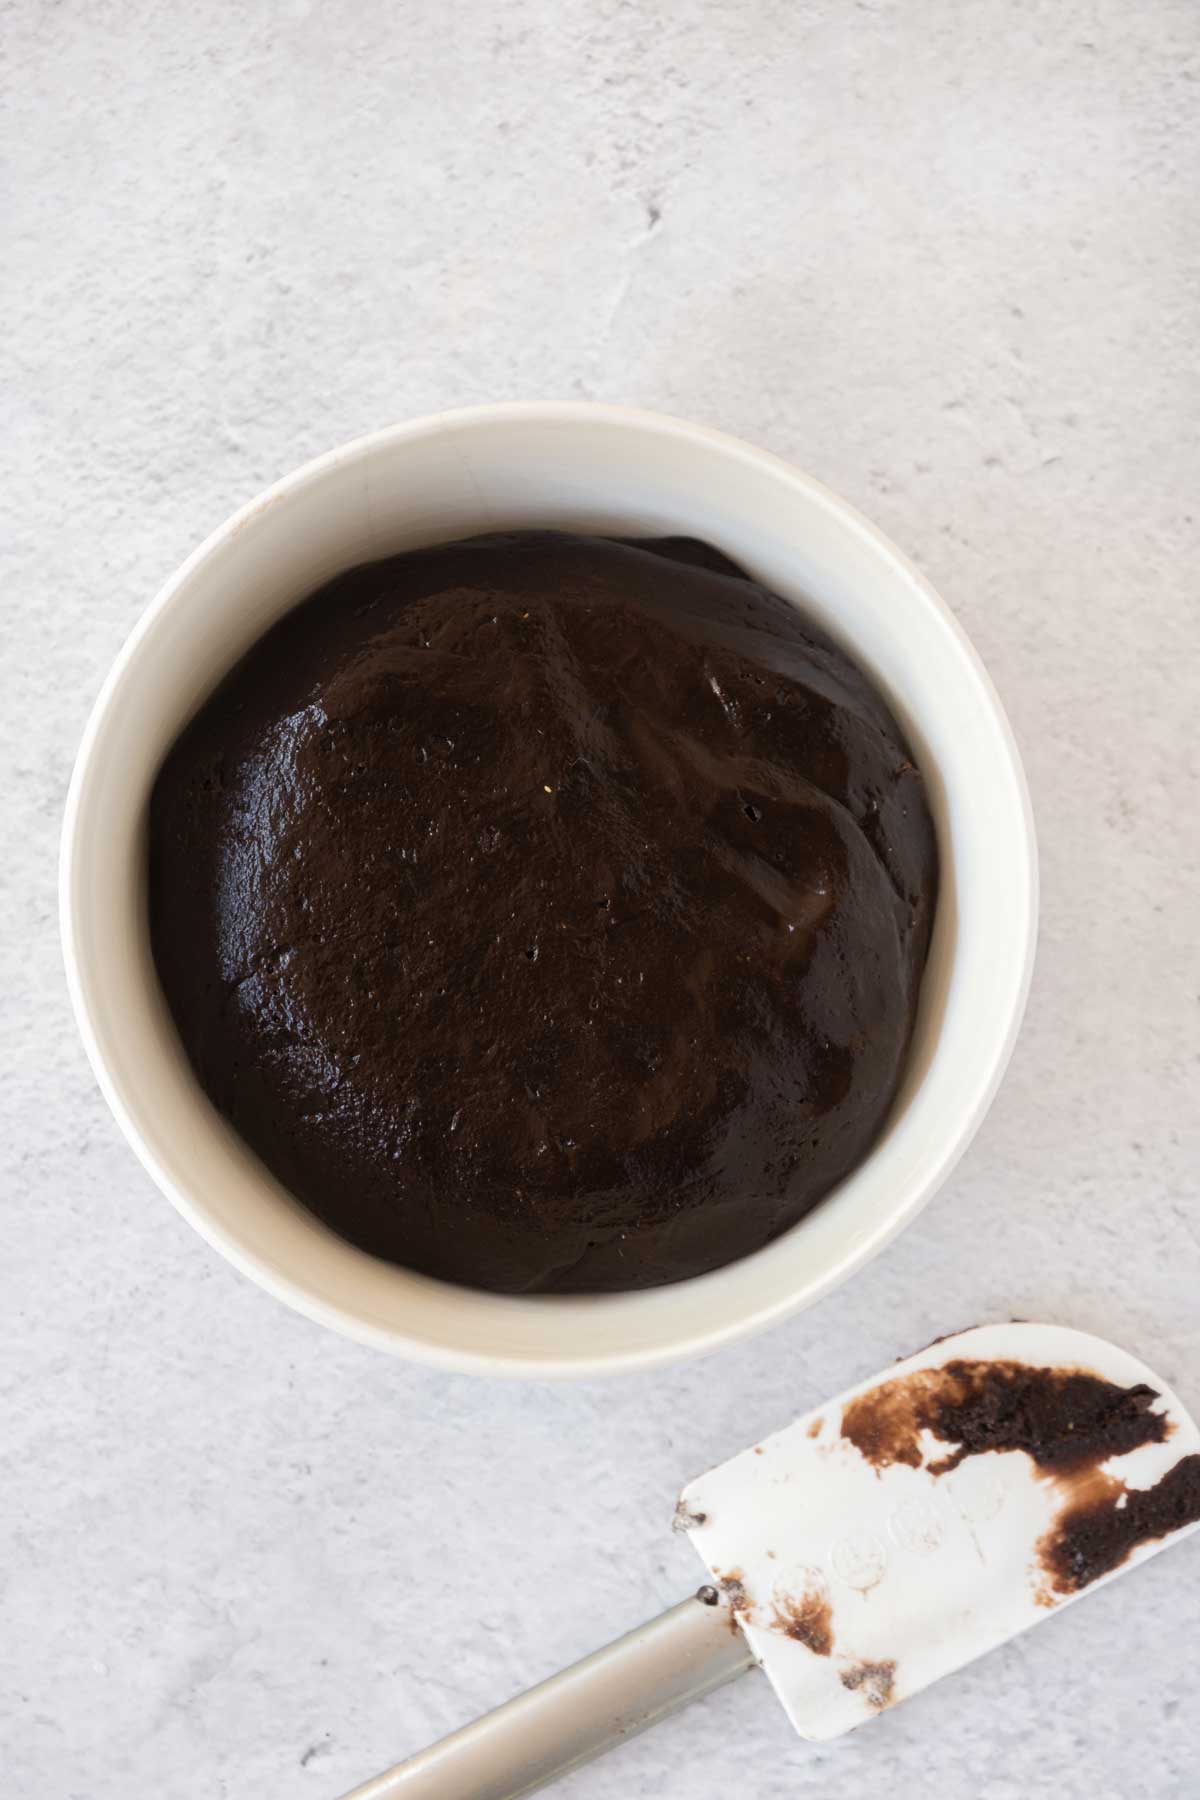
Step 4: Once combined, knead the mixture well for a smooth dough. Add a little more flour if needed. The dough should be firm and not stick to your fingers.
Put the dough in the refrigerator for at least one hour.
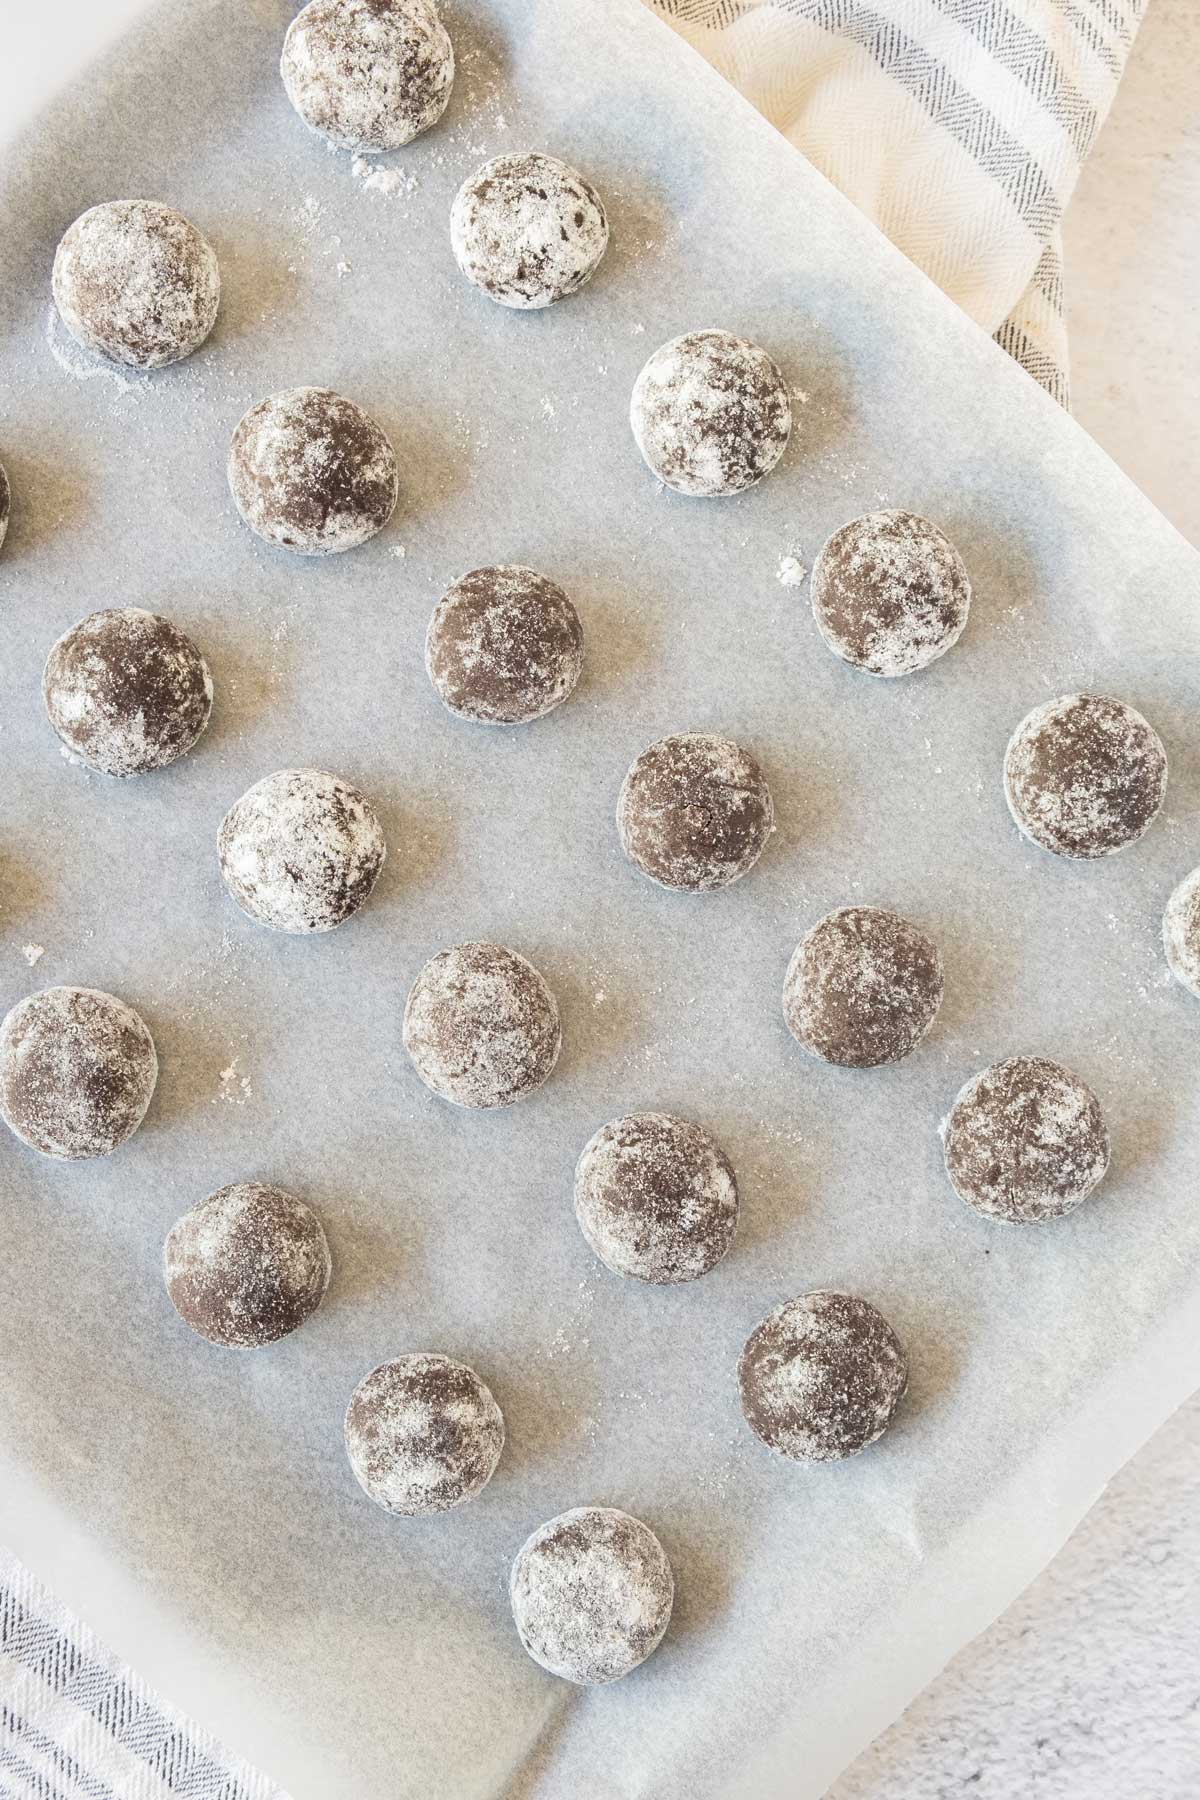
Step 5: Line a baking tray with backing paper. Take the dough from the refrigerator and roll balls roughly the size of a walnut. Roll each ball in powdered sugar and arrange them on the tray.
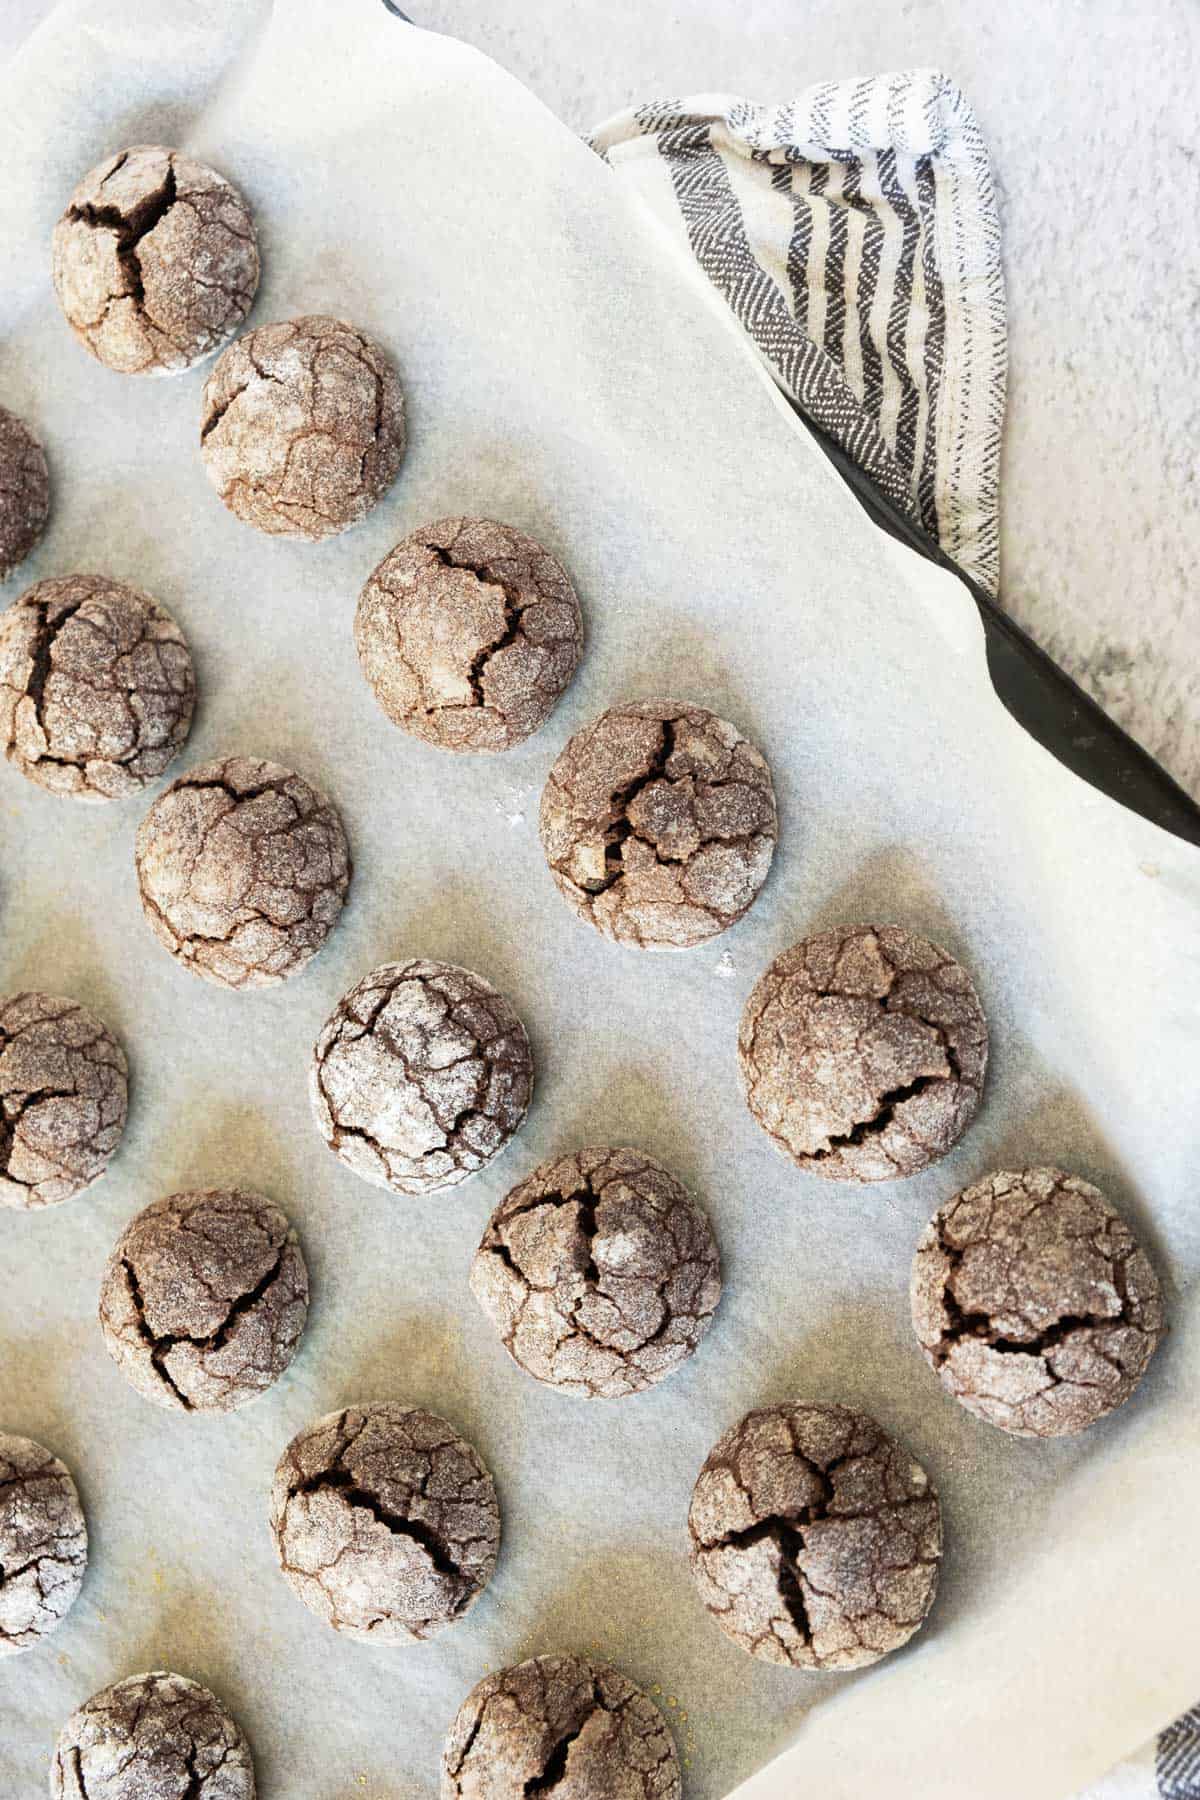
Step 6: Bake the Christmas cookies in the oven at 375F for about 10 minutes or until the tops start to crack. Note: If you bake the cookies longer, they will become too dry.
Transfer the cookies to a wire rack to cool. You may wish to dust or roll the cookies with more powdered sugar for a more snowy effect when they are just about cool.
Recipe FAQs
Yes, you can prepare the dough in advance and refrigerate it for a few hours or overnight before shaping and baking the cookies. The dough should be chilled before baking.
Store the cookies in an airtight container at room temperature for up to a week, or freeze them for longer-term storage – approx. 2 months.
About the size of a walnut is the ideal size for snowball cookies.
Expert Tips
- Extra Sugar for a Snowy Appearance: Roll the cookies in additional sugar after baking for a frostier appearance. Wait until they’ve cooled almost completely but are not yet cold. If the cookies are still slightly warm, it will help the sugar stick to the cookie better.
- Don’t Scrimp on Chilling the Dough: If you don’t chill your dough for long enough, it may cause the cookies to spread and flatten when baking.
- How to Store or Freeze Baked Cookies: Store the cookies in an airtight container at room temperature for up to a week, or freeze them for longer-term storage – up to 2 months.
- Freezing Chocolate Snowball Cookie Dough:
- Shape the dough into balls as if you were going to bake.
- Arrange the dough balls on a baking sheet and quick-freeze them until they become firm.
- Once the dough balls are frozen, transfer them to an airtight container for storage until you’re ready to bake. Put sheets of baking paper between layers to prevent sticking.
- When it’s time to bake, take the dough balls from the freezer and let them thaw in the refrigerator overnight or at room temperature for approximately 2 hours before rolling them in sugar and baking until cracked at 375F. Make sure they remain chilled as per the recipe before baking.
Related Recipes

Did you try these Snowball Cookies?
Please leave me a ⭐ rating below and let me know in the comments how you enjoyed them.
Chocolate Snowball Cookies
Ingredients
- 1 cup cocoa
- 2 ⅔ cups flour
- 1½ cups powdered sugar - Reserve ½ cup for rolling the balls
- 3 eggs
- ½ cup sunflower oil
- 2 tsp baking powder
- 1 tsp vanilla extract
- ½ tsp salt
- 2 tsp cinnamon
- 1 tsp cardamom
Instructions
- Preheat the oven to 375F
- Sift the flour together with the cocoa and baking powder. Add the salt, cinnamon, and cardamom. Note: If using vanilla seeds from a pod, you can add them now.
- Beat the eggs and 1 cup of the sugar with a blender or wire whisk. Add the oil and mix again. Add the vanilla now if using vanilla extract.
- Gradually combine the wet and dry ingredients.
- Once combined, knead the mixture well for a smooth dough. Add a little more flour if needed. The dough should be firm and not stick to your fingers.
- Put the dough in the refrigerator for at least one hour.
- Line a baking tray with baking paper.
- Take the dough from the refrigerator and roll balls roughly the zie of a walnut.
- Roll each ball in powdered sugar and arrange them on the tray.
- Bake the Christmas cookies in the oven at 375F for about 10 minutes or until the tops start to crack. Note: If you bake the cookies longer, they will become too dry.
- Transfer the cookies to a wire rack to cool. You may wish to dust or roll the cookies with more powdered sugar for a more snowy effect when they are just about cool.
Notes
- Extra Sugar for a Snowy Appearance: Roll the cookies in additional sugar after baking for a frostier appearance. Wait until they’ve cooled almost completely but are not yet cold. If the cookies are still slightly warm, it will help the sugar stick to the cookie better.
- Don’t Scrimp on Chilling the Dough: If you don’t chill your dough for long enough, it may cause the cookies to spread and flatten when baking.
- How to Store or Freeze Baked Cookies: Store the cookies in an airtight container at room temperature for up to a week, or freeze them for longer-term storage – up to 2 months.
- Freezing Chocolate Snowball Cookie Dough:
- Shape the dough into balls as if you were going to bake.
- Arrange the dough balls on a baking sheet and quick-freeze them until they become firm.
- Once the dough balls are frozen solid, transfer them to an airtight container for storage until you’re ready to bake.
- When it’s time to bake, take the dough from the freezer and allow it to thaw in the refrigerator overnight or at room temperature for approximately 2 hours before rolling them in sugar and baking until cracked at 375F. Make sure they remain chilled as per the recipe before baking.
- Flour: I recommend using an unbleached, all-purpose flour. You can use an all-purpose gluten-free baking flour or extra fine almond flour for a gluten-free version.
- Cocoa Varieties: I use dark, unsweetened cocoa powder. You can try using different types of cocoa powder, like Dutch-processed or natural cocoa, to alter the cookies’ taste and color. You might be surprised at the variety of cocoa powder types and their flavor profiles.
- Spice Alternatives: Instead of cinnamon and cardamom, you can use other warm spices like nutmeg, cloves, or allspice.
- Oil Alternatives: Substitute the oil with melted butter, coconut oil, or a healthier oil like avocado.
- Nuts: Incorporate chopped nuts like pecans, walnuts, or almonds for added texture and flavor.
- Chocolate Chips: Mix in chocolate chips or chunks for an extra burst of chocolate in each bite.
Nutrition
GNXVDHFM123982417

Leave a Reply