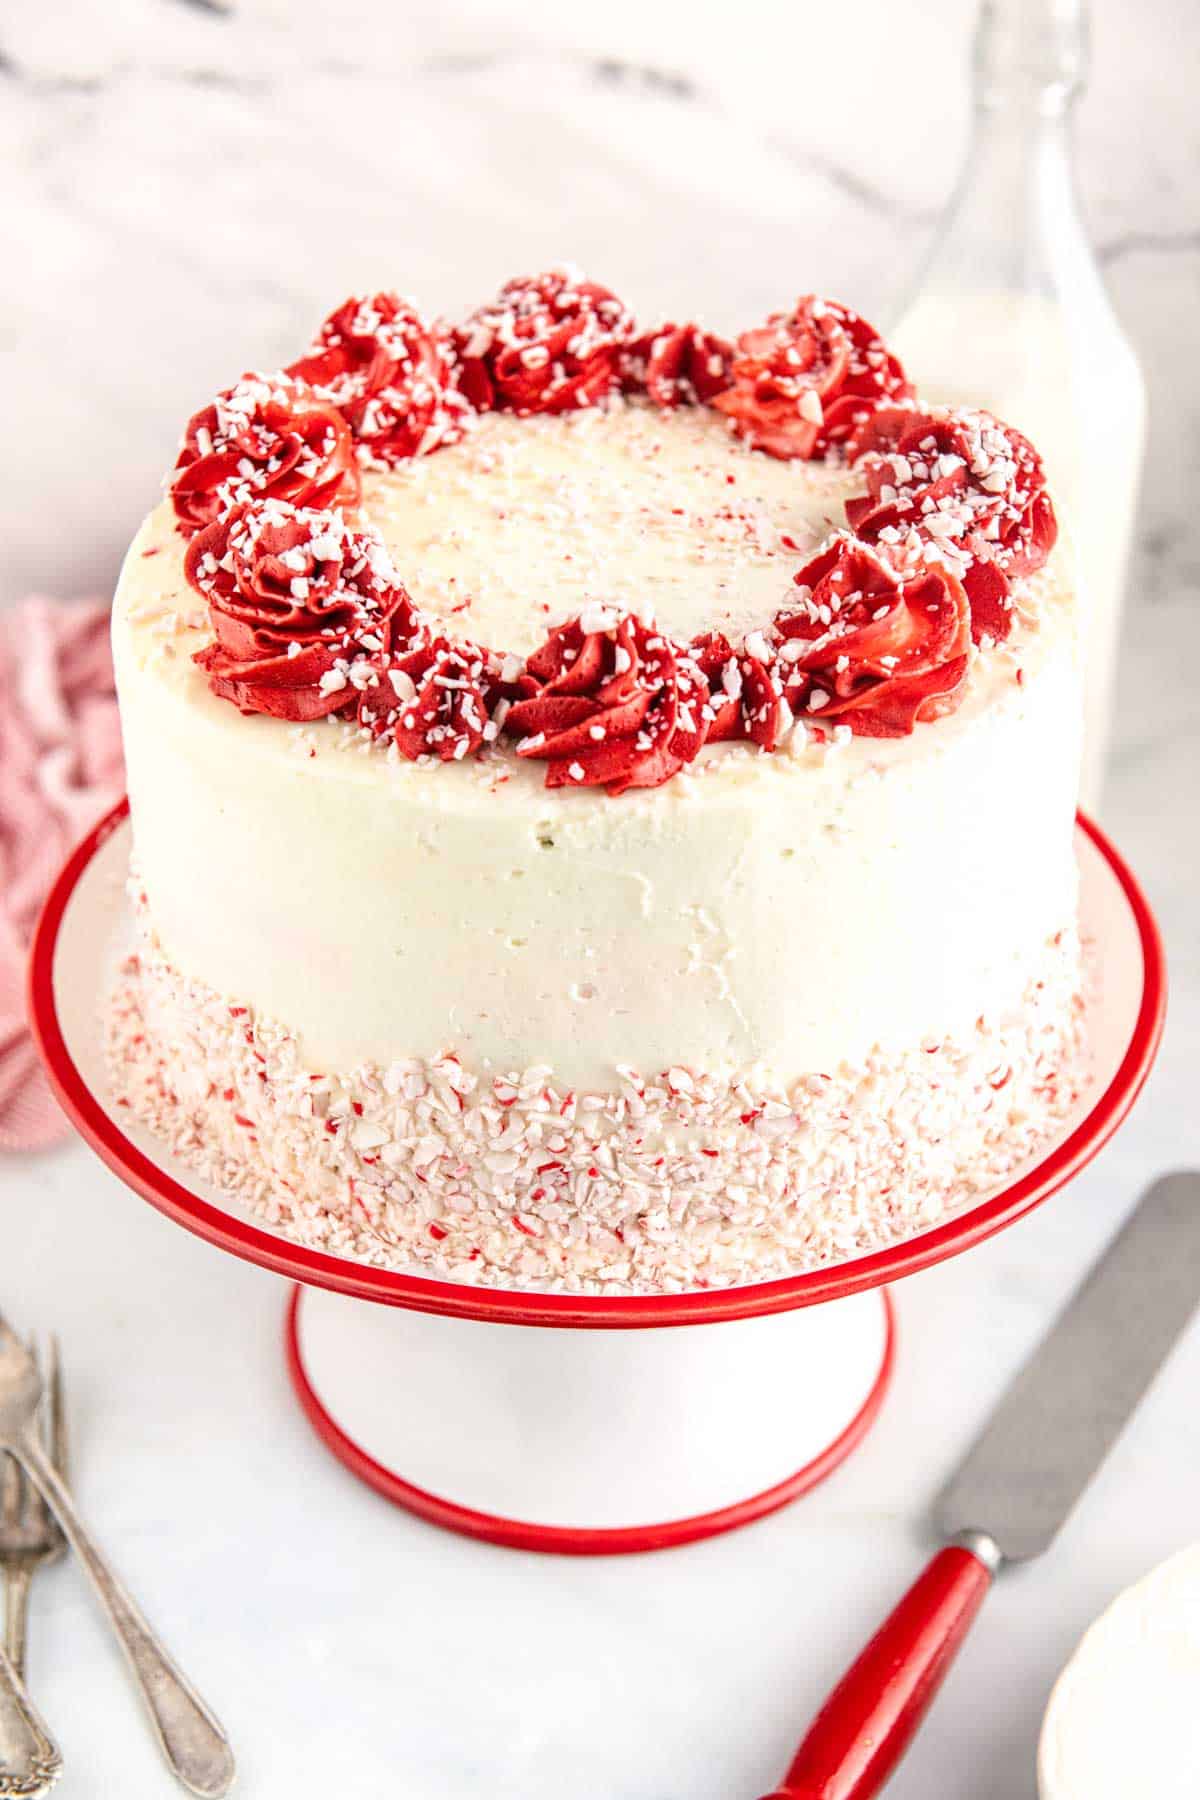
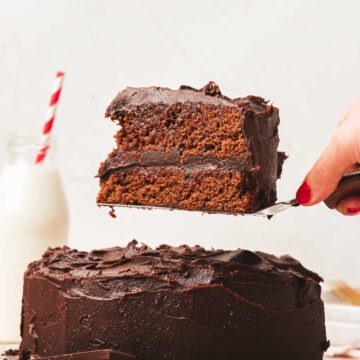
Enjoy year-round festive cake vibes with this gloriously lush Chocolate Peppermint Cake.
A refreshingly rich chocolate peppermint layer cake slathered with sweet peppermint buttercream frosting and dusted with crushed candy canes. This chocolate layer cake is the show-stopping dessert you have been looking for.
Jump to:
While this cake may have all the festive vibes, I don’t believe it should be restricted to Christmas. It is an impressive cake for feeding a crowd—think a birthday picnic party or a great chocolate nod for an Easter picnic.
Like my very decadent Matilda’s Chocolate Cake, this cake looks way more impressive than it is to make. Sure, it takes some time, but it’s not as difficult as you think.
Ingredient Notes
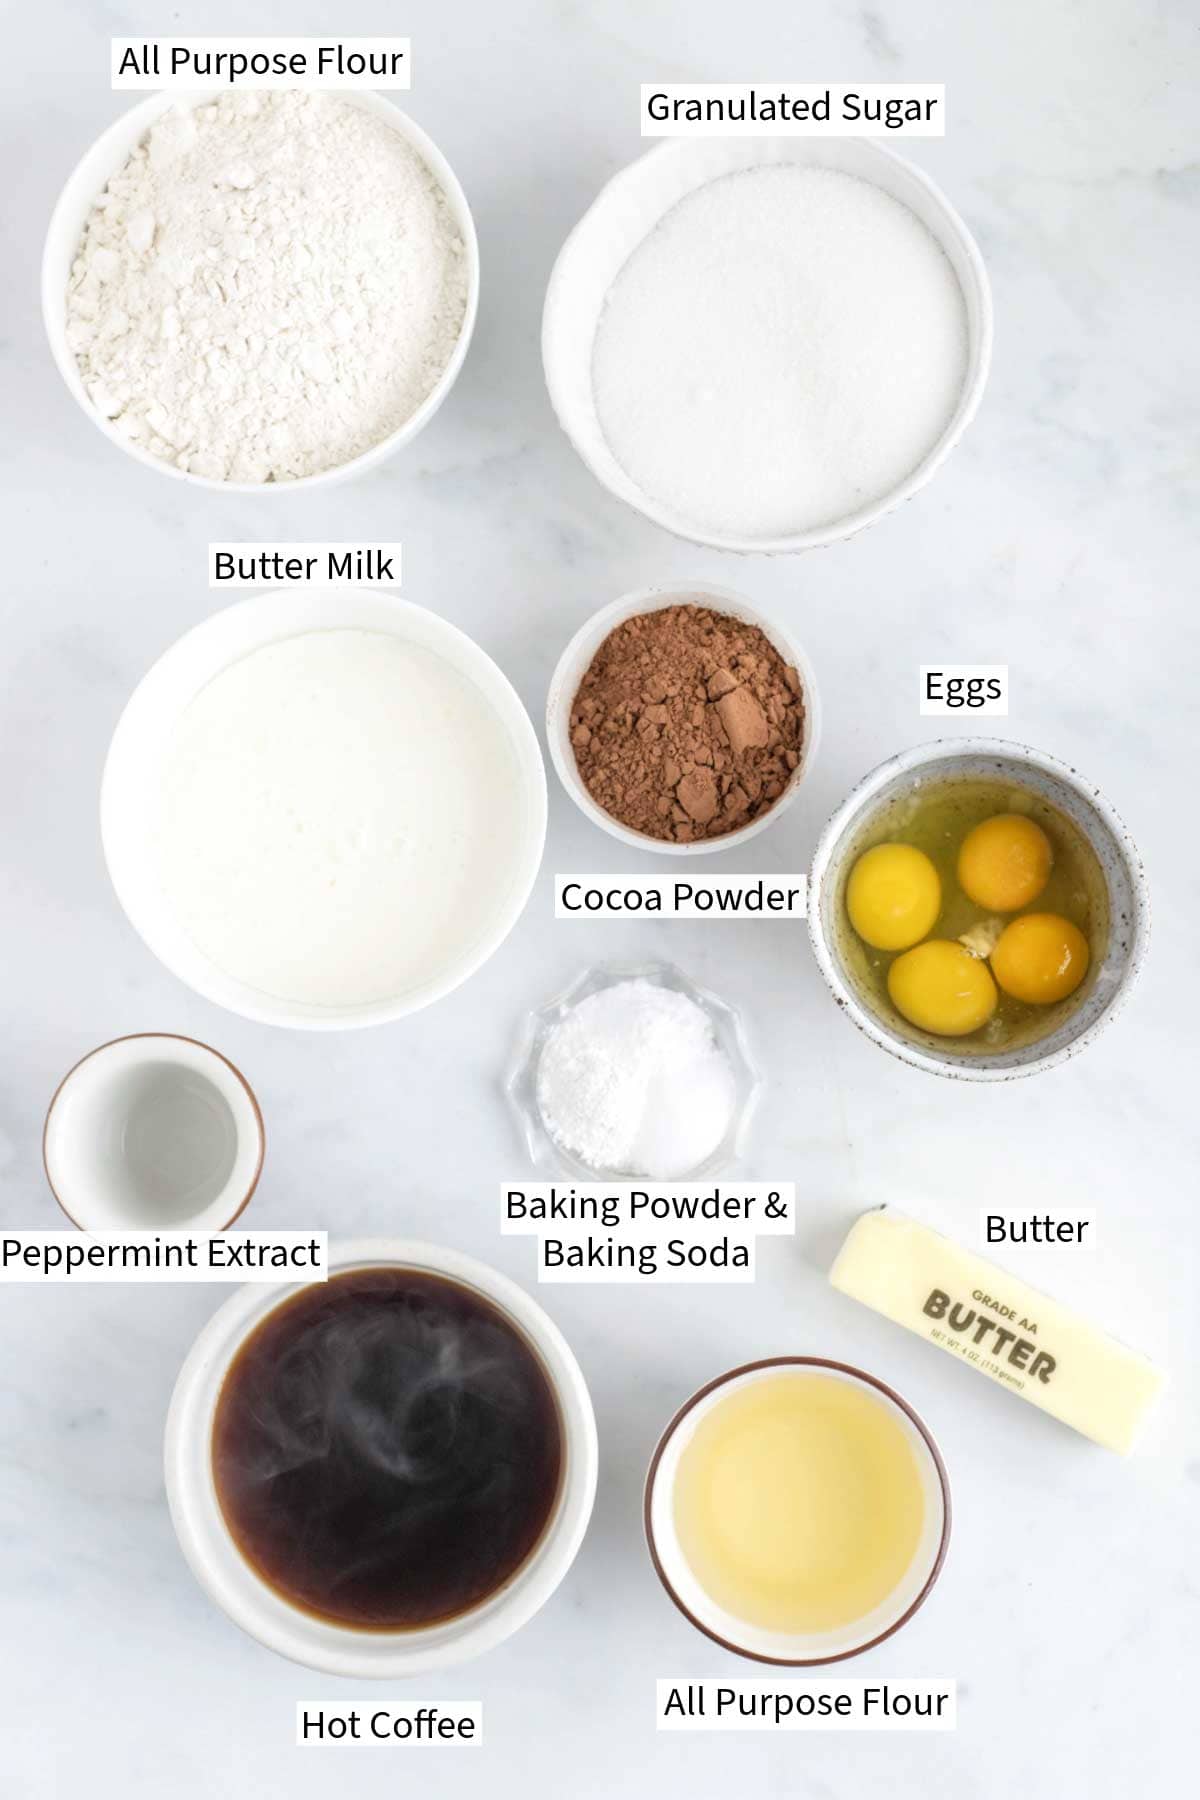
Chocolate Peppermint Cake Ingredients
Chocolate Peppermint Cake Frosting Ingredients
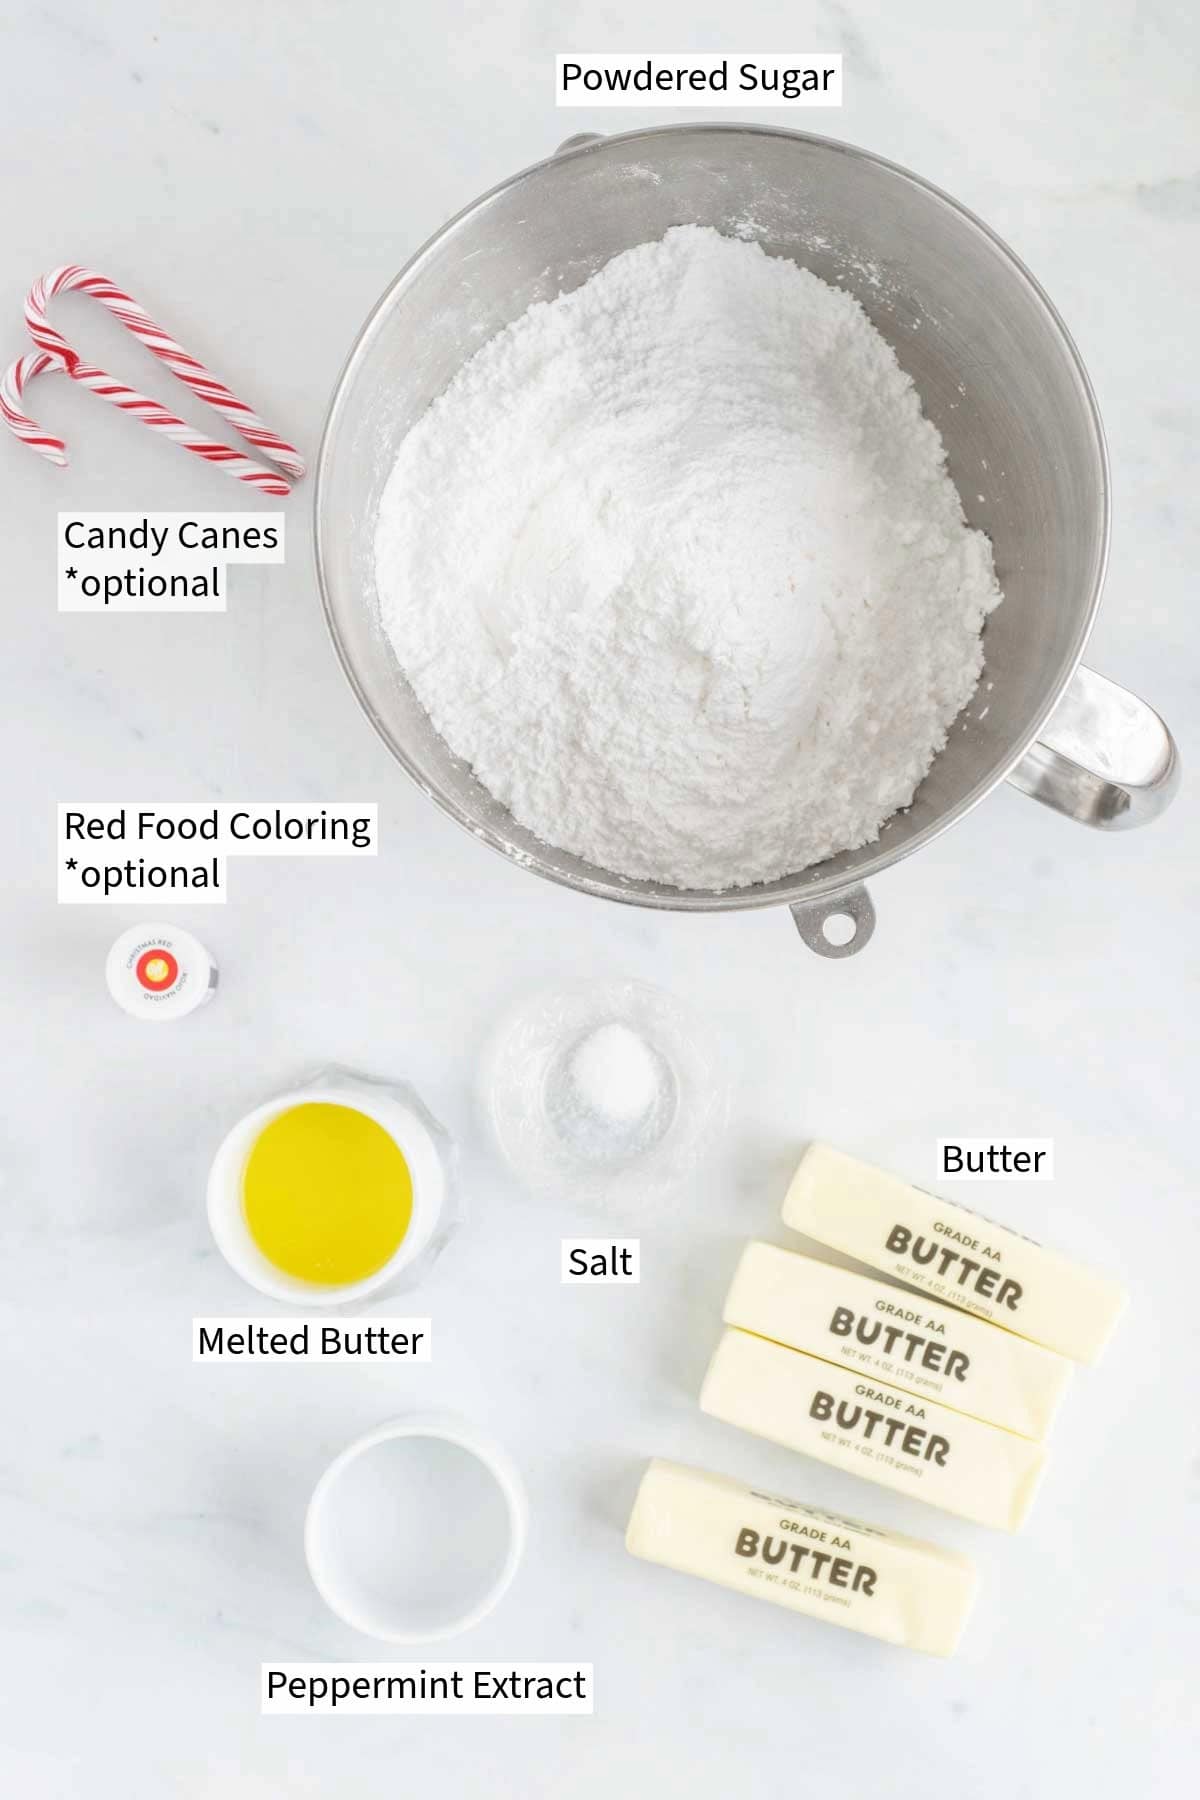
See my recipe card below for a complete list of the ingredients with measurements and notes.
Recipe Variations and Substitutions
- Salted Butter: This recipe uses salted butter, but you can use unsalted. If used in the cake batter, add 1⁄4 tsp of salt. If used in the frosting, add 1 tsp of salt.
- Vegetable Oil: You can use the oil of your choice, such as olive or canola oil.
- Buttermilk: Buttermilk can be made by simply removing 1 tablespoon + 1 teaspoon of milk and replacing it with 1 tablespoon + 1 teaspoon. Whisk together and leave to sit for 5 minutes before adding it to the recipe.
- Hot Coffee: Coffee enhances the richness and chocolate flavor of the cake, it does not add coffee flavor. Hot water may be used instead.
- Decoration: I like to use crushed peppermint candy canes or peppermint candies to decorate. You can decorate how you feel. I also like rough chopped peppermint chocolate.
Step by Step Instructions
Make the Peppermint Chocolate Cakes
Step 1: Preheat the oven to 350F
Step 2: Line the bottoms of 3×9” cake pans with parchment paper and lightly spray with baking spray. Set aside.
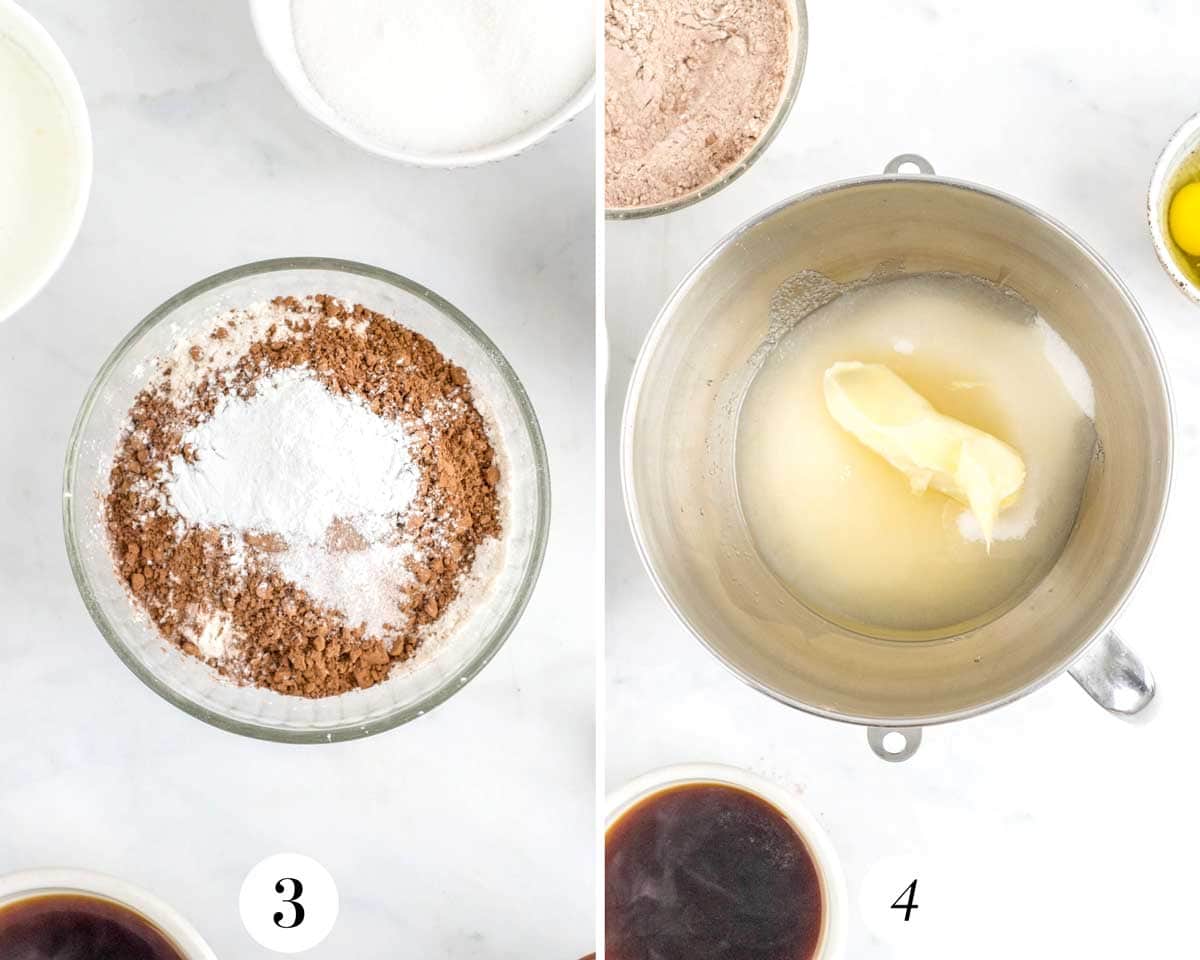
Step 3: Sieve flour, cocoa, baking powder, baking soda, and salt into a large mixing bowl and combine. Set aside.
Step 4: Combine sugar, room temperature butter, and vegetable oil in the bowl of a stand mixer fitted with a paddle attachment. Beat together at medium-high speed for 1 minute until smooth.
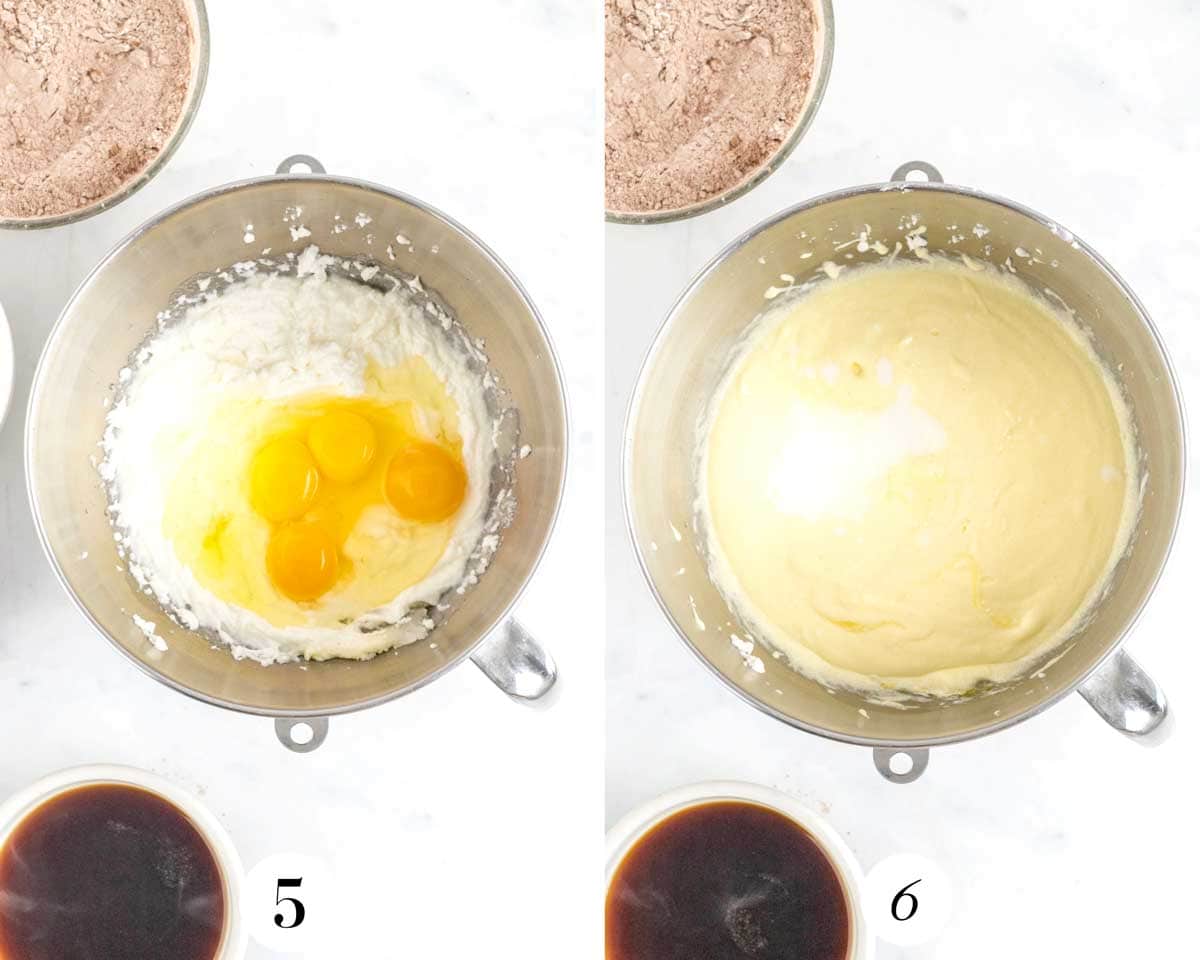
Step 5: Add the eggs and mix on medium speed for 30 seconds.
Step 6: Add the milk and peppermint extract and mix for another 30 seconds.
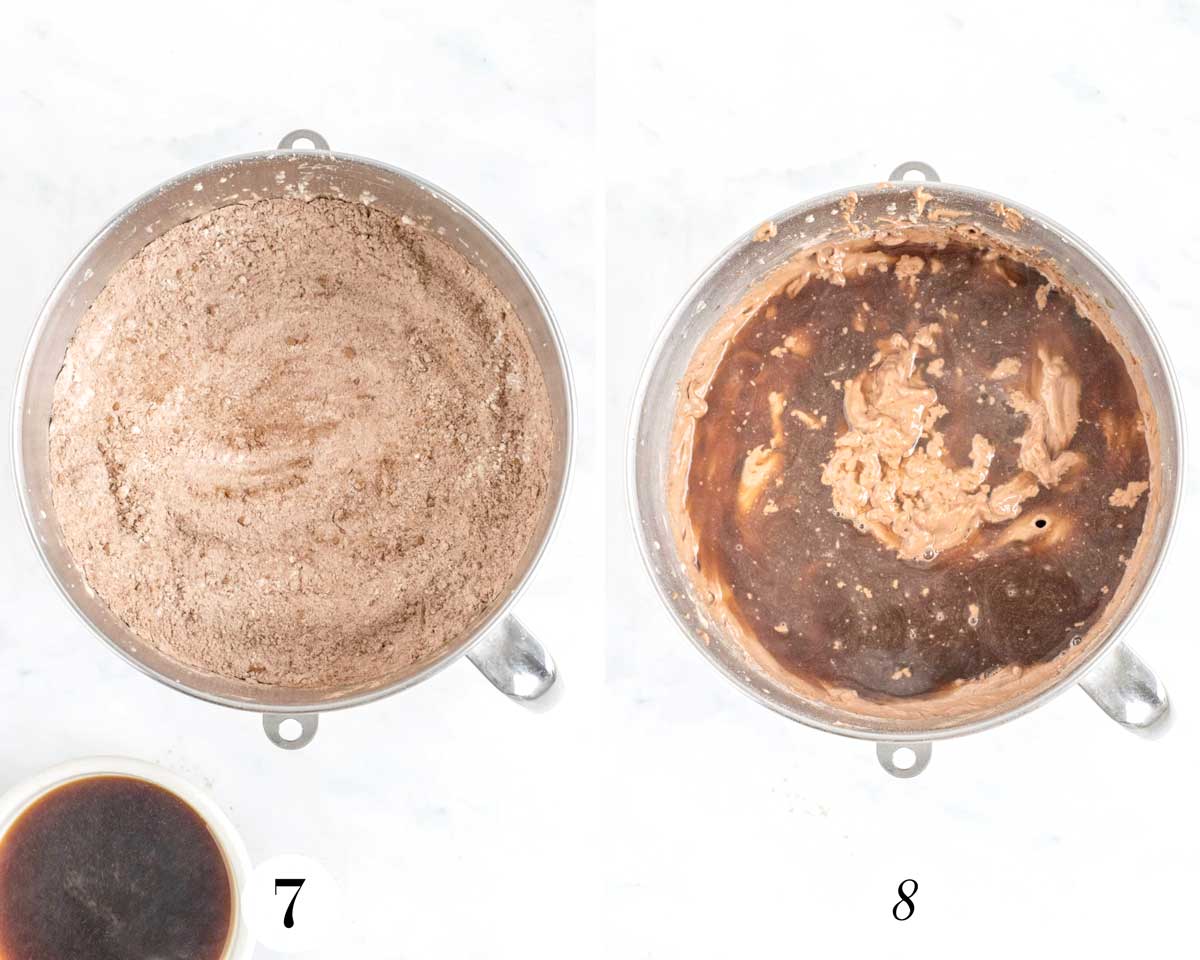
Step 7: Add in the combined dry ingredients and mix until just combined.
Step 8: While the mixer is running, mix in the hot coffee until just incorporated.
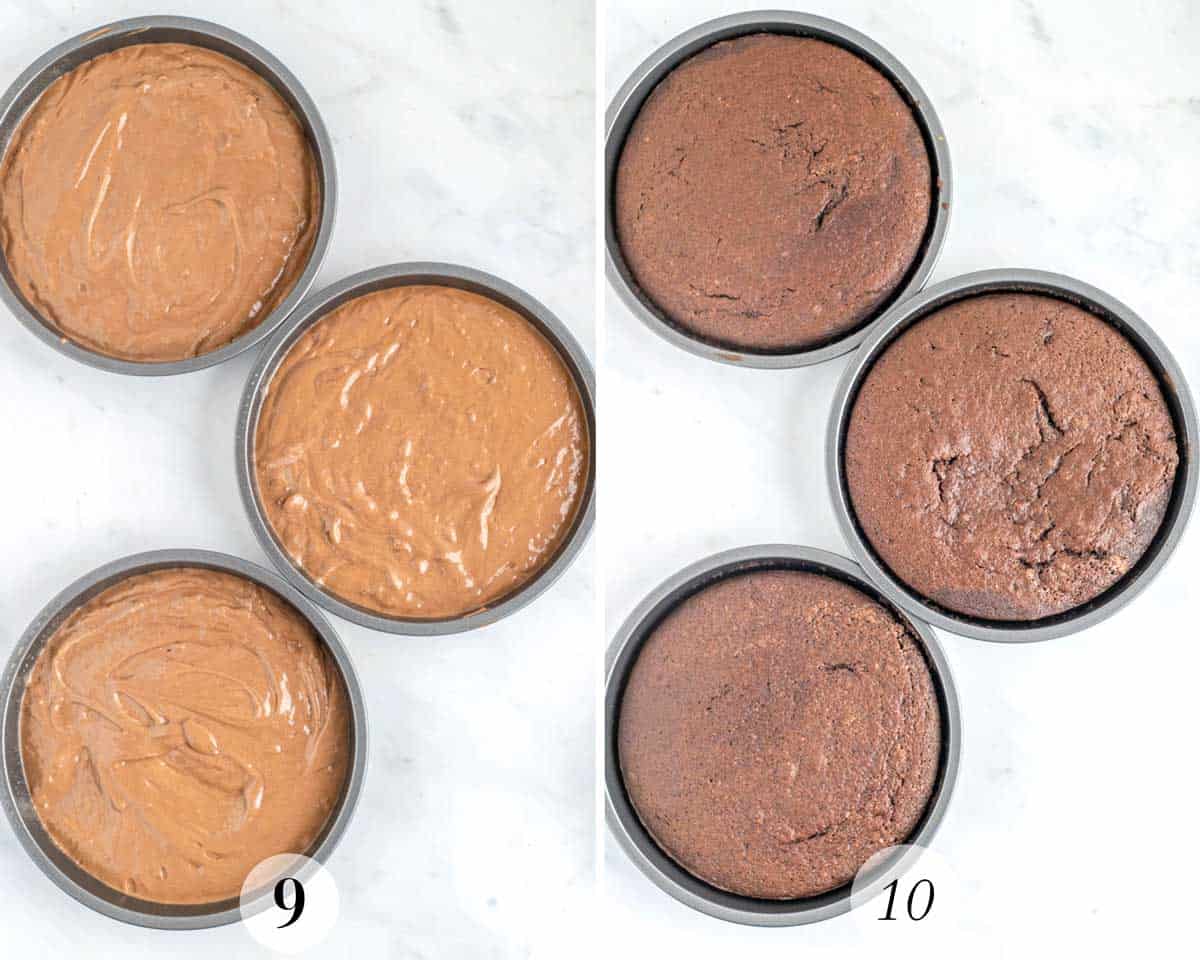
Step 9: Evenly divide the batter between the three prepared cake pans and place them into the oven on the center rack.
Step 10: Bake for 35 minutes or until a toothpick inserted into the center of the cake comes out clean or with a few moist crumbs. Once baked, remove the cakes from the oven and, leaving them in their tins, place them onto a wire cooling rack to let them completely cool.
Make the Peppermint Frosting
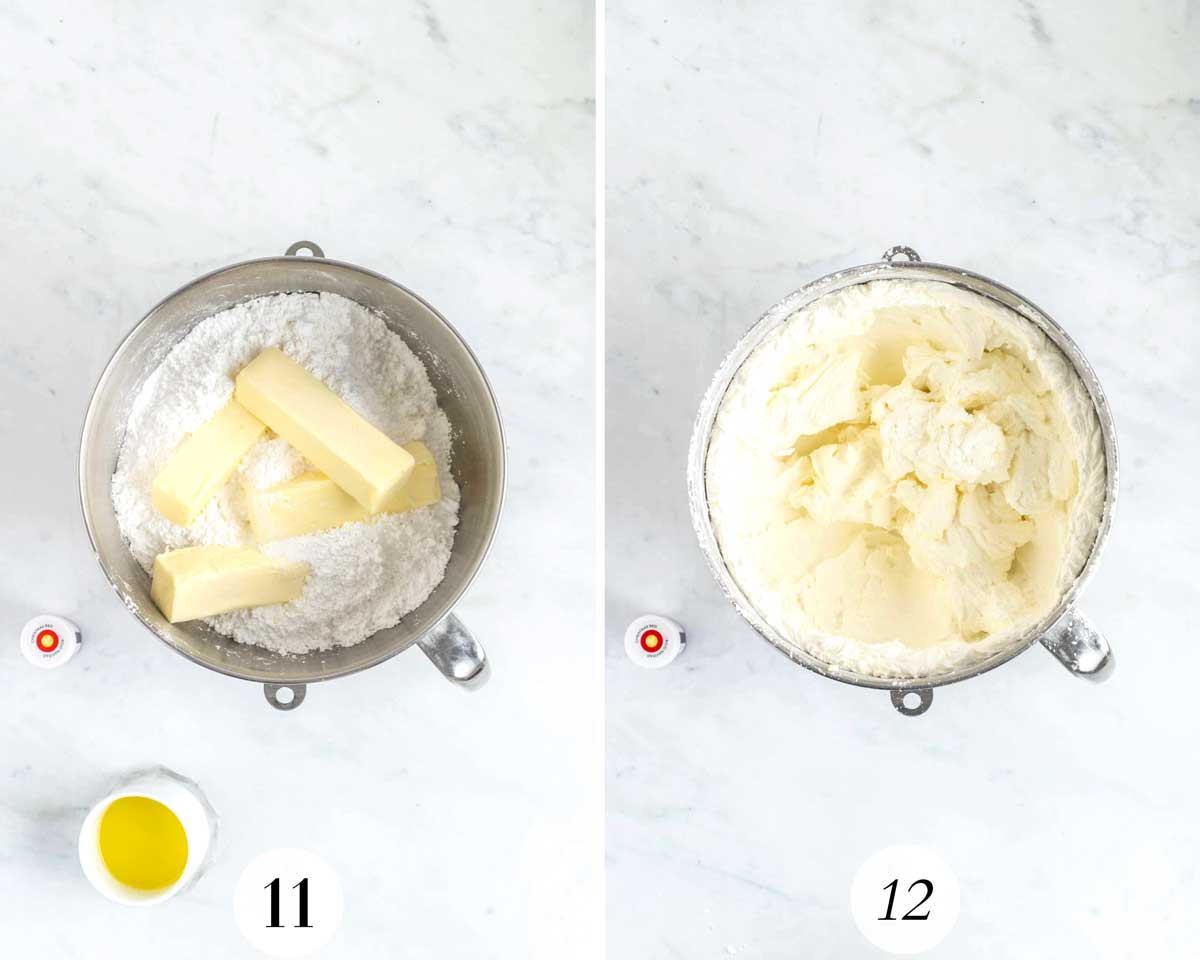
Step 11: In the bowl of a stand mixer fitted with a paddle attachment, combine powdered sugar, room-temperature butter, peppermint extract, and salt. Beat together at low speed for 1-2 minutes until the powdered sugar is incorporated.
Step 12: Increase the speed to medium and add the melted butter. Turn the mixer up to high speed and mix for 6 minutes until the frosting is white and fluffy.
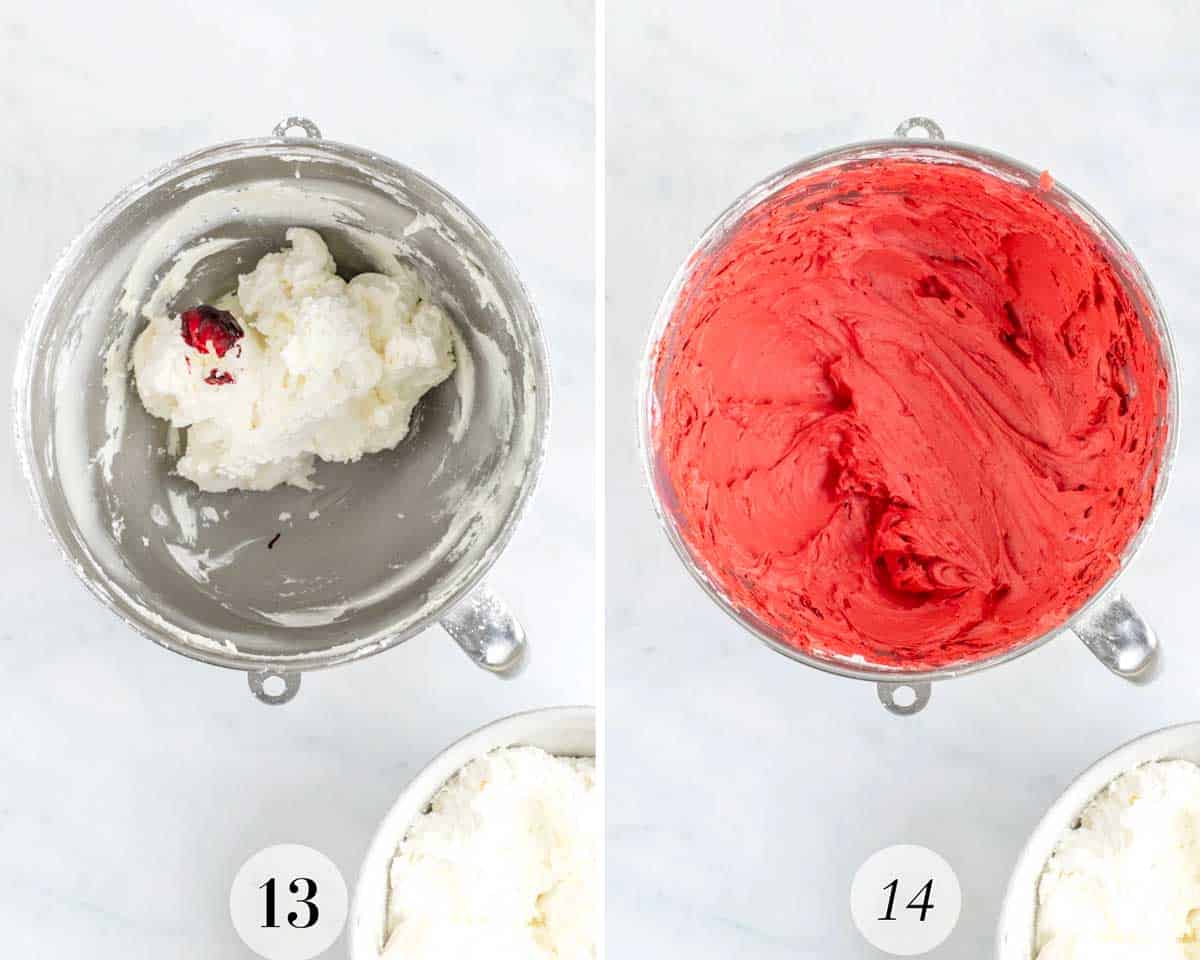
Step 13: Transfer the frosting into a separate bowl, leaving about 2 cups in the stand mixer bowl to make the decorative frosting.
Step 14: Add drops of red food coloring to the remaining frosting, mixing until the desired color is achieved.
Assemble the Cake
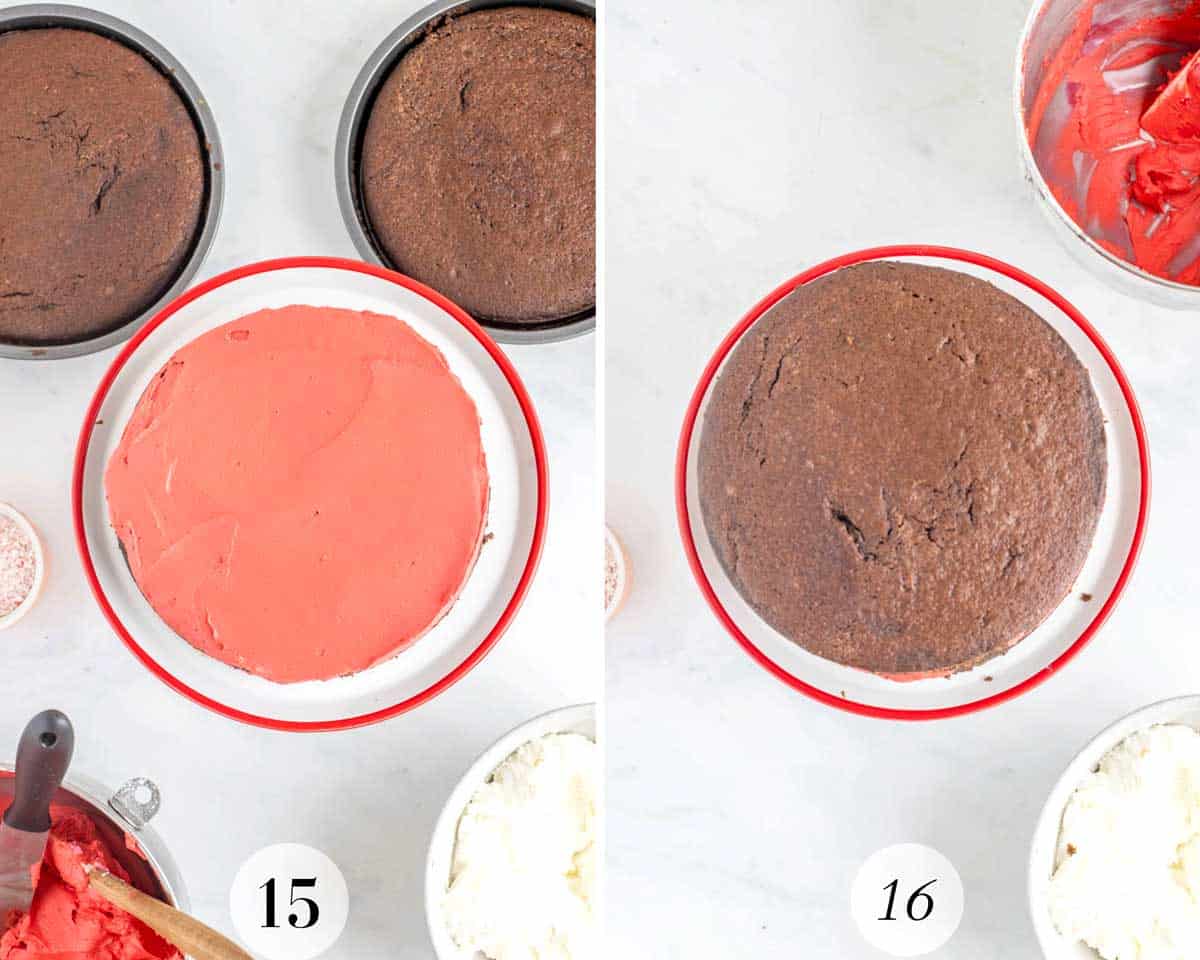
Step 15: Once the cakes have completely cooled, gently remove them from the cake pans. Place the first cake onto a plate or cake stand. Spread red frosting evenly on the cake with an icing spatula, leaving enough frosting for the next layer.
Step 16: Place the second cake on top and repeat the frosting process, ending with the third cake on top. Set aside any remaining red frosting for decoration.
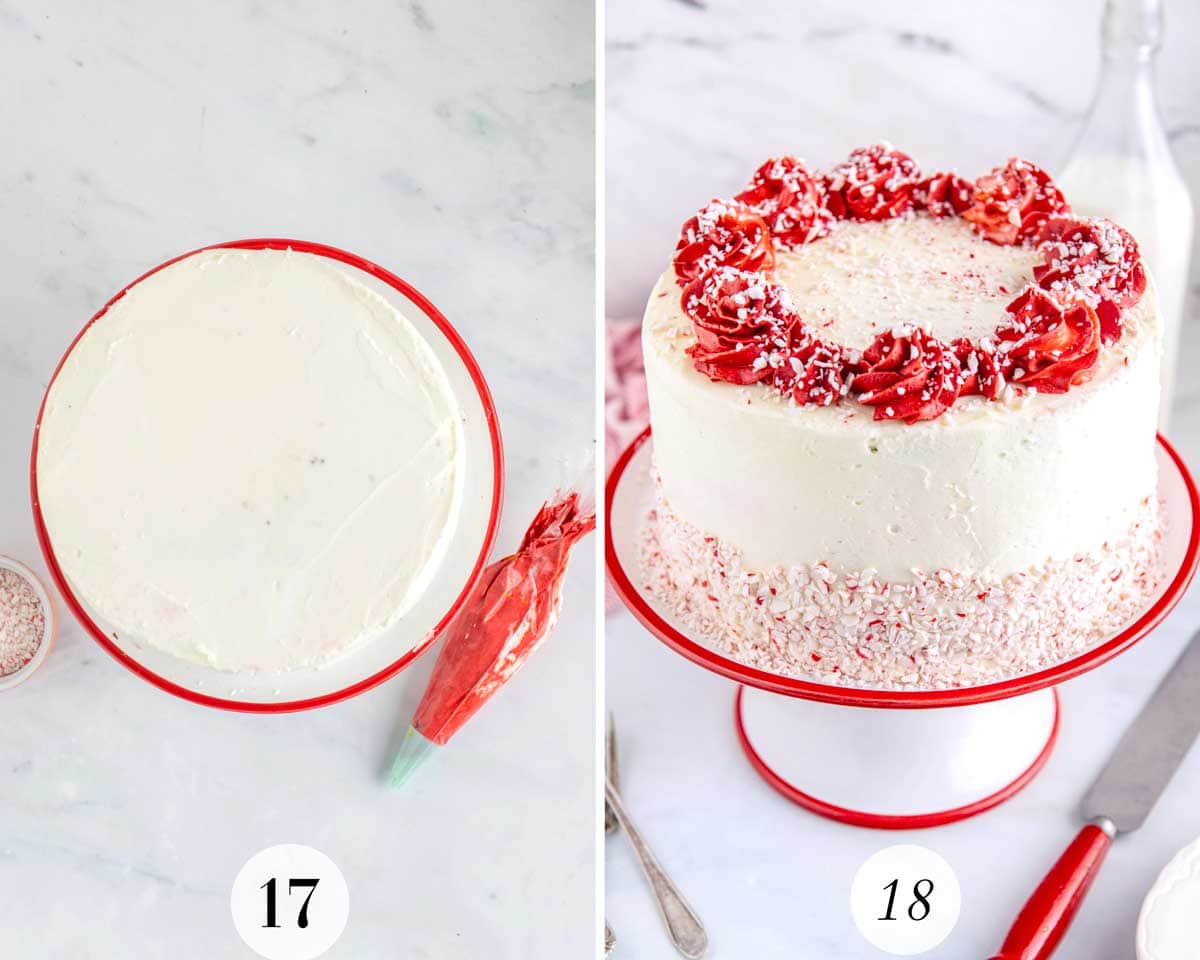
Step 17: Once all three cakes have been layered, use the white frosting to cover the top and sides of the cake for a crumb coating. Place the cake into the fridge for 20 minutes or until the base frosting is set.
Step 18: Once the base frosting is set, remove the cake from the fridge. Add another thin layer of white frosting to the top and sides of the cake, using an icing spatula for a smooth finish. Spoon the remaining frosting into a piping bag fitted with a star tip, and pipe swirls onto the top of the finished cake. You can use just red or a combination of red and white.
Press crushed candy canes into the sides of the cake and sprinkle on top if desired.
FAQs
Yes, you can bake the cake layers ahead of time. Allow them to cool completely, wrap them tightly in plastic wrap, and store them in the freezer for up to three months. Thaw at room temperature before frosting.
Place the peppermint candies in a resealable plastic bag and crush them using a rolling pin or the smooth side of a meat mallet.
It’s generally not recommended to freeze a fully frosted cake, especially if the frosting contains heavy cream or meringue, as they don’t freeze well and can lose their texture. Instead, freeze the cake layers and frost them after thawing.
Expert Tips
- Flour: Once the dry ingredients are added to the recipe, only mix until just combined. Overmixing can cause the gluten to overdevelop, resulting in a dense or crumbly cake.
- Room Temperature Ingredients: Ensure all ingredients are at room temperature before starting. This will ensure you achieve a smooth, uniform batter and frosting.
- Frosting: When mixing the frosting, regularly stop the mixer and scrape down the sides of the bowl with a rubber spatula. This will ensure a smooth, lump-free frosting. Also, ensure you whip the frosting for the designated time. It adds enough air to make it fluffy and smooth. Be sure to follow the times indicated for the best results.
- Storage: Store in an airtight container for up to 3 days.
Use Cake Strips
Cake strips are a great accessory for baking layer cakes. They help your cakes rise evenly while baking, resulting in a much more uniform cake with no high-rise centers or overcooked edges.
Related Recipes

Did you try this Chocolate Peppermint Cake?
Please leave me a ⭐ rating below and let me know in the comments how you enjoyed it.

Easy Chocolate Peppermint Cake
Ingredients
Chocolate Peppermint Cake
- 3 cups all purpose flour
- ⅔ cup cocoa
- 2 teaspoons baking powder
- 1 ½ teaspoons baking soda
- 1 teaspoon salt
- 2 cups sugar
- ½ cups salted butter - room temp
- ½ cup vegetable oil
- 3 eggs + 1 yolk
- 1 ⅓ cups buttermilk
- 1 ½ teaspoons peppermint extract
- 1 cup hot coffee
Peppermint Frosting
- 6 ½ cups powdered sugar
- 2 cups salted butter - room temp
- 1 ½ teaspoons peppermint extract
- ½ teaspoons salt
- 3 tablespoons butter - melted
- Red food coloring - optional
- Candy cane pieces for topping - optional
Instructions
Make the Peppermint Chocolate Cakes
- Preheat the oven to 350F
- Line the bottoms of 3×9” cake pans with parchment paper, lightly spray with baking spray, and set aside.
- Combine the flour, cocoa, baking powder, baking soda, and salt in a large bowl and set aside.
- Combine sugar, room-temperature butter, and vegetable oil in the bowl of a stand mixer fitted with a paddle attachment. Beat together at medium-high speed for 1 minute until smooth.
- Add the eggs and mix on medium speed for 30 seconds.
- Add the milk and peppermint extract and mix for another 30 seconds.
- Add in the combined dry ingredients and mix until just combined.
- While the mixer is running, mix in the hot coffee until just incorporated.
- Evenly divide the batter between the three prepared cake pans and place them into the oven on the center rack.
- Bake for 35 minutes or until a toothpick inserted into the center of the cake comes out clean or with a few moist crumbs. Once baked, remove the cakes from the oven and, leaving them in their tins, place them onto a wire cooling rack to let them completely cool.
Make the Peppermint Frosting
- In the bowl of a stand mixer fitted with a paddle attachment, combine powdered sugar, room-temperature butter, peppermint extract, and salt. Beat together at low speed for 1-2 minutes until the powdered sugar is incorporated.
- Increase the speed to medium and add the melted butter. Turn the mixer up to high speed and mix for 6 minutes until the frosting is white and fluffy.
- Transfer the frosting into a separate bowl, leaving about 2 cups in the stand mixer bowl to make the decorative frosting.
- Add drops of red food coloring to the remaining frosting, mixing until the desired color is achieved.
Assemble the Cake
- Once the cakes have completely cooled, gently remove them from the cake pans. Place the first cake onto a plate or cake stand. With an icing spatula, spread red frosting evenly on the cake, leaving enough frosting for the next layer.
- Place the second cake on top and repeat the frosting process, ending with the third cake on top. Set aside any remaining red frosting for decoration.
- Once all three cakes have been layered, use the white frosting to cover the top and sides of the cake for a crumb coating. Place the cake into the fridge for 20 minutes or until the base frosting is set.
- Once the base frosting is set, remove the cake from the fridge. Using an icing spatula, add another thin layer of white frosting to the top and sides of the cake for a smooth finish. Spoon the remaining frosting into a piping bag fitted with a star tip, and pipe swirls onto the top of the finished cake. You can use just red or a combination of red and white.
- Press crushed candy canes into the sides of the cake and sprinkle on top if desired.
Notes
- Salted Butter: This recipe uses salted butter, but you can use unsalted. If used in the cake batter, add 1⁄4 tsp of salt. If used in the frosting, add 1 tsp of salt.
- Vegetable Oil: You can use the oil you choose, such as olive or canola.
- Buttermilk: Buttermilk can be made by simply removing 1 tablespoon + 1 teaspoon of milk and replacing it with 1 tablespoon + 1 teaspoon. Whisk together and leave to sit for 5 minutes before adding it to the recipe.
- Hot Coffee: Coffee enhances the richness and chocolate flavor of the cake. It does not add coffee flavor. Hot water may be used instead.
- Flour: When mixing in the dry ingredients, only mix until just combined. Overmixing can cause the gluten to overdevelop, resulting in a dense or crumbly cake.
- Room-Temperature Ingredients: Ensure all ingredients are at room temperature before starting. This will ensure a smooth, uniform batter and frosting.
- Frosting: Ensure you whip the frosting for the designated time. It adds enough air to make it fluffy and smooth. Be sure to follow the times indicated for the best results.
- Storage: Store in an airtight container for up to 3 days.


Leave a Reply