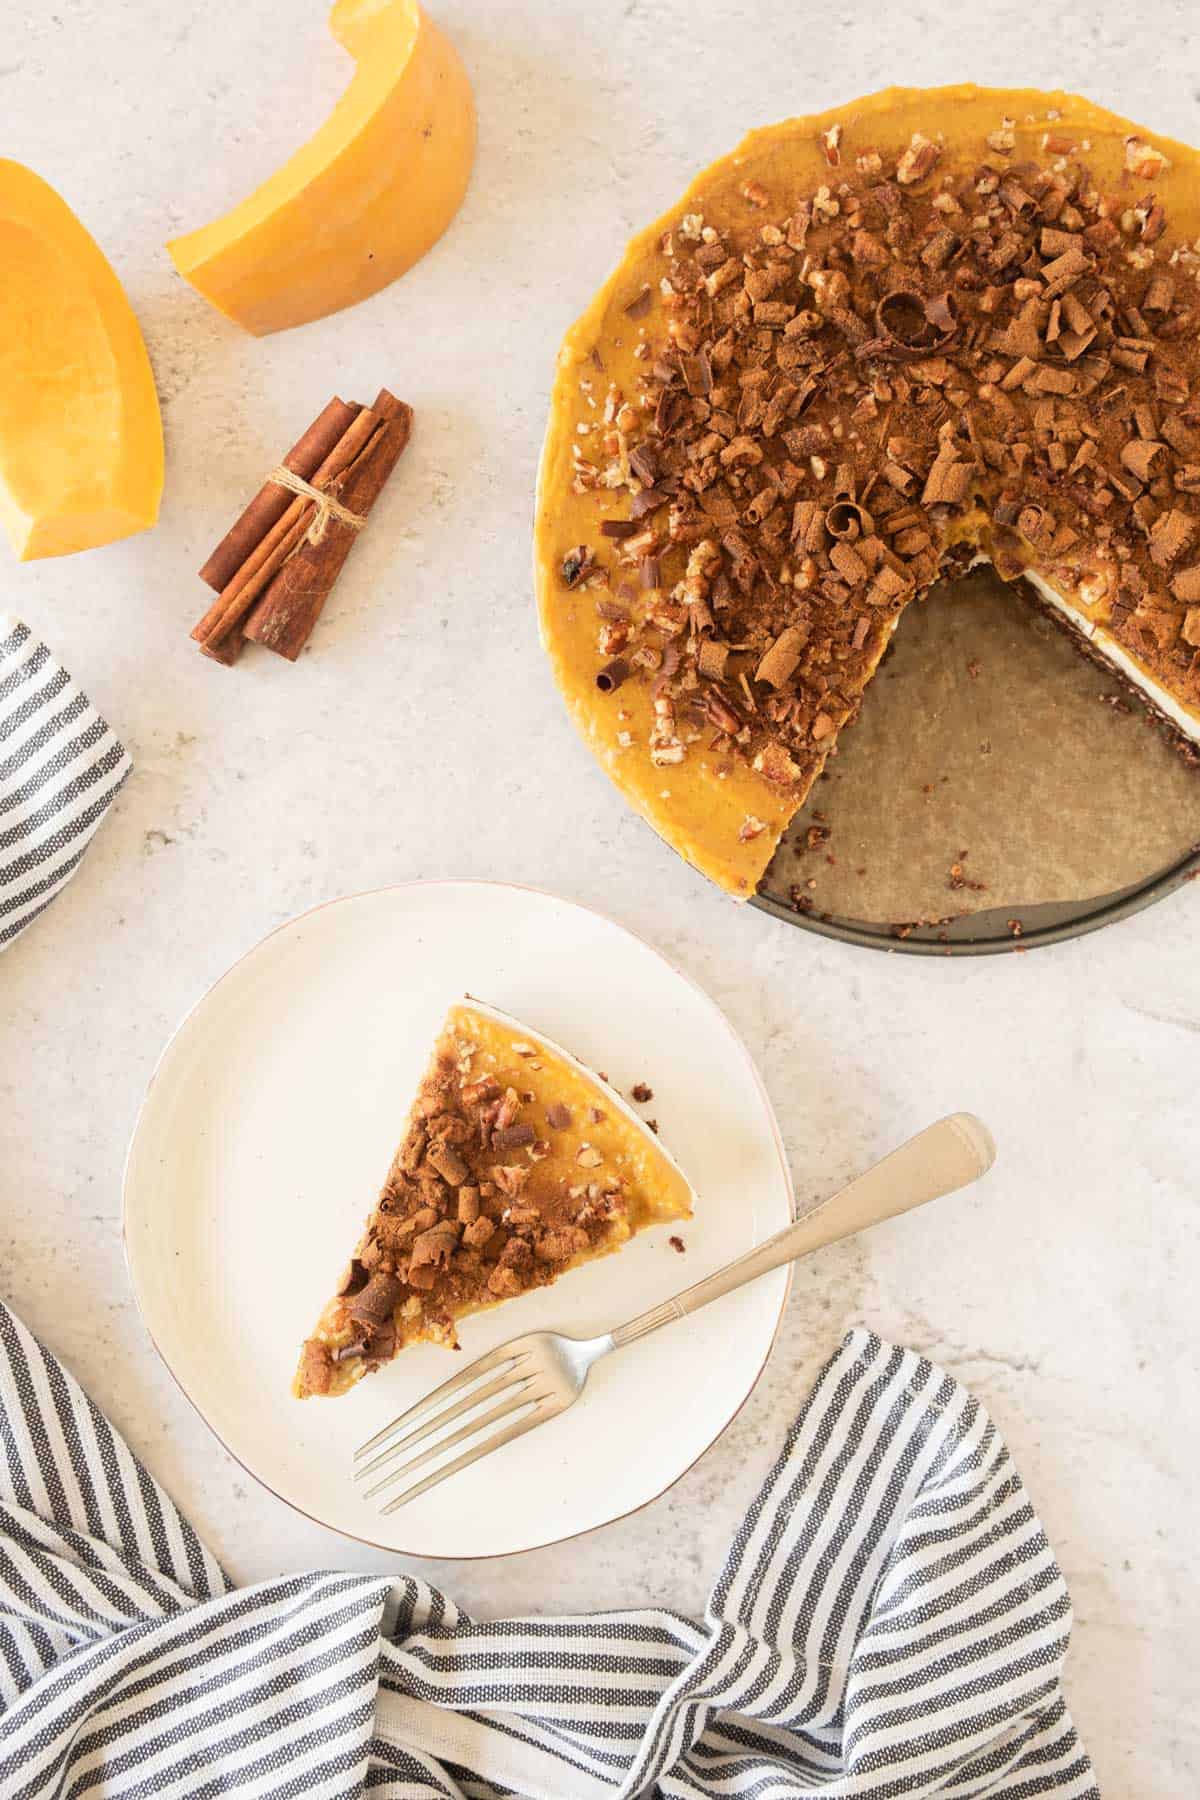
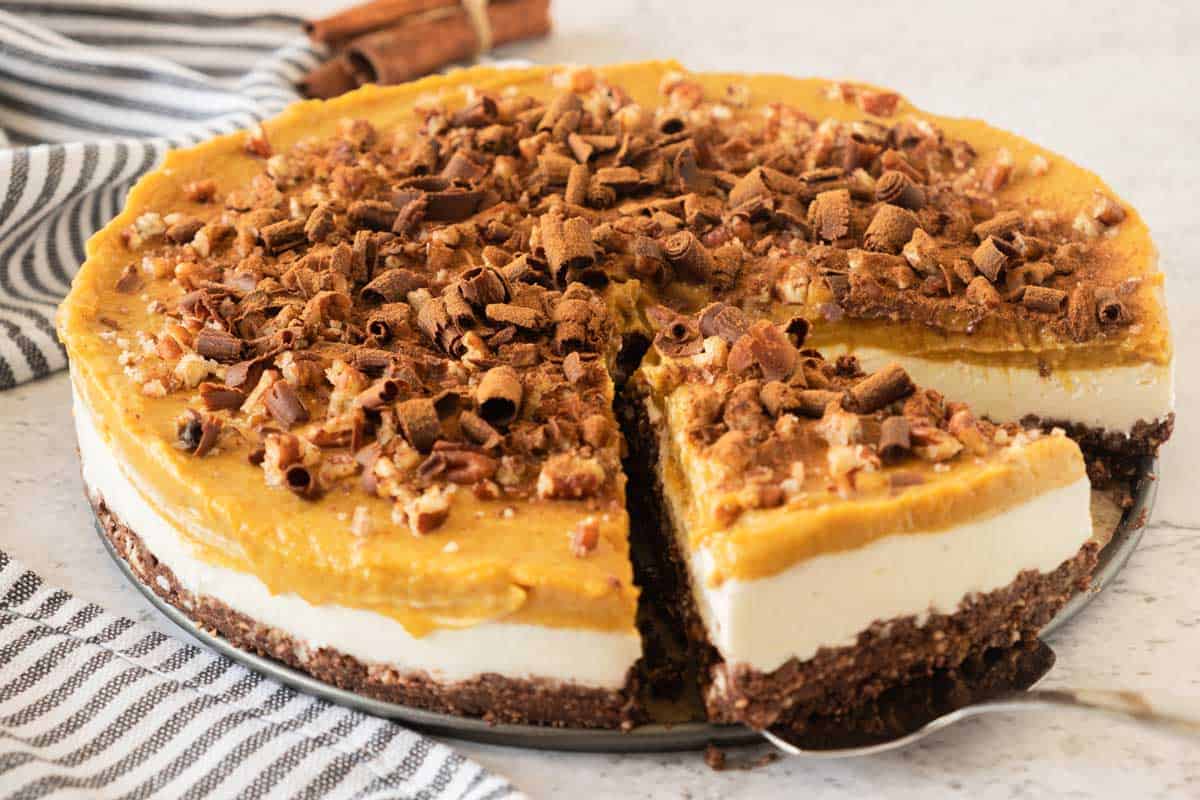
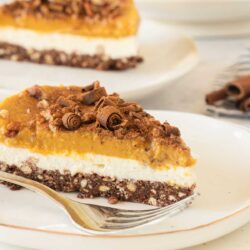
Indulge in the flavors of fall with this heavenly No-Bake Pumpkin Cheesecake recipe. This delicious dessert offers all the creamy richness of traditional cheesecake without the fuss of baking.
I love an easy no-bake dessert, and this pumpkin-spiced slice of heaven is perfect for any occasion.
Jump to:
Why You’ll Love This Recipe
- Texture: crunchy crust, light & creamy layered cheesecake filling.
- All the Flavors of Fall: It’s a fantastic Fall Picnic Dessert Idea with pumpkin, spice, and all things nice, including a crunchy pecan and chocolate topping. It’s also a great dessert for a Halloween-themed picnic menu.
- Flavorful Crust: The cheesecake crust is made with your favorite plain biscuits, butter, and cocoa powder, adding a delightful chocolatey twist to the classic graham cracker crust.
- Easy to Make: With a no-fuss 30-minute prep time, it’s the perfect cheesecake recipe for beginners or if you are short on time.
- Make Ahead: Prepare it beforehand and refrigerate for 2-3 hours or overnight to let the flavors meld and set for a perfect dessert.
- Serving Size: This no-bake pumpkin cheesecake recipe serves 12, making it perfect for large picnics and parties. It can also be easily adjusted for smaller or individual cheesecakes.
Ingredient Notes
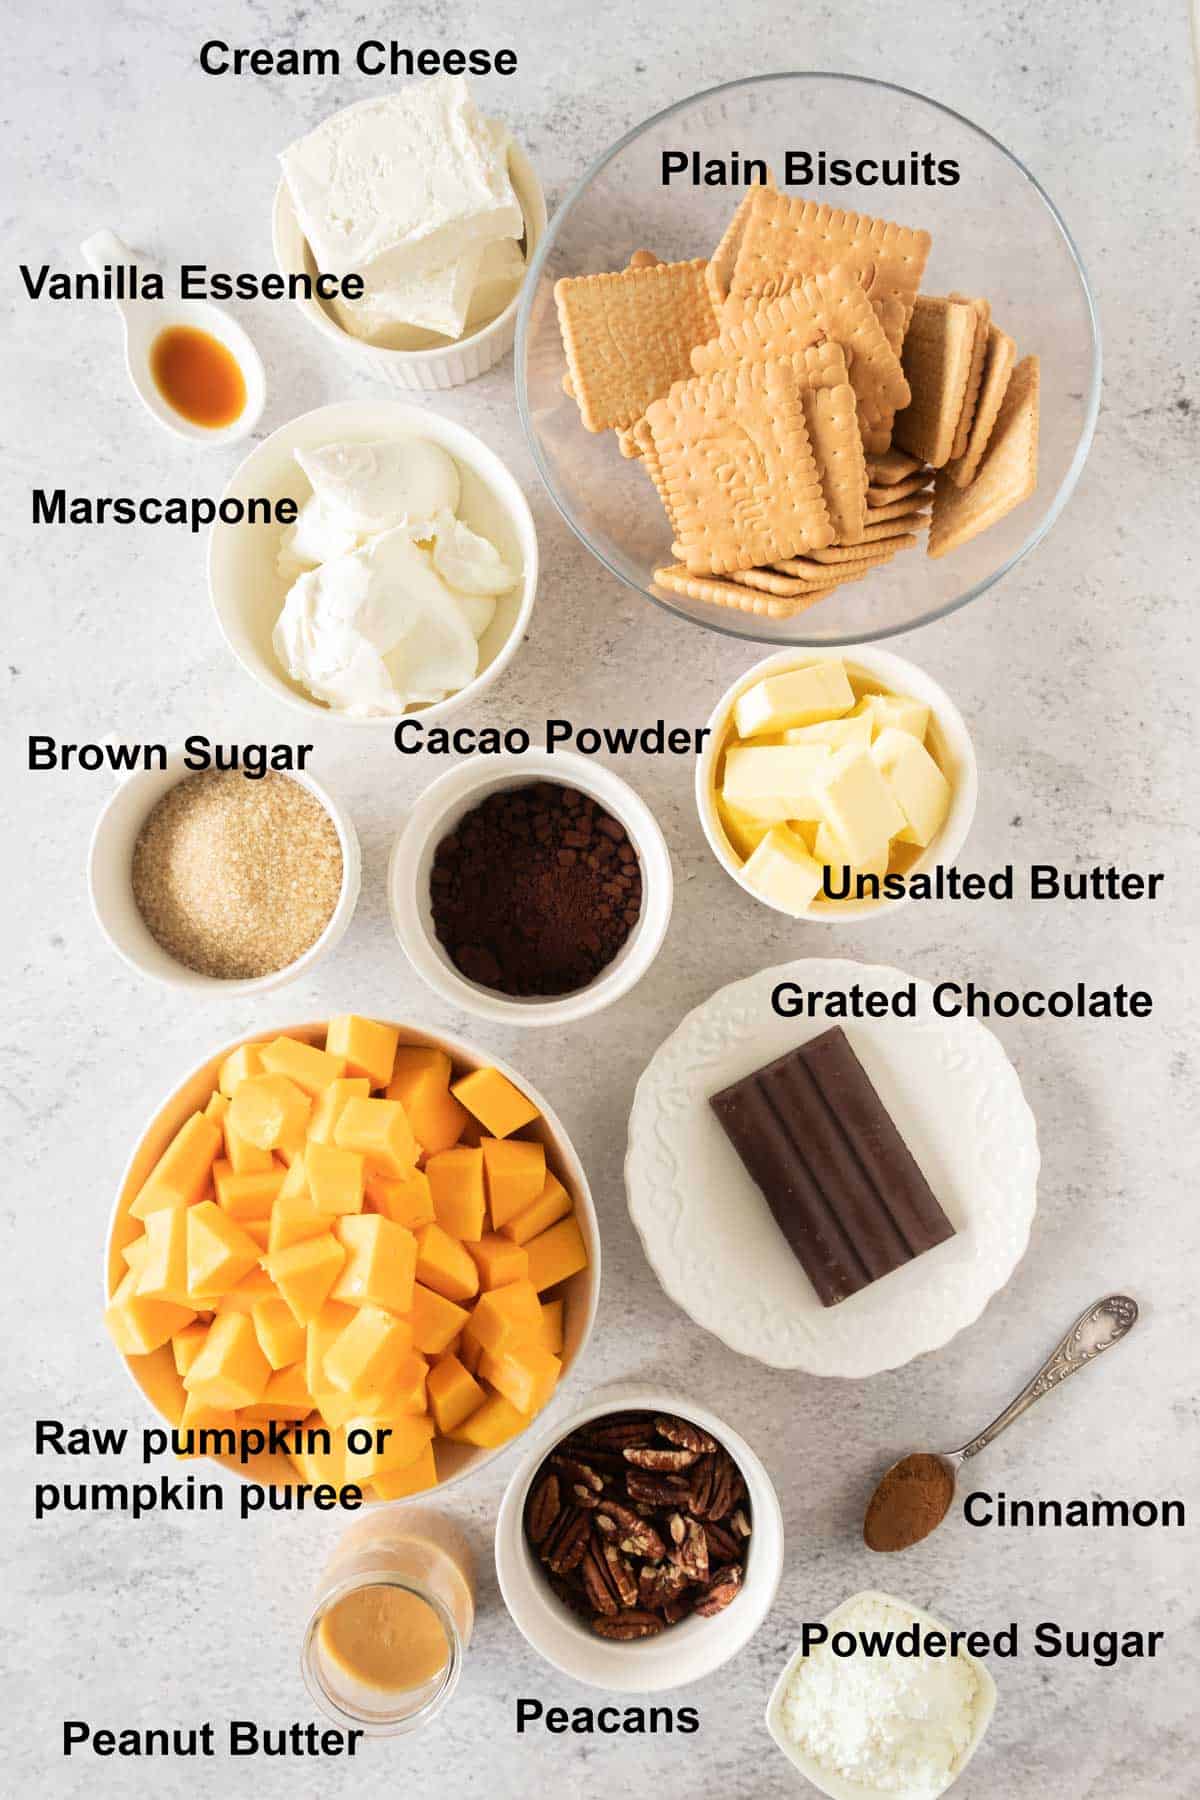
Notes
- Pumpkin Puree: You can use fresh pumpkin for this recipe or 3 cans of pumpkin puree. Do not use pumpkin pie filling, as it is already pre-spiced and sweetened.
- Biscuits: You can use any plain biscuit for this recipe. You can use gluten-free biscuits or cookies to make a gluten-free crust.
- Peanut Butter: If you have allergies or prefer a different flavor, you can replace peanut butter with almond butter, sunflower seed butter, or even tahini for a different twist.
- Marscapone: If you can’t find mascarpone, you can substitute an equal amount of cream cheese. It will result in a slightly different flavor but will still be delicious.
See my recipe card below for a complete list of the ingredients with measurements and notes.
Recipe Variations
Pumpkin Puree: I mentioned you can use fresh pumpkin or tinned puree for this recipe. You can also sub for a sweet potato puree – fresh or tinned. For fresh sweet potato, boil or steam as you would pumpkin.
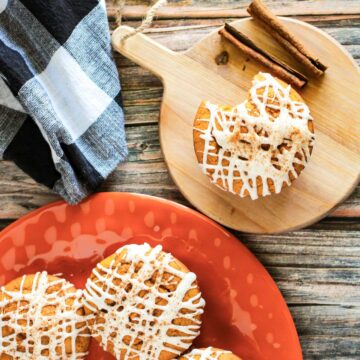
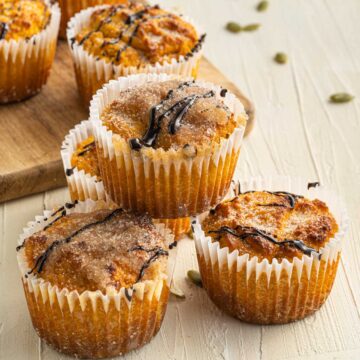
Topping: I use chopped pecans or walnuts with rough-grated chocolate to top this layered pumpkin cheesecake. Feel free to get creative with the toppings. Consider drizzling caramel sauce, adding whipped cream, or using different nuts and spices for a unique twist. The cream cheese glaze on my Jumbo Pumpkin Spice Muffins works well with this cheesecake.
Chocolate Crust: If you prefer a plain crust, leave out the cacao powder and replace it with a little extra crushed biscuit to ensure the crust is firm enough.
Smaller Version: You can adjust the quantities to make a smaller cheesecake. Simply halve the ingredient measurements and use a smaller tin.
Individual Cheesecakes: You can also make individual cheesecakes with the full recipe – divide the mix into mini cheesecake pots and set in the fridge as normal. This dessert idea is great for kids’ picnics or birthday picnic celebrations.
How to Make
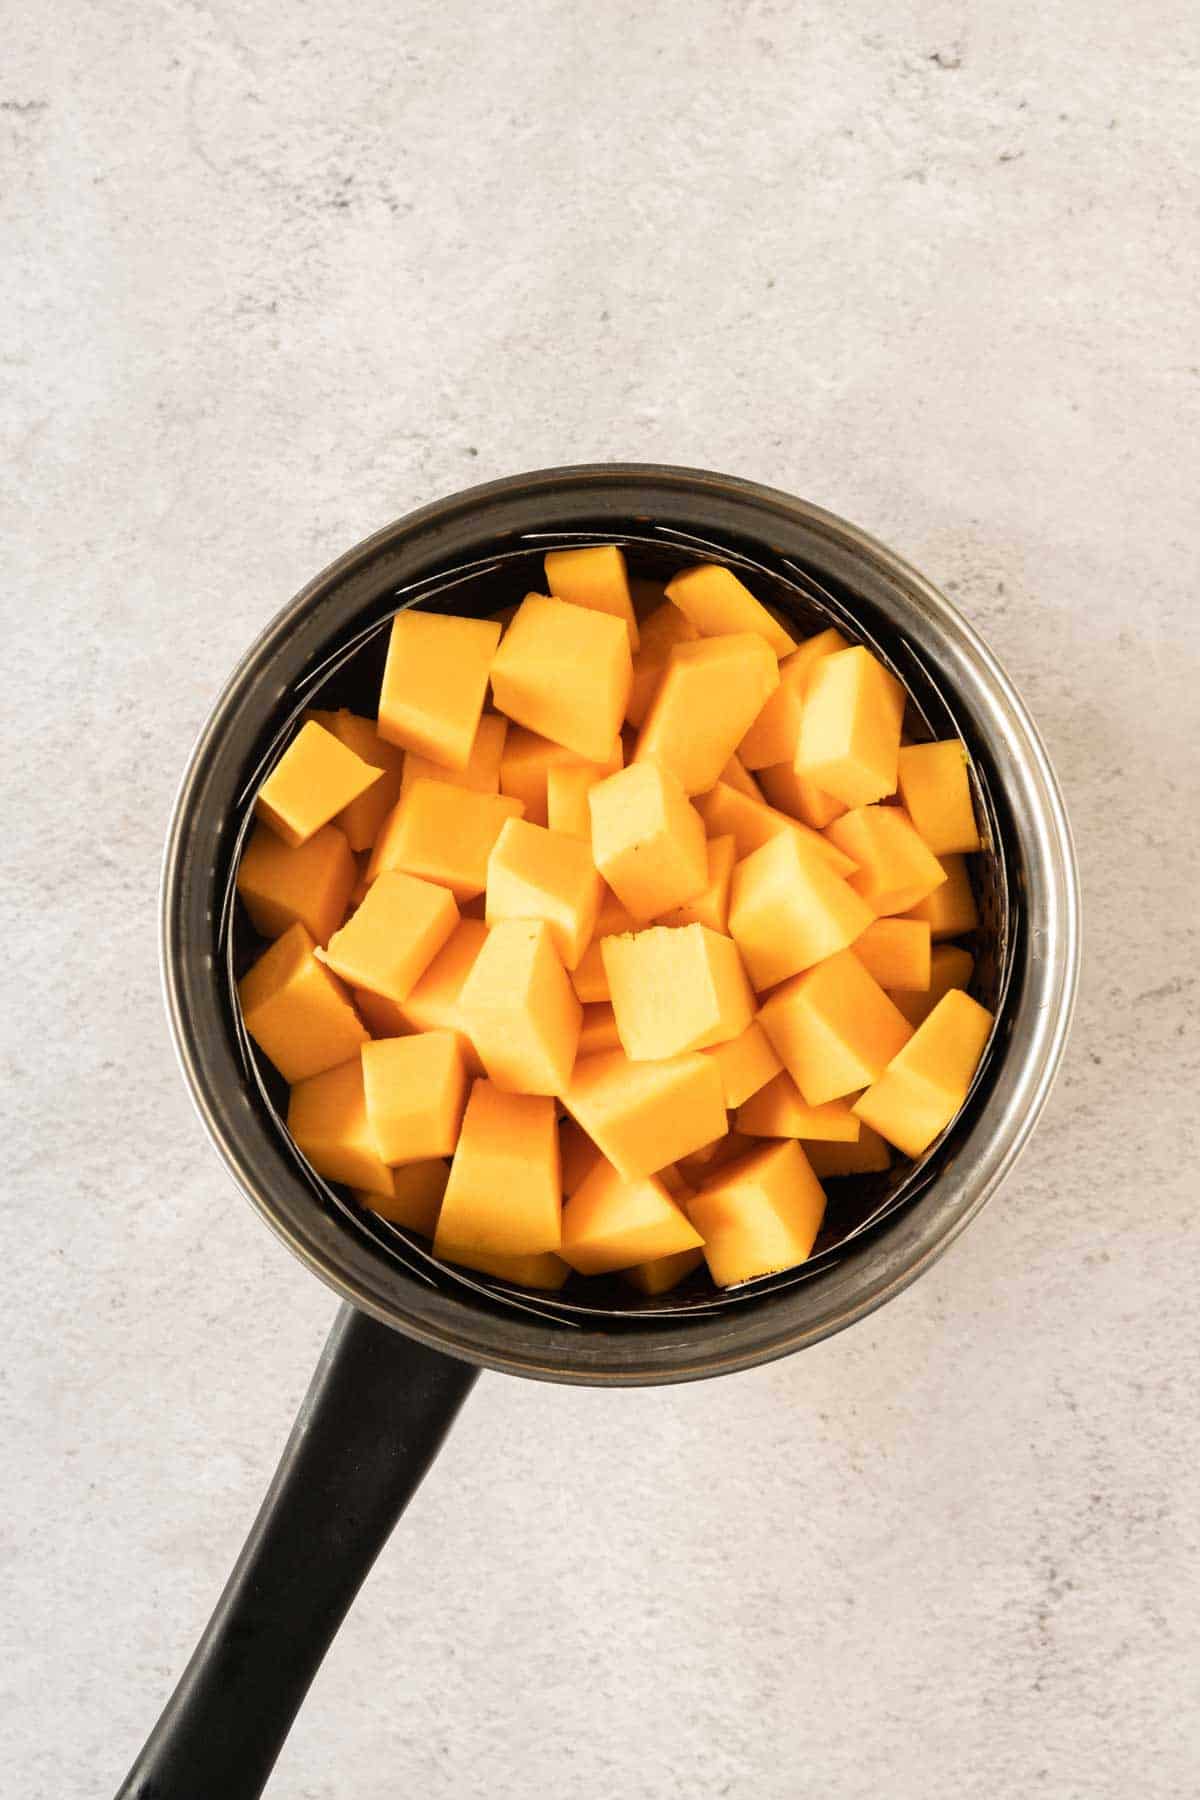
Step 1: Peel the pumpkin and cut it into small pieces. Place it in a pot with water and a steam rack and cook until tender. If you choose to use canned pumpkin puree, skip this step.
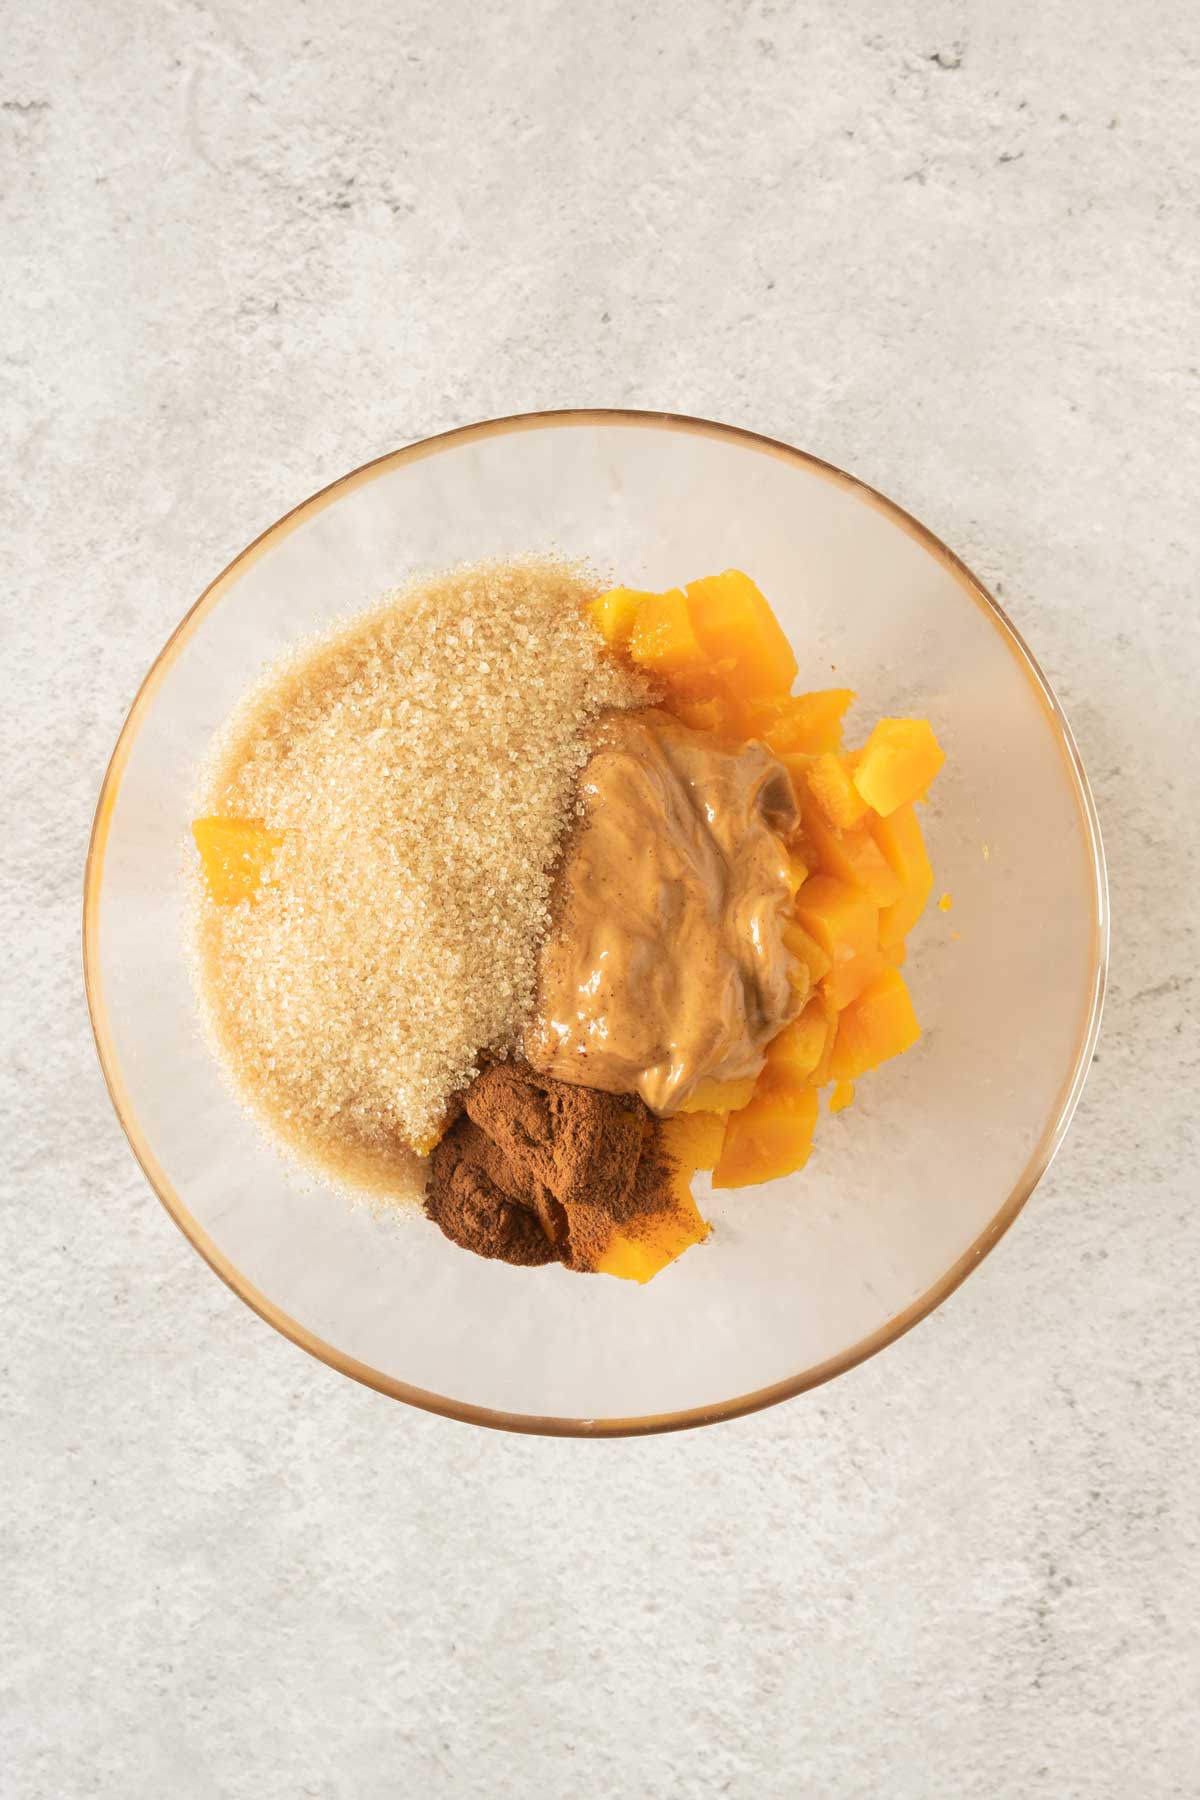
Step 2: Add the cooked pumpkin, peanut butter, brown sugar, and cinnamon to a bowl or food processor.
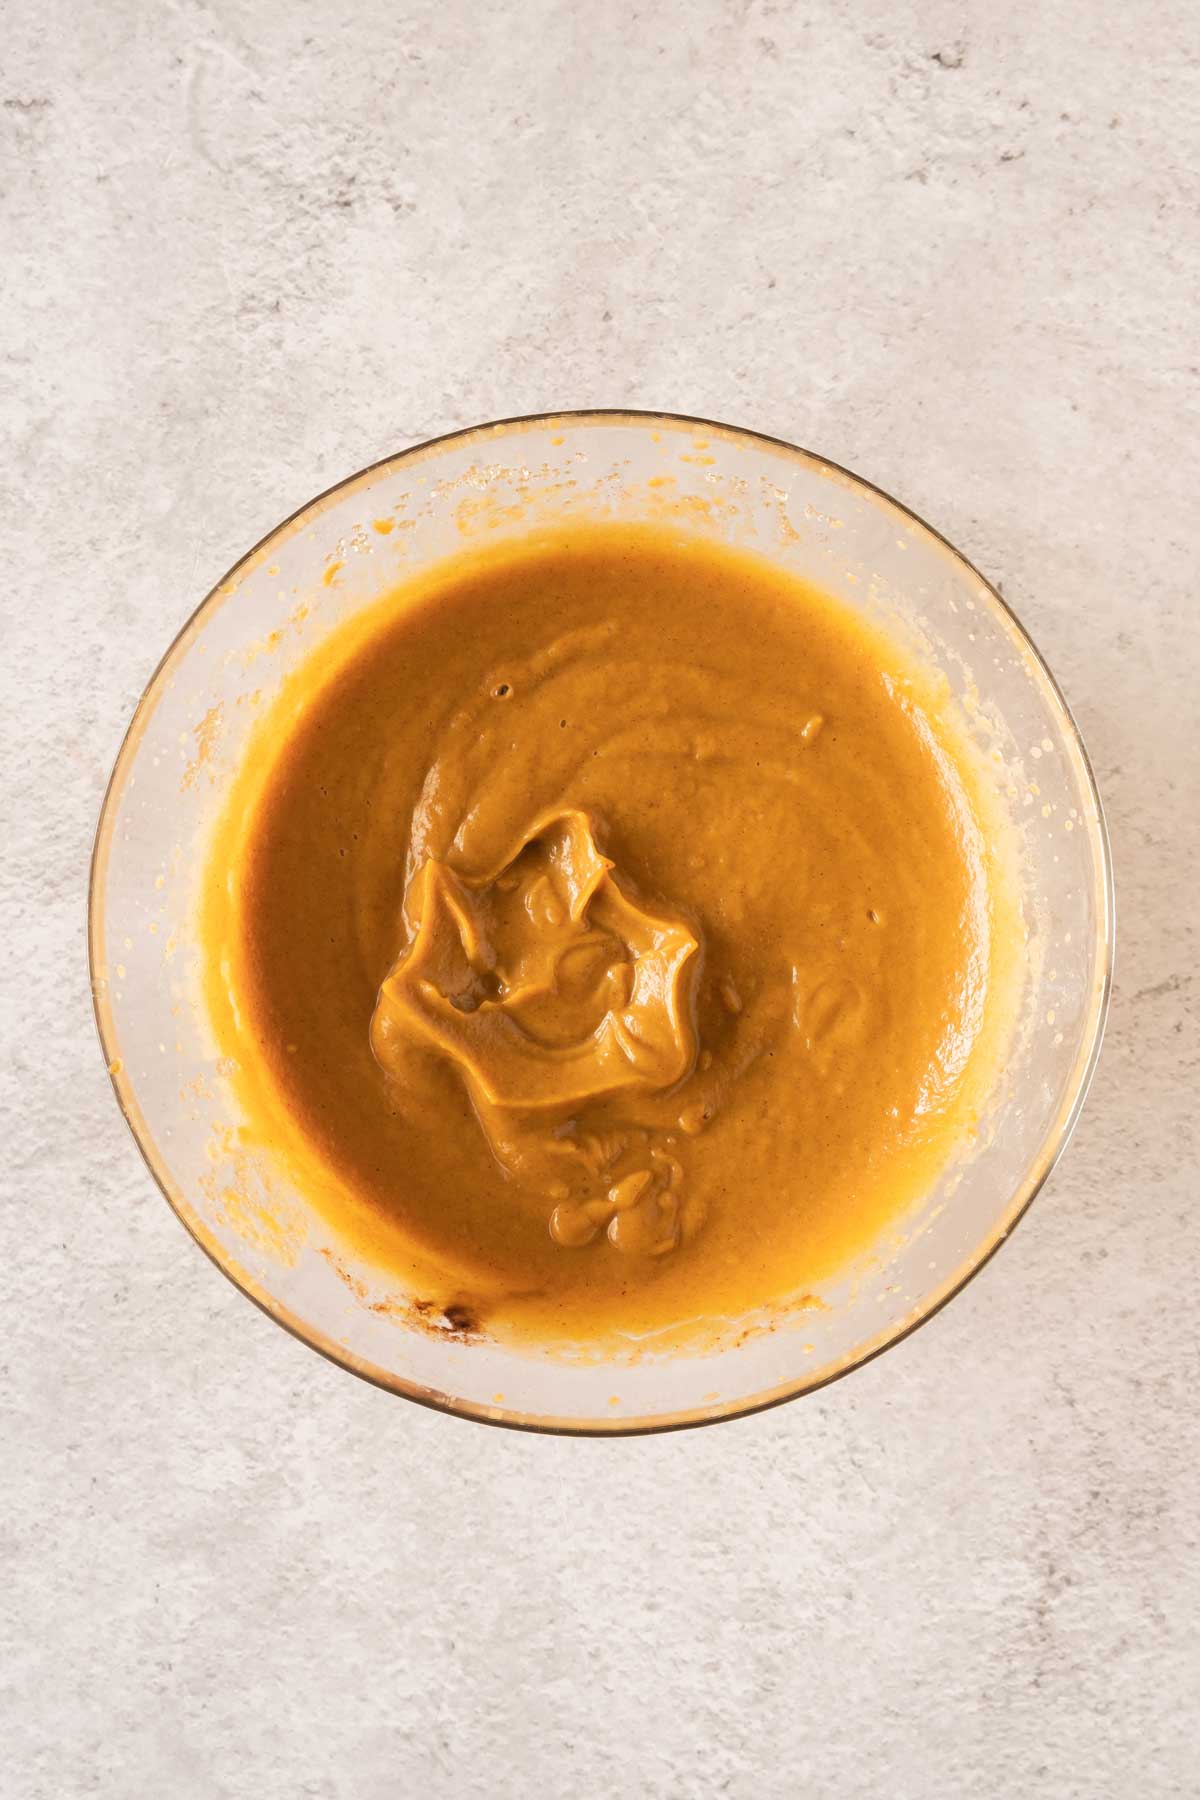
Step 3: Puree the ingredients until you have a soft and fluffy cream. Set aside to completely cool.
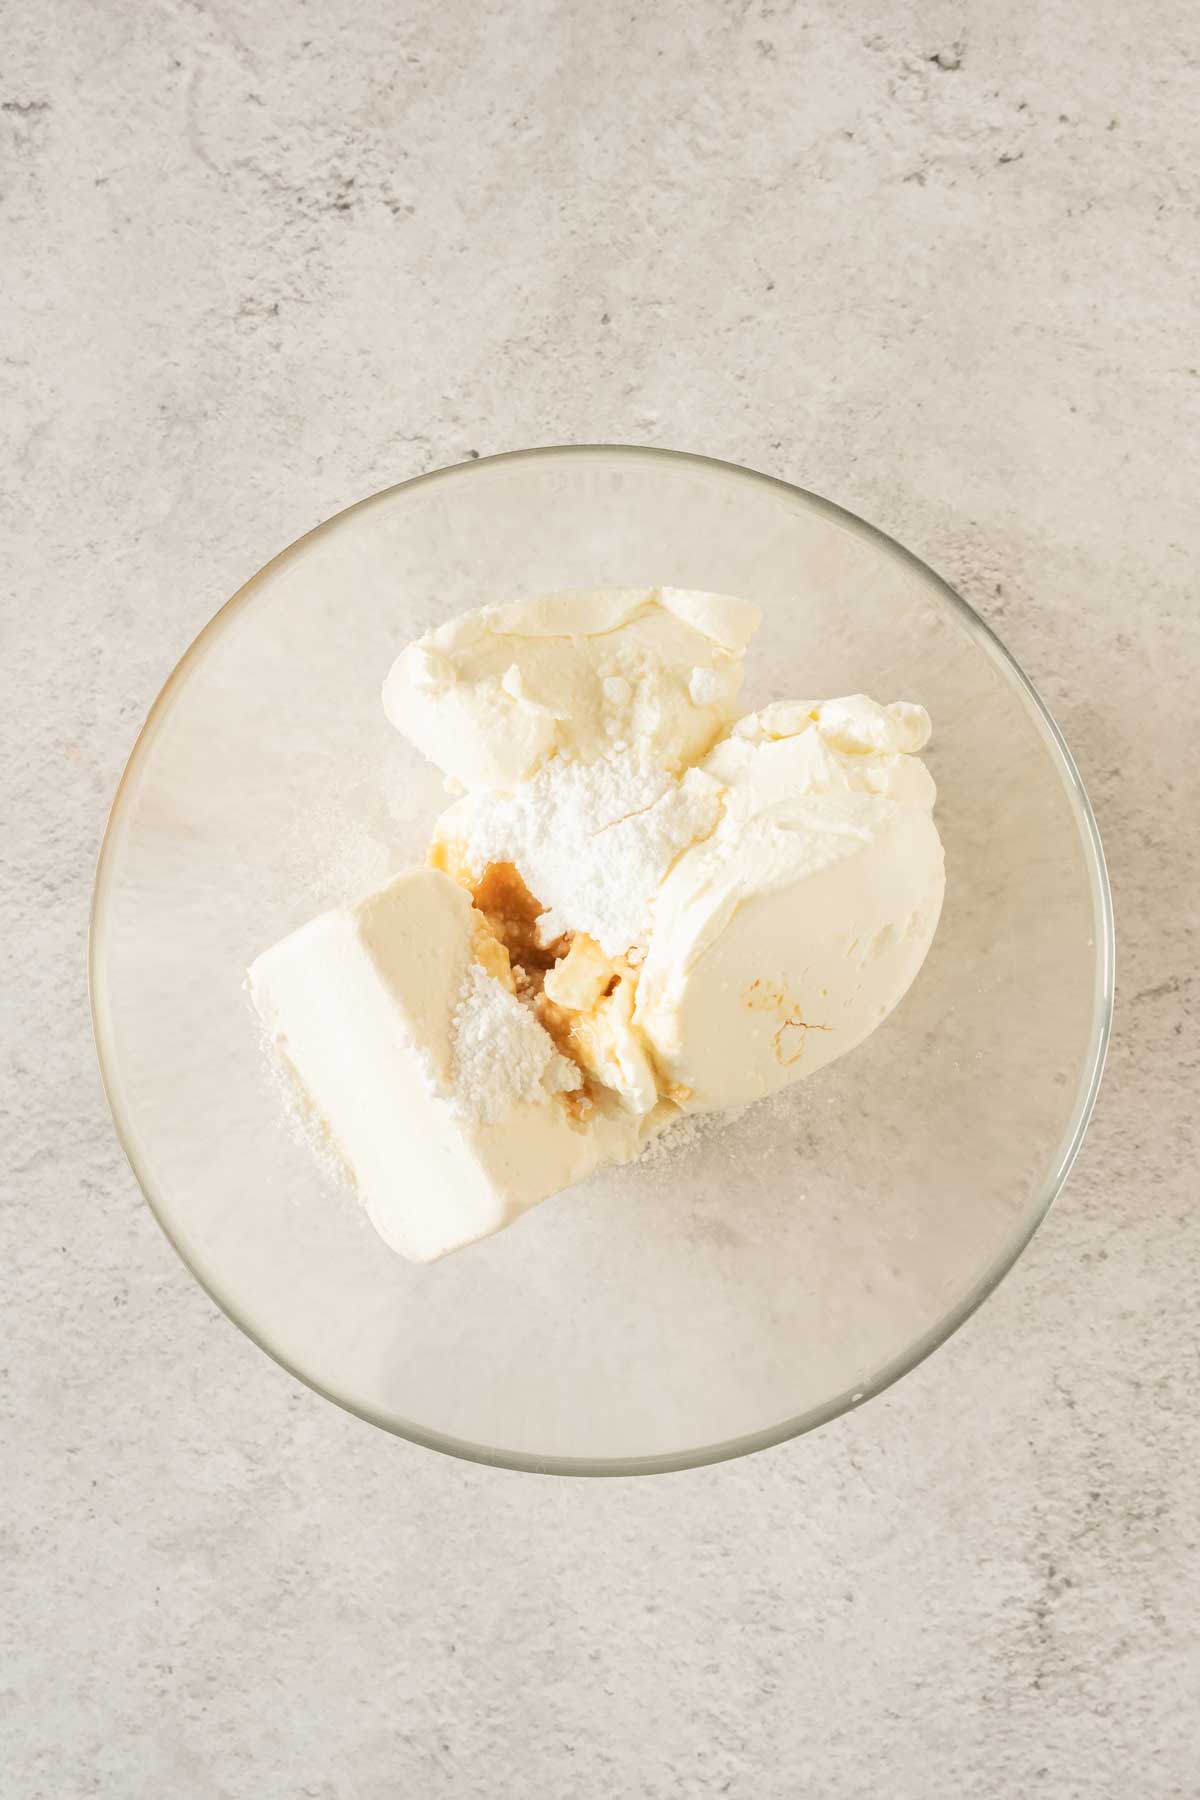
Step 4: In a bowl, mix together all ingredients for the cream cheese layer (cream cheese, sugar, vanilla, and mascarpone). Stir well until the ingredients are combined. Set aside.
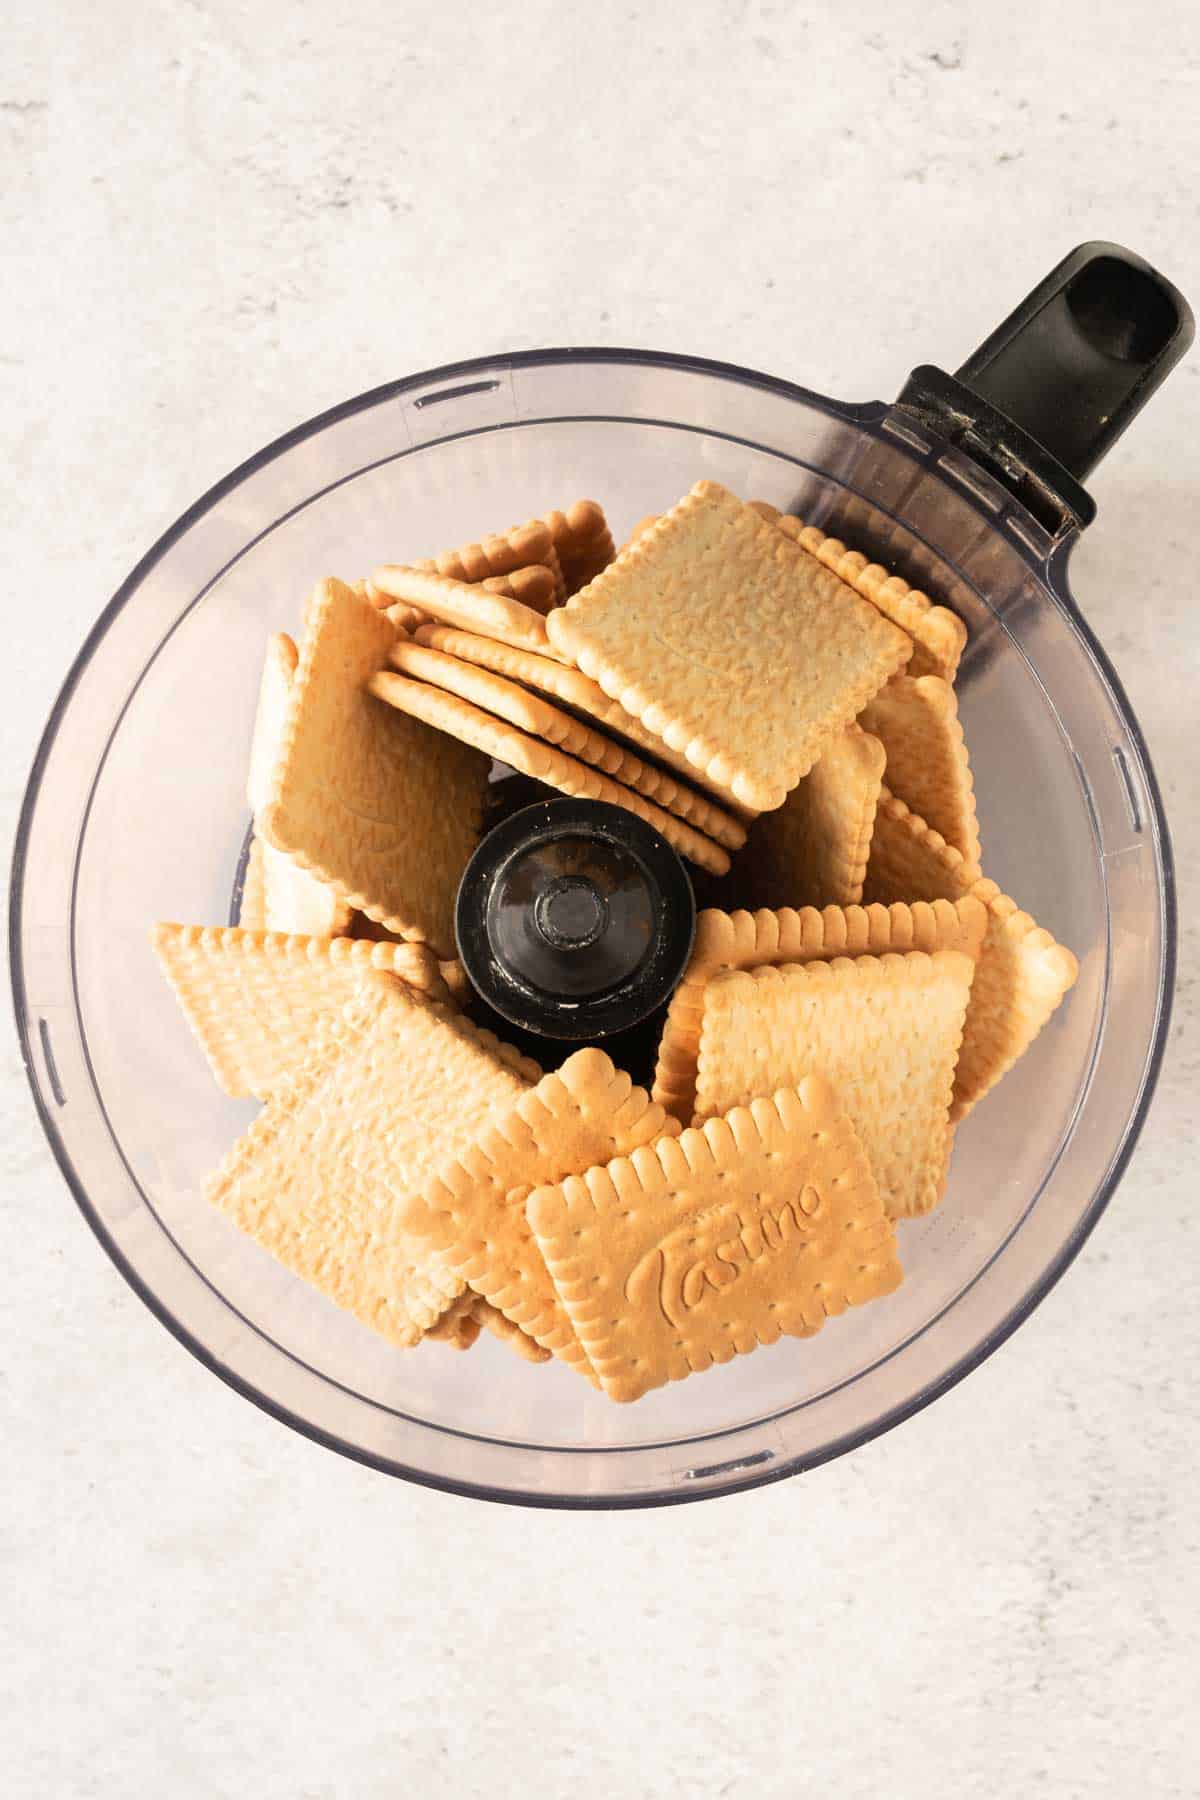
Step 5: Add the biscuits to a food processor and blend until crushed evenly.
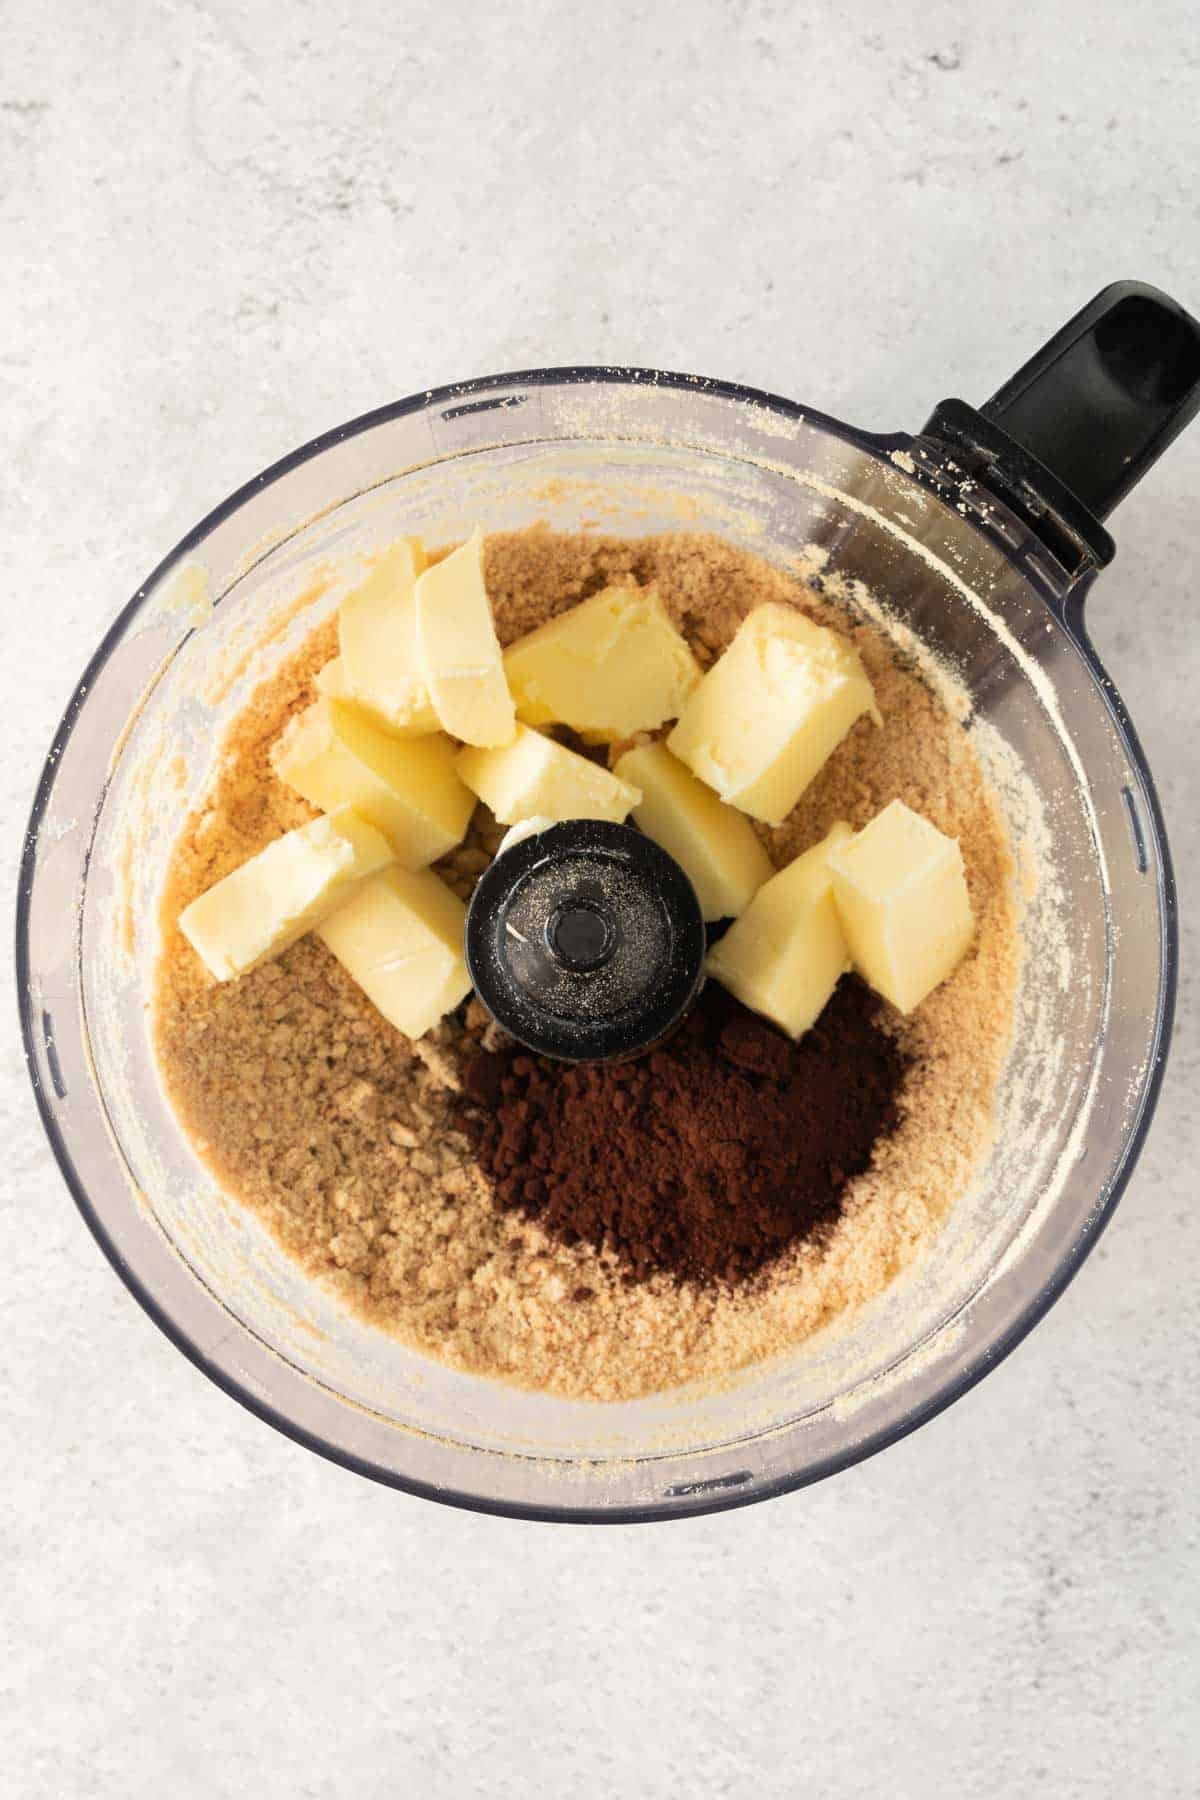
Step 6: Add the cacao powder and butter, and blend for 1 minute or until well combined.
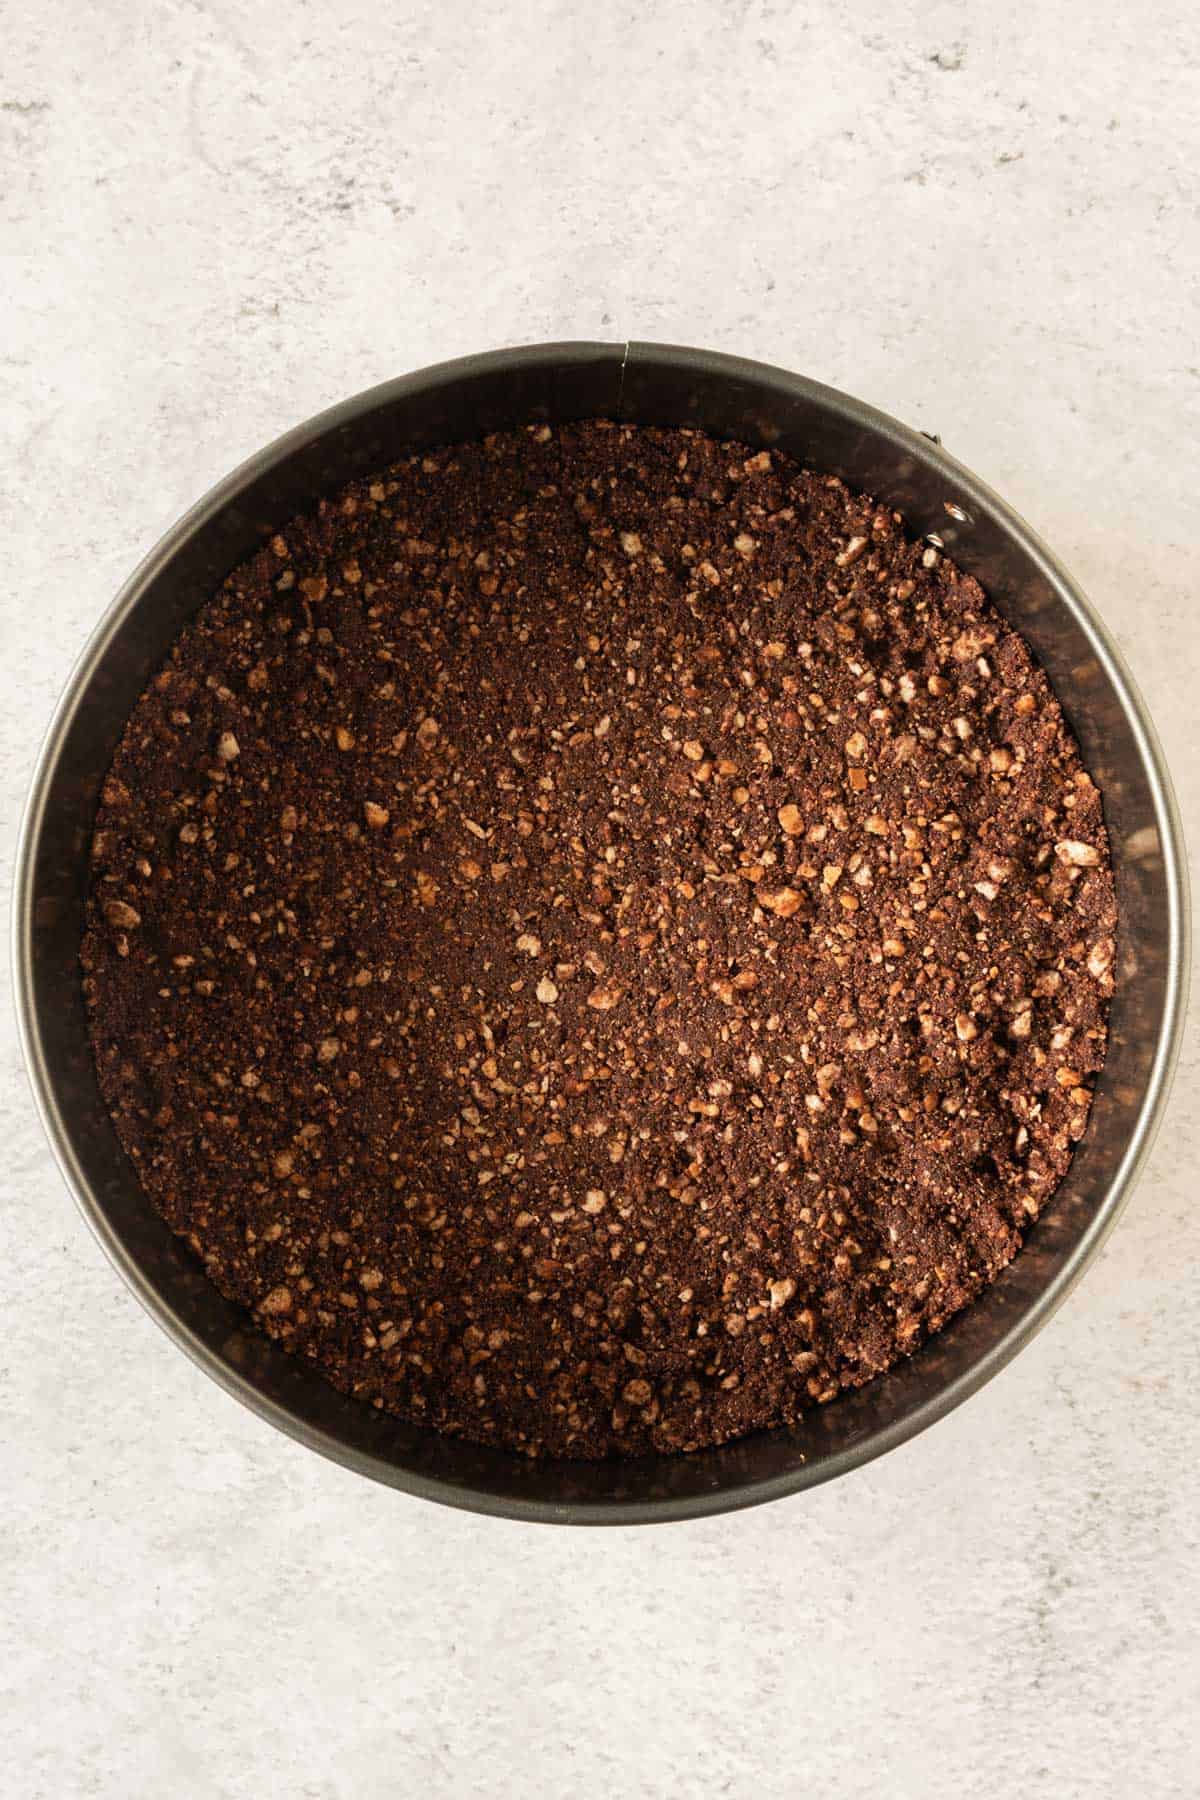
Step 7: Spread the biscuit mix into a spring-form tin and press firmly down with your hands.
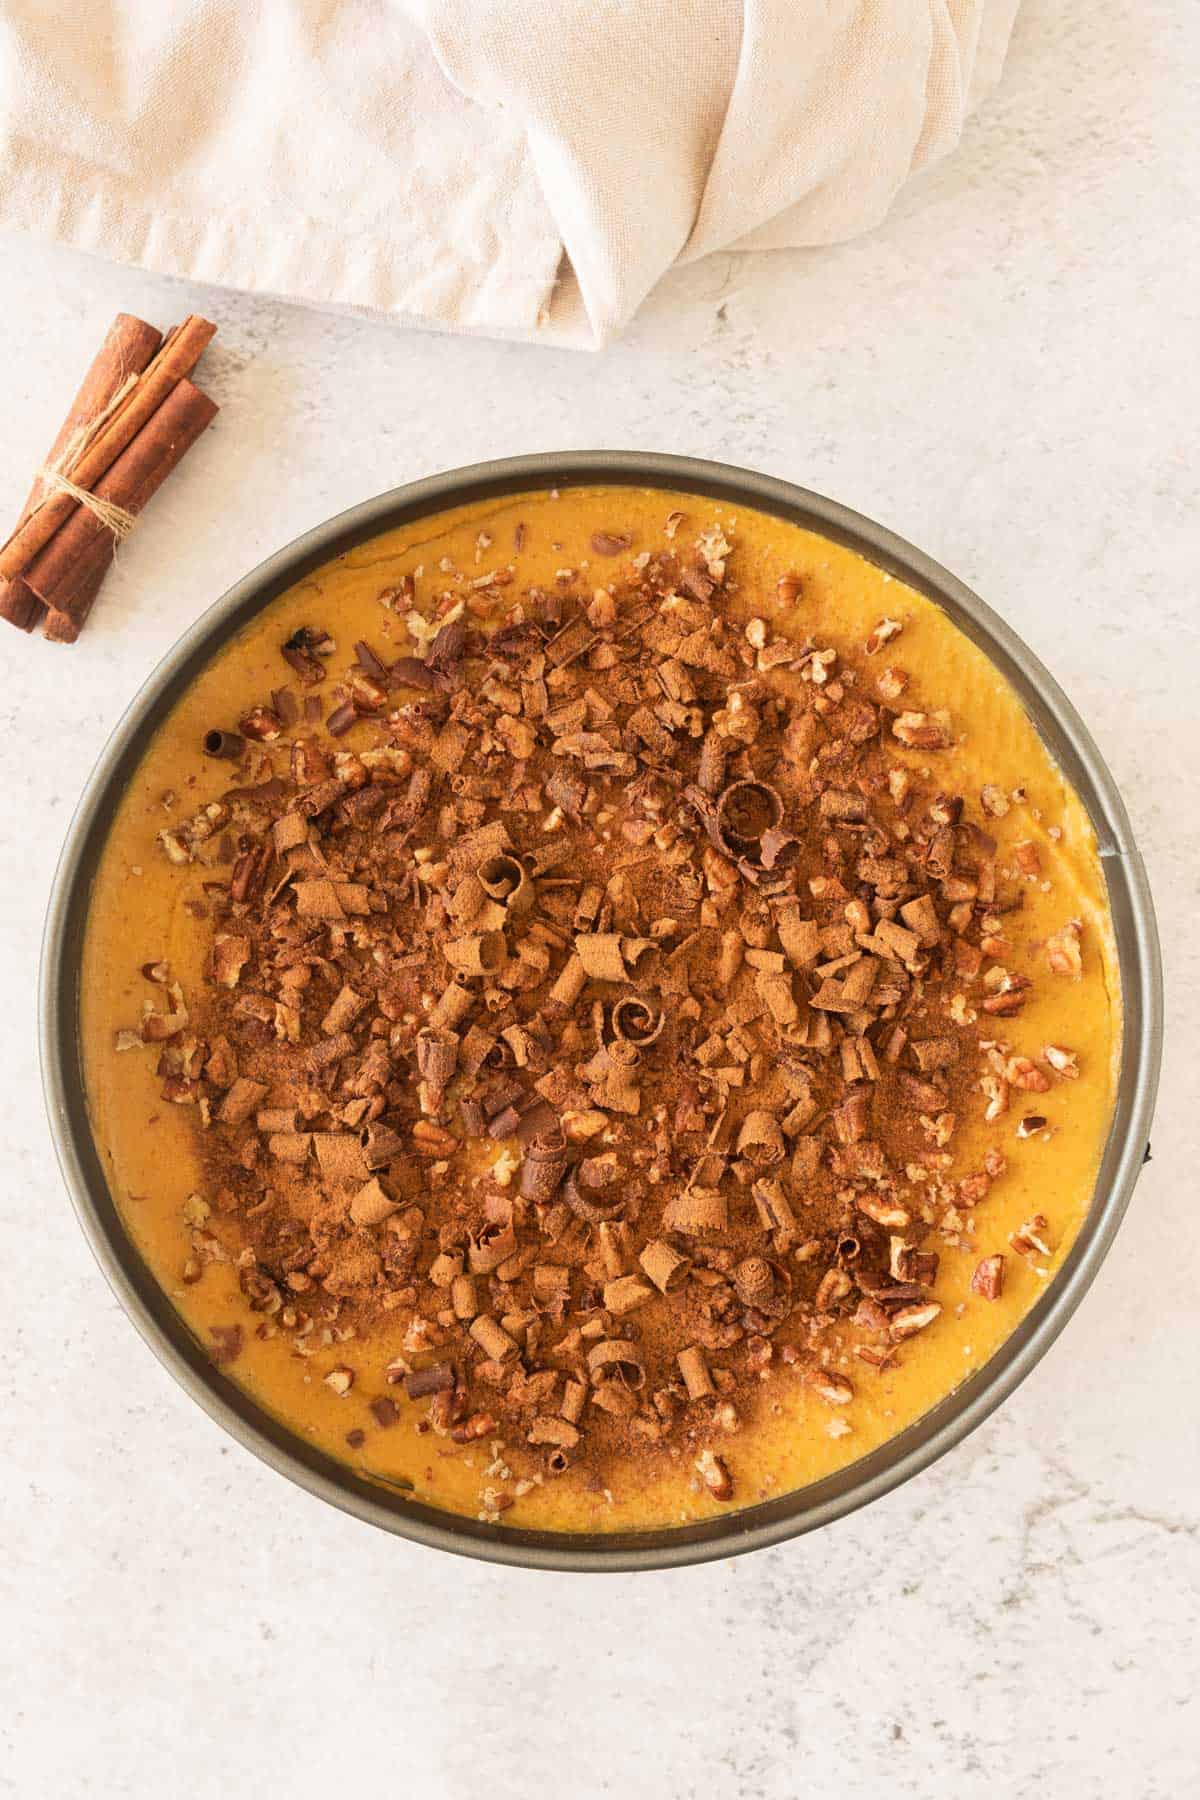
Step 8: Assemble the Pumpkin Layer Cheesecake – first, layer the cheesecake cream on the biscuit base, carefully add the pumpkin puree mix, top with crushed nuts and chocolate, and sprinkle with cinnamon.
Refrigerate for 2-3 hrs or overnight to allow the cheesecake set. See my tips on how to keep food cold if making this dish for a picnic or outdoor gathering.
Recipe FAQs
Yes, you can make the cheesecake in advance and freeze it. Be sure to wrap it well to prevent freezer burn. Thaw it in the refrigerator for a few hours before serving.
When stored properly in the refrigerator, this cheesecake should stay fresh for about 3-4 days. After that, it might start to lose its freshness and flavor.
While a food processor makes the crust preparation easier, you can use a blender or a zip-top bag and a rolling pin to crush the biscuits and mix the ingredients by hand if you don’t have one.
Expert Tips
- Selecting pumpkins: If you’re using fresh pumpkins, look for sugar or pie pumpkins, as they have a sweeter, smoother texture. Roasting them can enhance their flavor.
- Cool the pumpkin cream properly: Ensure it is completely cooled before adding it to the cheesecake layers. Warm pumpkin cream can affect the texture of the cheesecake.
- Cream Cheese Temperature: For a smoother cheesecake filling, ensure your cream cheese and mascarpone are at room temperature before beating. Cold cream cheese can result in lumps.
- Crust Texture: Aim for a uniform texture when blending the crust ingredients. Over-processing can make the crust tough, while under-processing may result in a crumbly base.
- Pressing the Crust: Press the crust mixture firmly into the cake tin to create a solid and even base that will hold the layers well.
- Springform Tin Advantage: Using a springform tin for this no-bake pumpkin cheesecake and lining the bottom with parchment paper is best. This makes removing the cheesecake from the tin easier without damaging the crust or the layers. Once it’s set, release the sides of the springform tin (you might like to run a knife around the edge first), and the parchment paper will help you transfer the cheesecake to a serving plate with minimal hassle.
- Layering: When assembling the layers, be gentle to prevent mixing the pumpkin and cheese creams. Layer the cheesecake cream first, then the pumpkin cream on top for a visually appealing result. You can chill the first layer a little to help this process.
- Chill Time: Allow the cheesecake to refrigerate for at least 2-3 hours, or better yet, overnight. This extended chilling time will help the flavors meld and the cheesecake set properly.
- Serving: Dip your knife in hot water before each cut to achieve clean, beautiful slices. Wipe the knife clean between slices for the best presentation.
Related Recipes

Did you make this Pumpkin Cheesecake?
Please leave me a ⭐ rating below and let me know in the comments how you enjoyed it.
No Bake Pumpkin Cheesecake
Ingredients
Pumpkin Cream
- 5 cups raw pumpkin - or you can use 3 cans of pumpkin puree
- 2½ tbsp peanut butter
- 1 cup raw sugar
- 1½ tbsp cinnamon
Cheese Cream Filling
- 1½ cup cream cheese - At room temperature
- 1 cup Mascarpone - At room temperature
- ½ cup powdered sugar
- 1 tsp vanilla extract
Cheesecake Crust
- 1¼ cups plain biscuits - your favorite biscuits
- 1 cup unsalted butter - room temperature
- ⅓ cup cacao powder
Topping
- ⅓ cup crushed pecans - or nut of your choice
- ¼ cup dark chocolate grated
Instructions
Pumpkin Cream
- Peel the pumpkin and cut it into small pieces. Place it in a pot with water and a steam rack and cook until tender. If you choose to use canned pumpkin puree, skip this step.
- Add the cooked pumpkin, peanut butter, brown sugar, and cinnamon to a bowl or food processor.
- Blend the ingredients until you get a soft and fluffy cream. Set aside to completely cool.
Cream Cheese Filling
- In a bowl, mix together all ingredients for the cream cheese layer (cream cheese, sugar, vanilla, and mascarpone).
- Stir well until the ingredients are combined. Set aside.
No Bake Cheesecake Crust
- Add the biscuits to a food processor and blend until crushed.
- Add the cacao powder and butter, and blend for 1 minute or until well combined.
- Spread the biscuit mix into a spring-form tin and press firmly down with your hands.
Assemble the Pumpkin Layer Cheesecake
- First, layer the cheesecake cream on the biscuit base.
- Carefully spread the pumpkin cream on the next layer.
- Top with crushed nuts and rough grated chocolate, and sprinkle with cinnamon.
- Refrigerate for at least 2-3 hrs or overnight to allow the cheesecake set.
Notes
- Pumpkin Puree: You can use fresh pumpkin for this recipe or canned pumpkin puree. Do not use pumpkin pie filling.
- Biscuits: Any plain biscuit is fine for this recipe. You can use gluten-free biscuits or cookies to make a gluten-free crust.
- Peanut Butter: Replace peanut butter with almond butter, sunflower seed butter, or even tahini if you have allergies or prefer a different flavor.
- Sugar: For a lower-sugar version of the cheesecake, you can reduce the sugar or use a sugar substitute.
- Chocolate Crust: If you prefer a plain crust, leave out the cacao powder and replace it with a little extra crushed biscuit to ensure the crust is firm enough.
- Smaller Version: You can adjust the quantities to make a smaller cheesecake. Halve the ingredient measurements and use a smaller cake tin or make individual cheesecakes.
- Toppings: Experiment with toppings of your choice, from whipped cream to cream cheese or toffee glaze.
- Ensure the pumpkin mix is completely cooled before carefully adding it to the cheesecake layers. You can cool the first crust and cheesecake layer to help this process.
- Press the crust mixture firmly into the cake tin to create a solid and even base that will hold the layers well.
- Use a spring form tin to make removing the set cheesecake from the tin easier.
- Allow the cheesecake to refrigerate for at least 2-3 hours, or better yet, overnight.
Leave a Reply