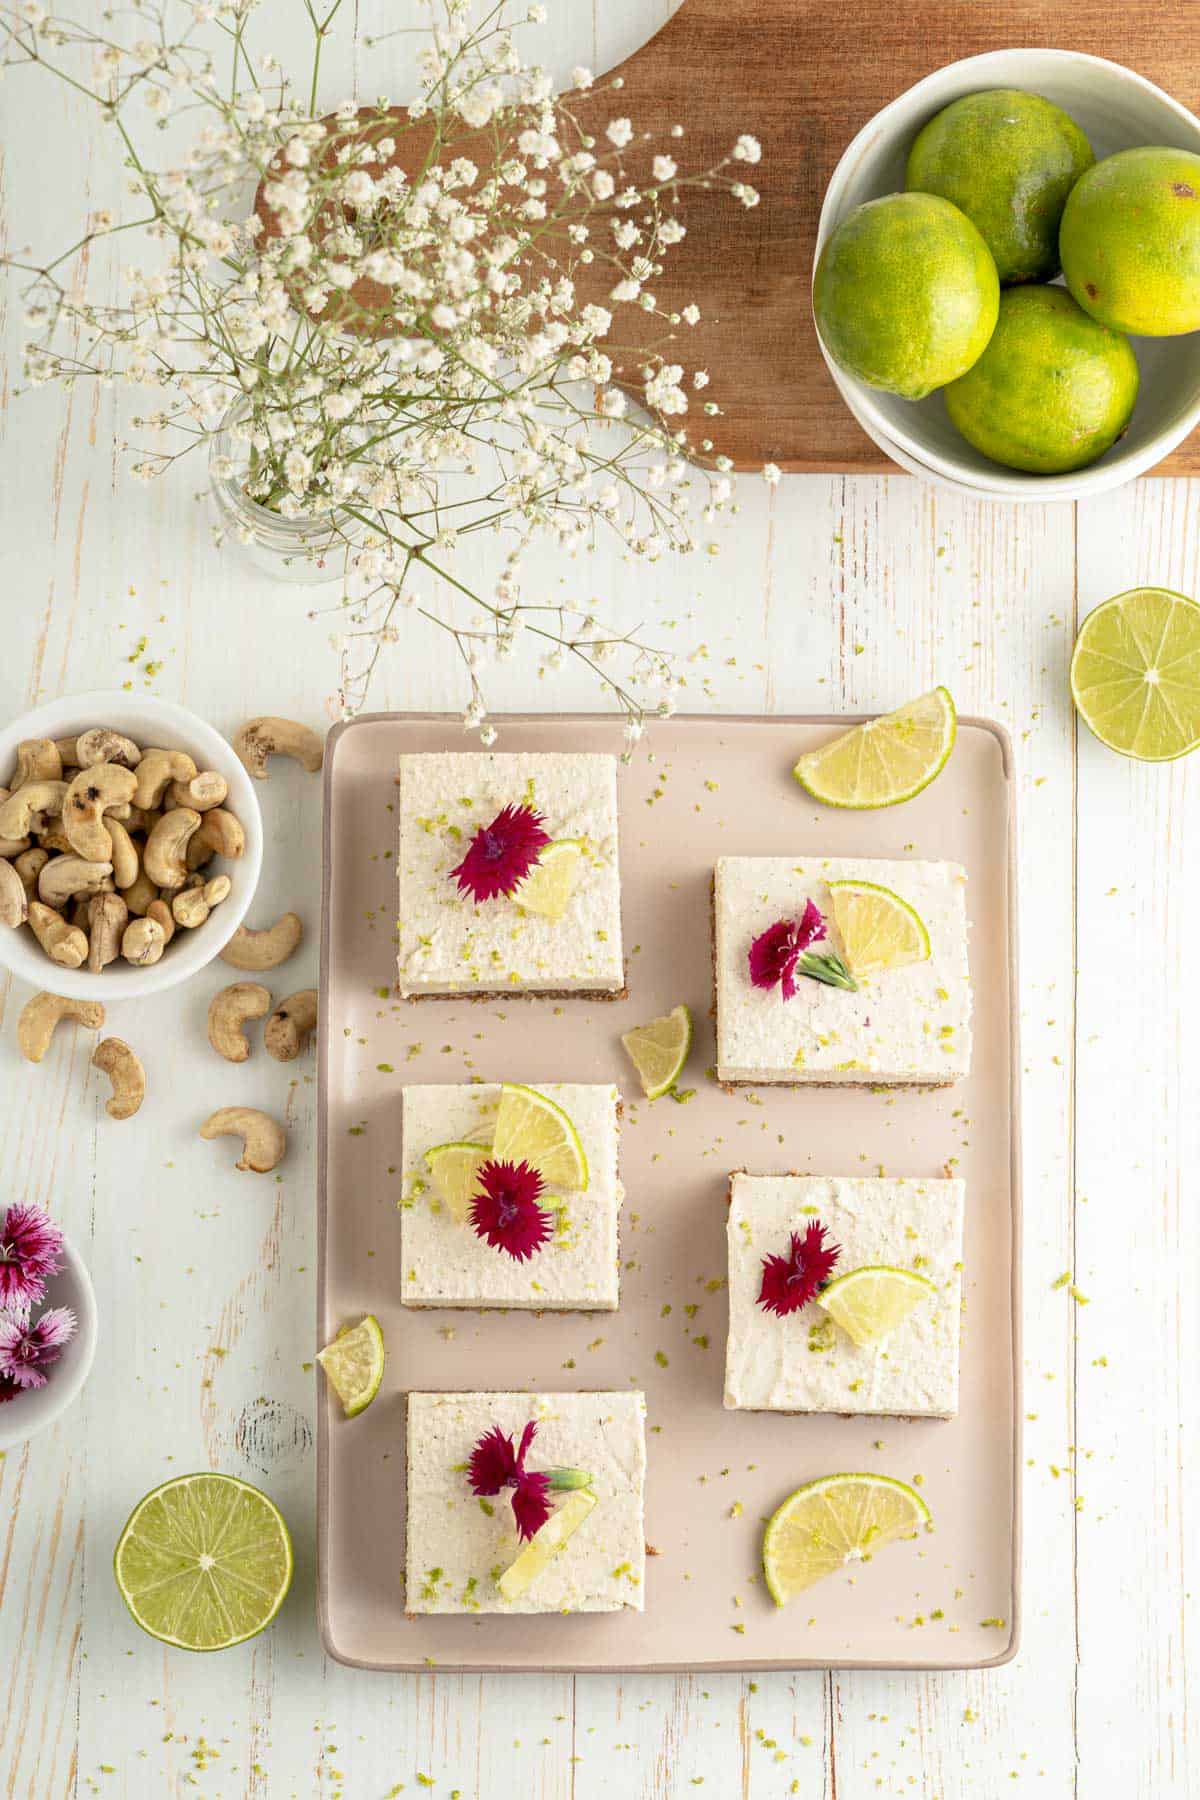
These No-Bake Key Lime Bars are perfect if you are looking for a key lime dessert that isn’t a pie.
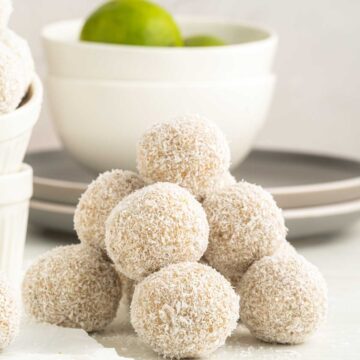
Like my Key Lime Truffles, they’re also very portable, making them an excellent dessert for summer picnics and parties.
Jump to:
In addition to being a no-bake dessert (this recipe only takes 40 minutes to prepare, and the rest is chill time), these healthy Key Lime Pies are one of my favorite sugar-free baking recipes– naturally sweetened and gluten-free. They also make a gorgeous vegan picnic dessert.
This recipe doesn’t require a Graham Cracker crust or sweetened condensed milk. Made with coconut, nuts, and dates, it has all the sweet, creamy flavors of a delicious Key Lime Pie without added calories, fats, or gluten.
Tip: See my tips on how to keep food cold for a picnic to ensure your key lime pie stays fresh for outdoor gatherings, especially in summer.
Ingredients
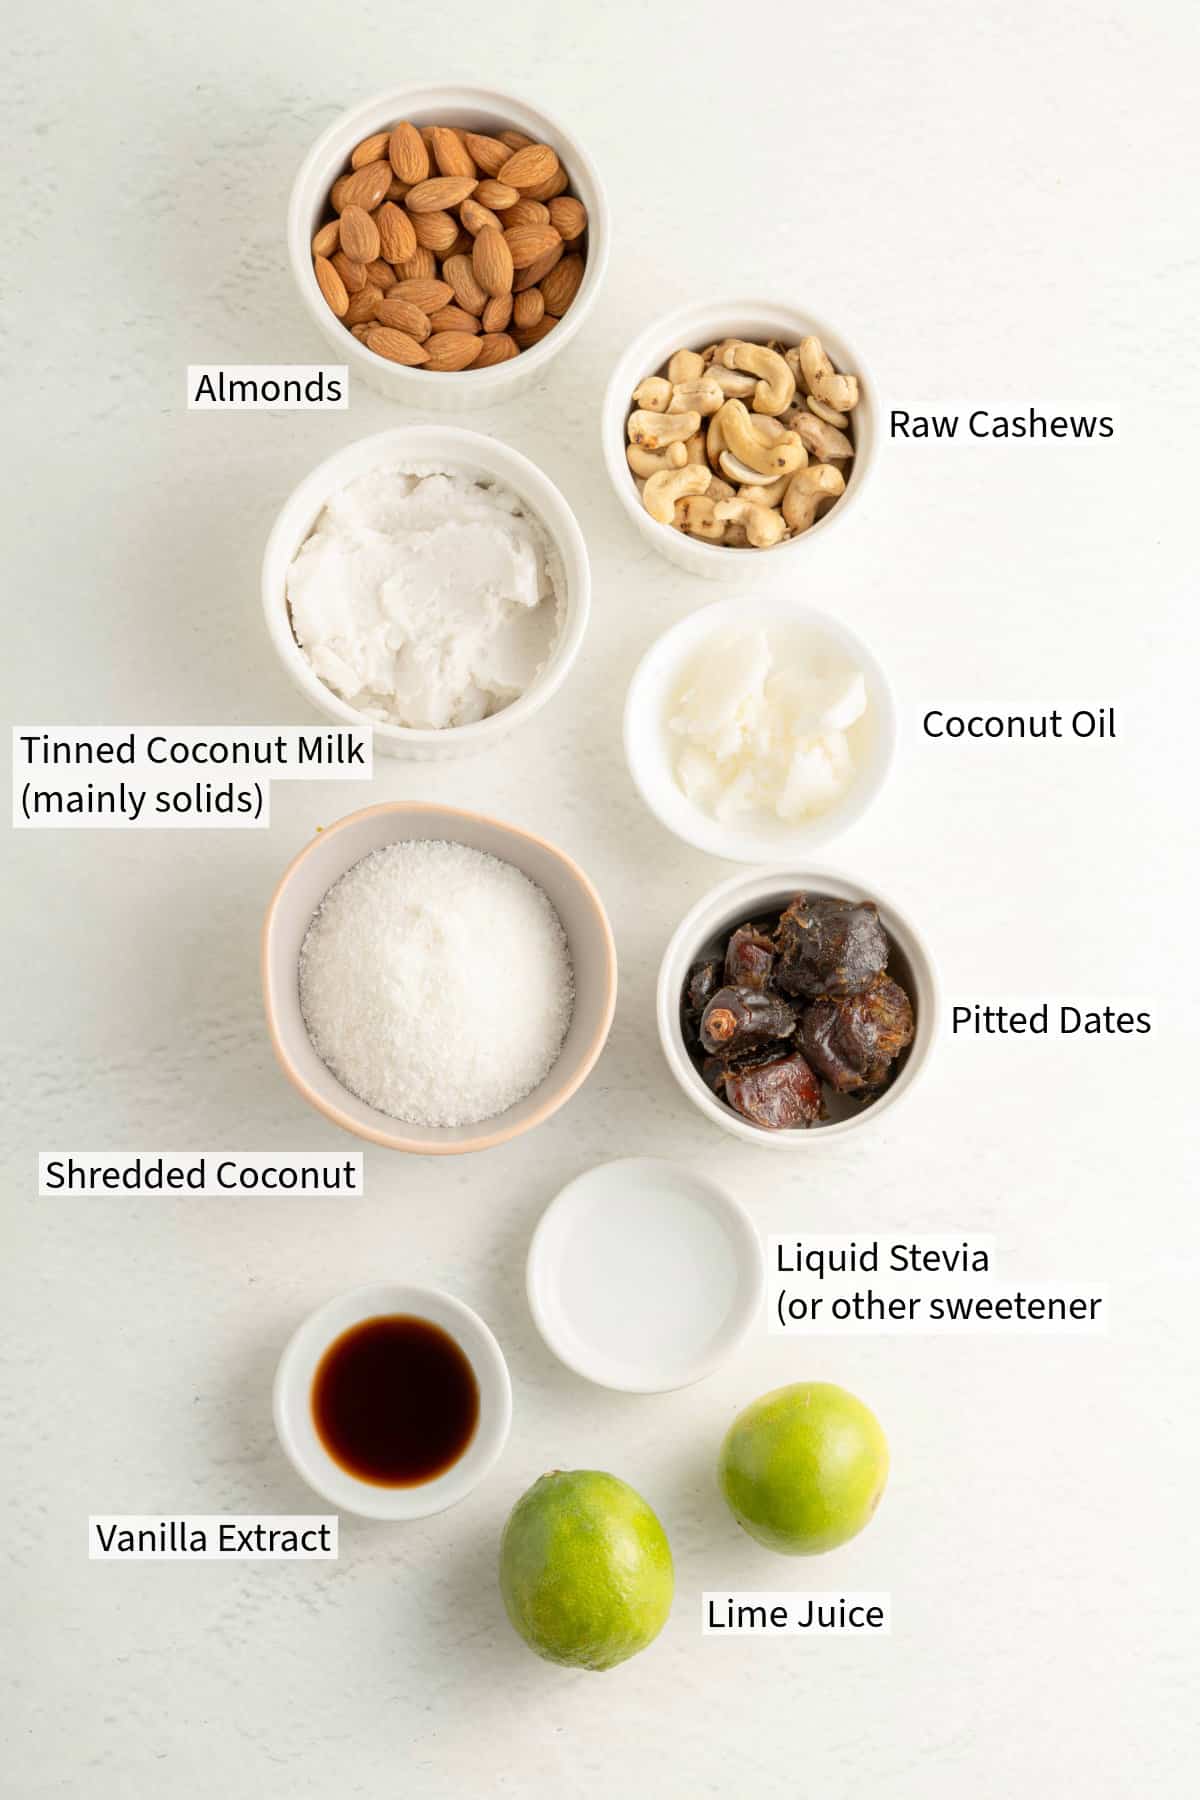
Cashews: The raw cashews must be soaked for 8 hours in cold water or 30 minutes in boiling water. Tender cashew nuts are needed for the right consistency.
See my recipe card below for a complete list of the ingredients with measurements and notes.
Recipe Variations and Substitutions
Lime Juice: For the best Key Lime flavor, use freshly squeezed lime juice. If Key Limes are not available, regular limes will work.
Sweetener Options: You can substitute liquid stevia with other liquid or powdered sweeteners according to your preference. You can use erythritol, allulose, or a stevia blend. The important thing is to adjust quantities based on the sweetness level of your substitute, as some sweeteners are sweeter than others.
Nuts Variation: You can experiment with different nuts for the base. Pecans or walnuts are good alternatives to almonds for this flavor profile.
Step by Step Instructions
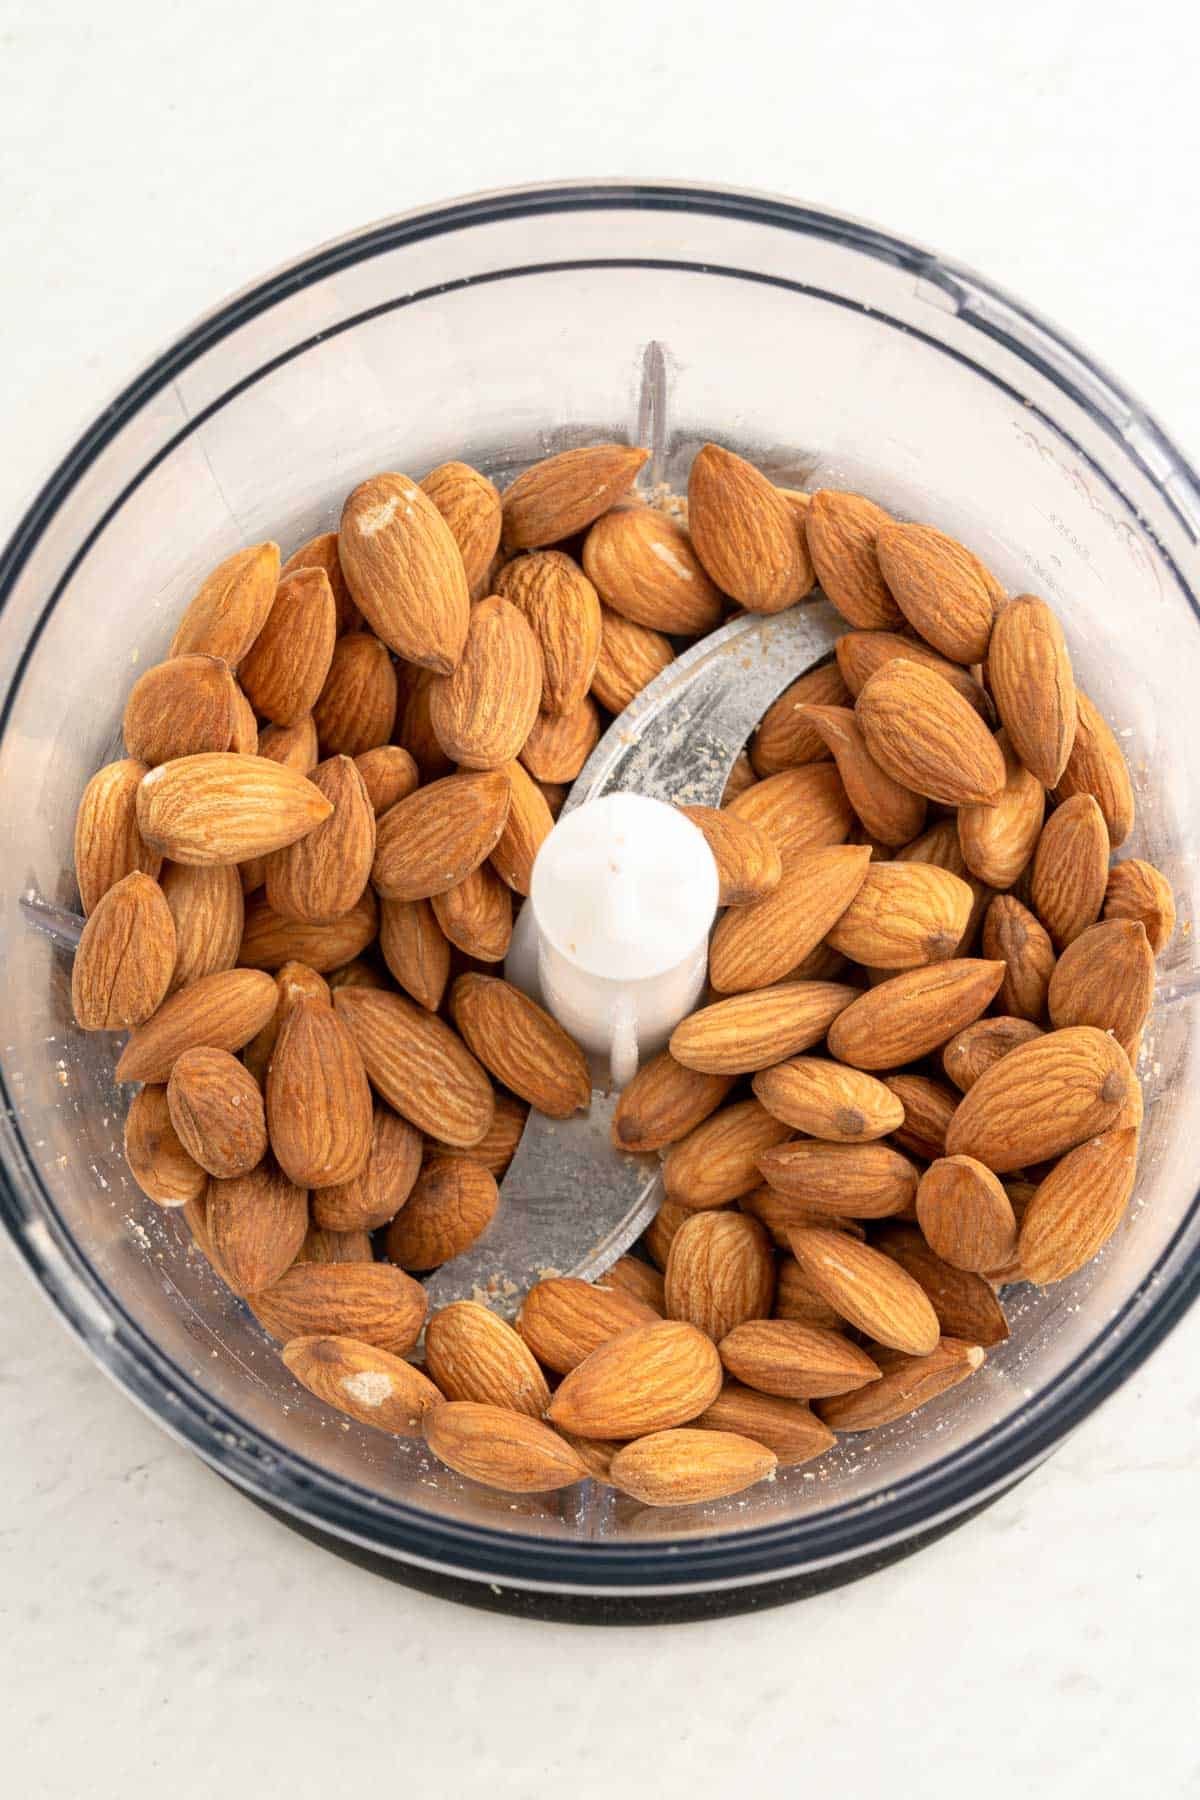
Step 1: Place almonds in a blender or food processor and pulse until you have a finely ground consistency.
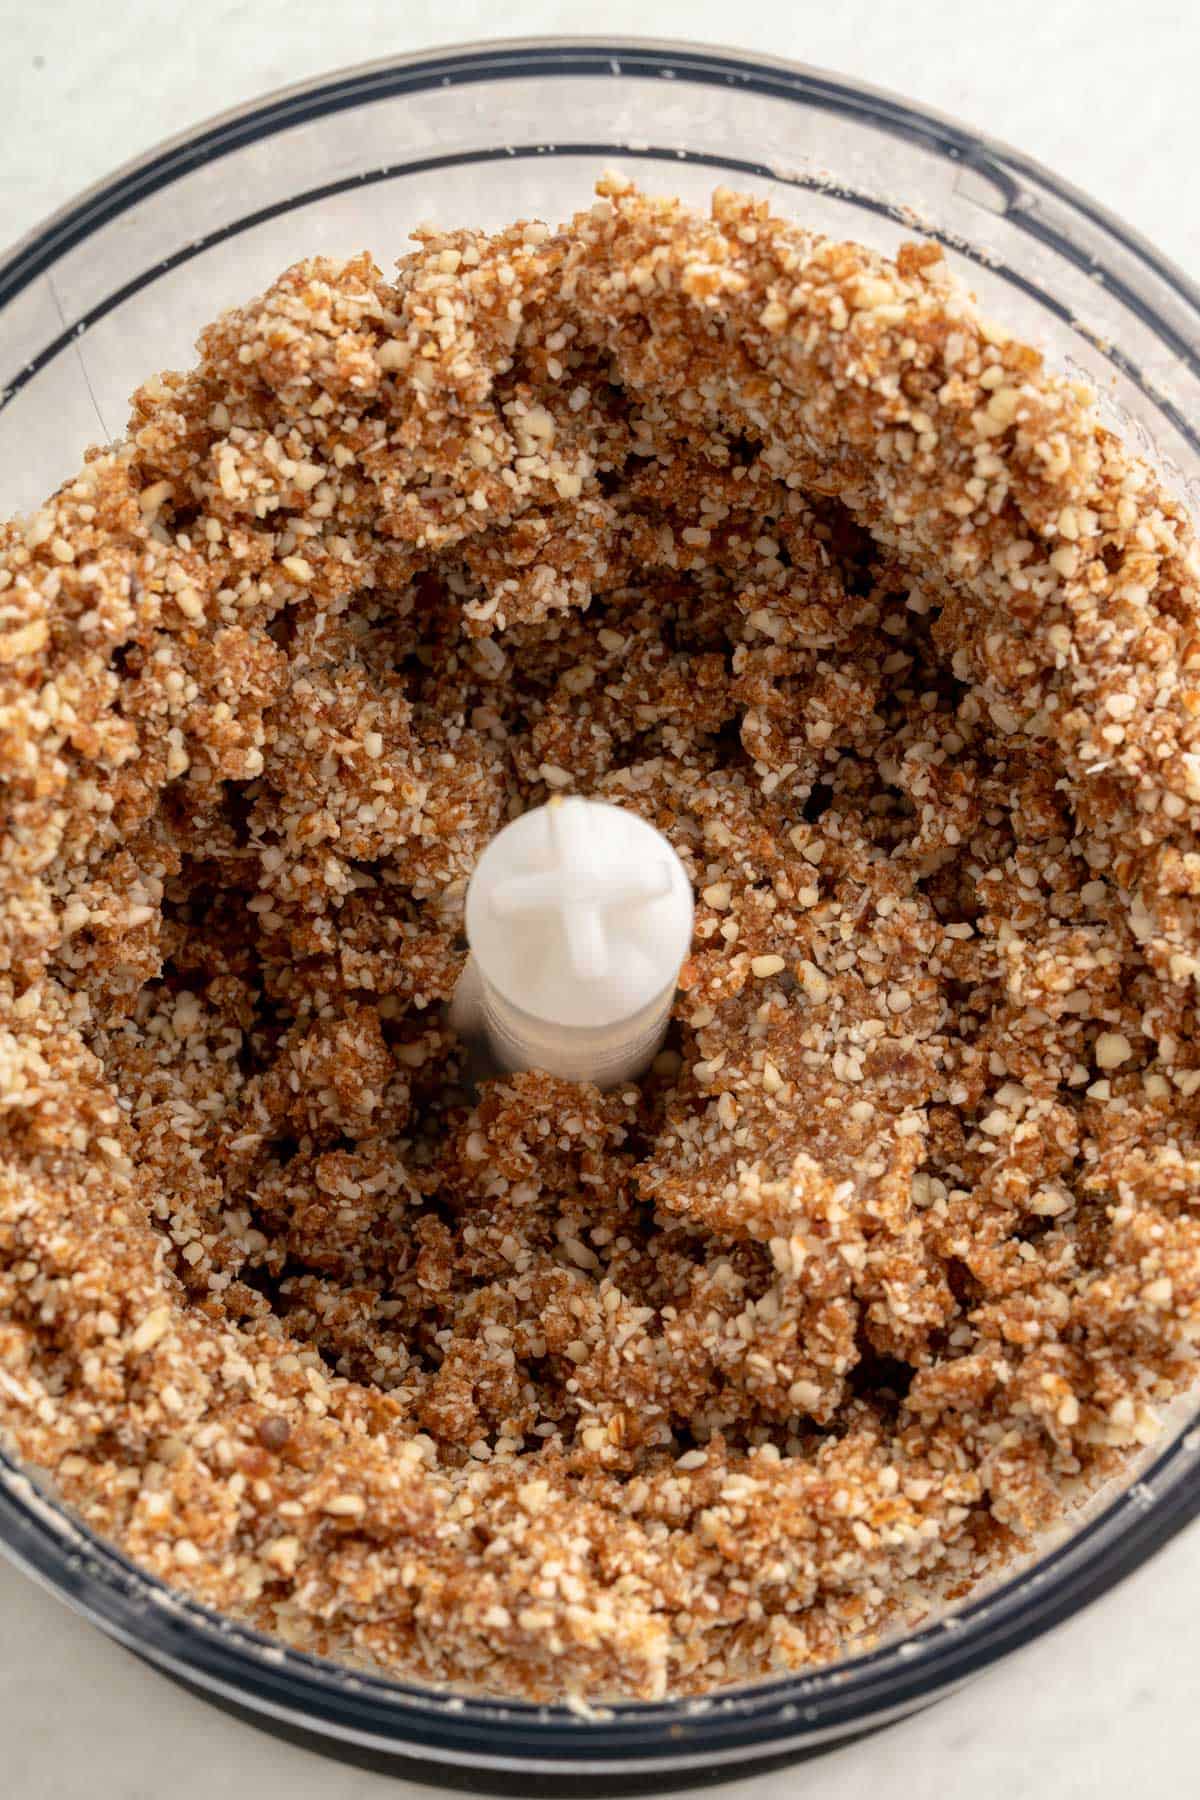
Step 2: Add the dates and shredded coconut to the ground almonds and pulse again to combine all the ingredients. You should have a sticky, grainy mixture.
Note 1: The dates should be moist and sticky. If yours are dry, soak them in warm water for 20 minutes until they are soft and sticky, then drain the excess water. Note 2: The ½ cups of dates are measured with pitted dates tightly packed.
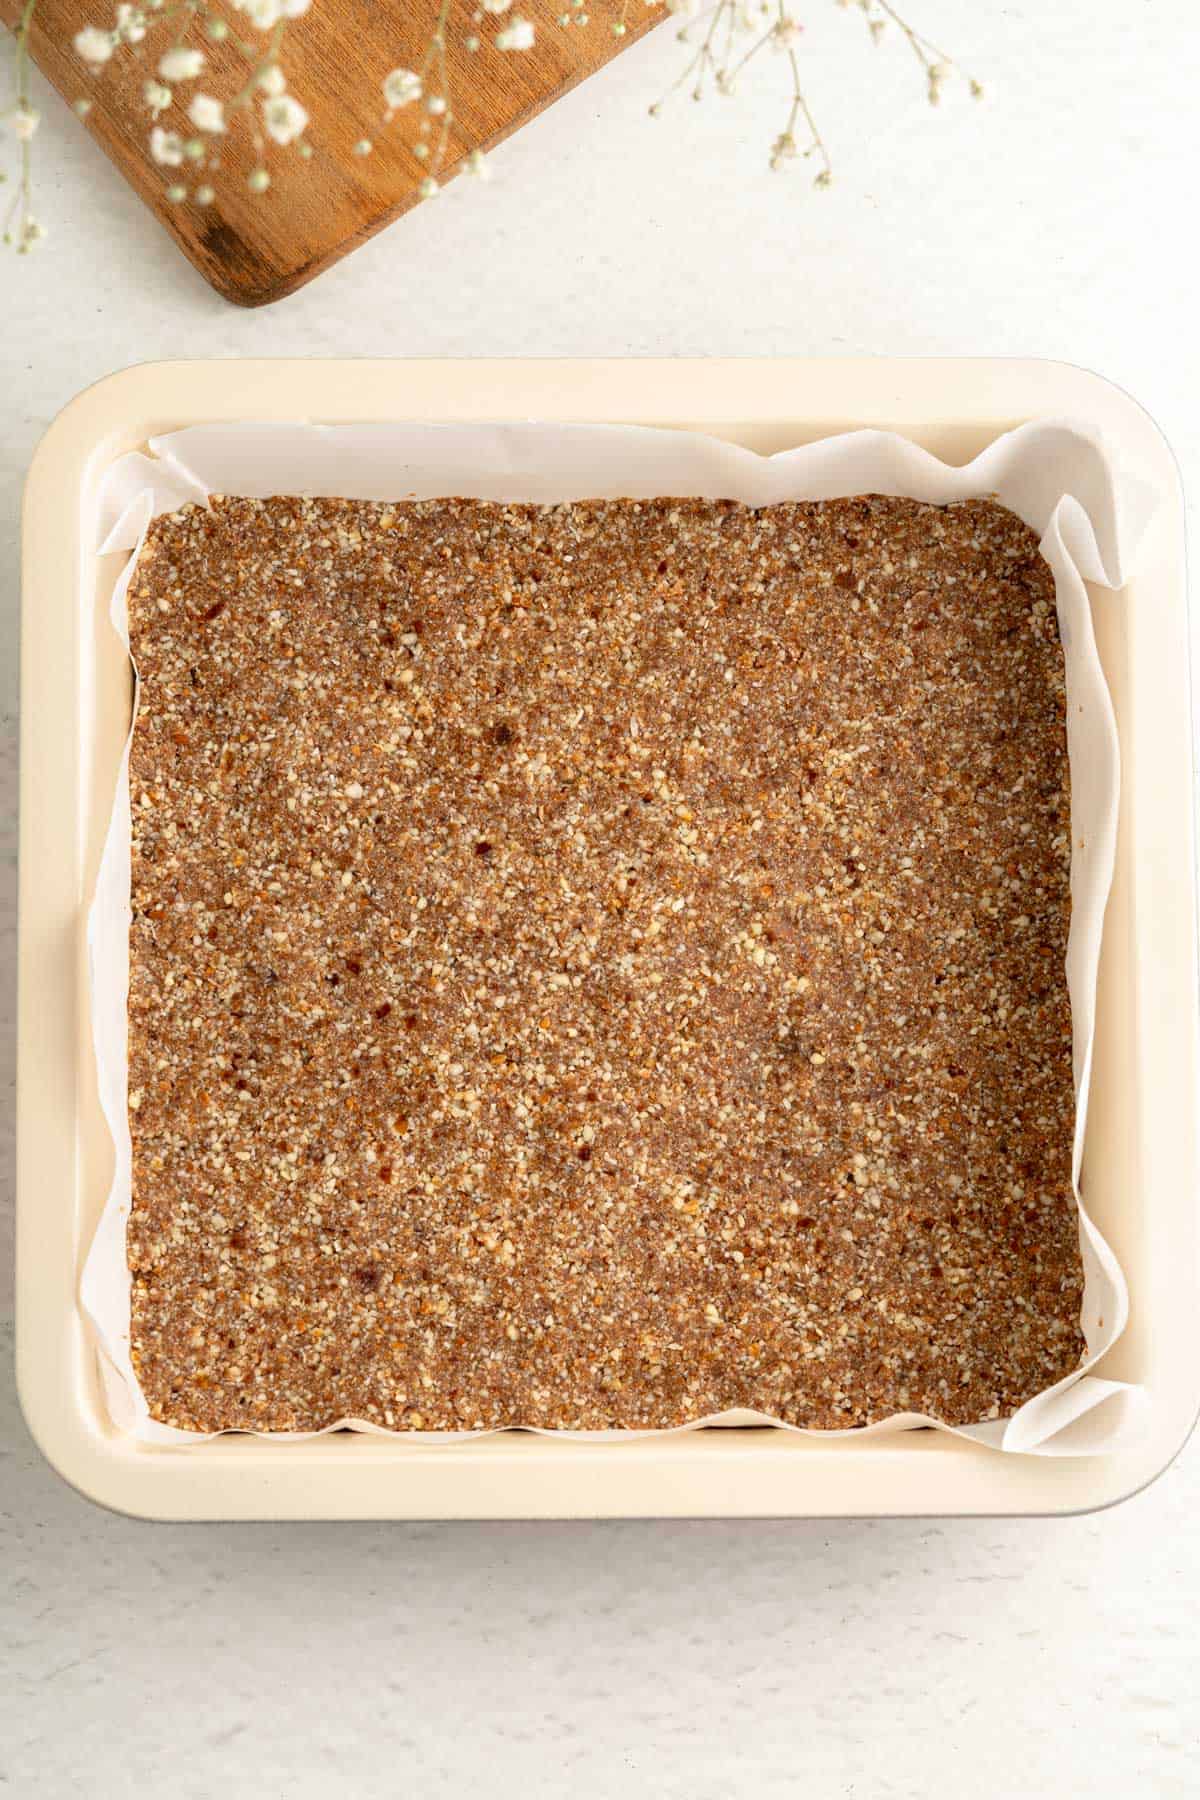
Step 3: Line an 8’’ square pan with parchment paper. Transfer the base mixture to the prepared pan and press it down to cover it evenly.
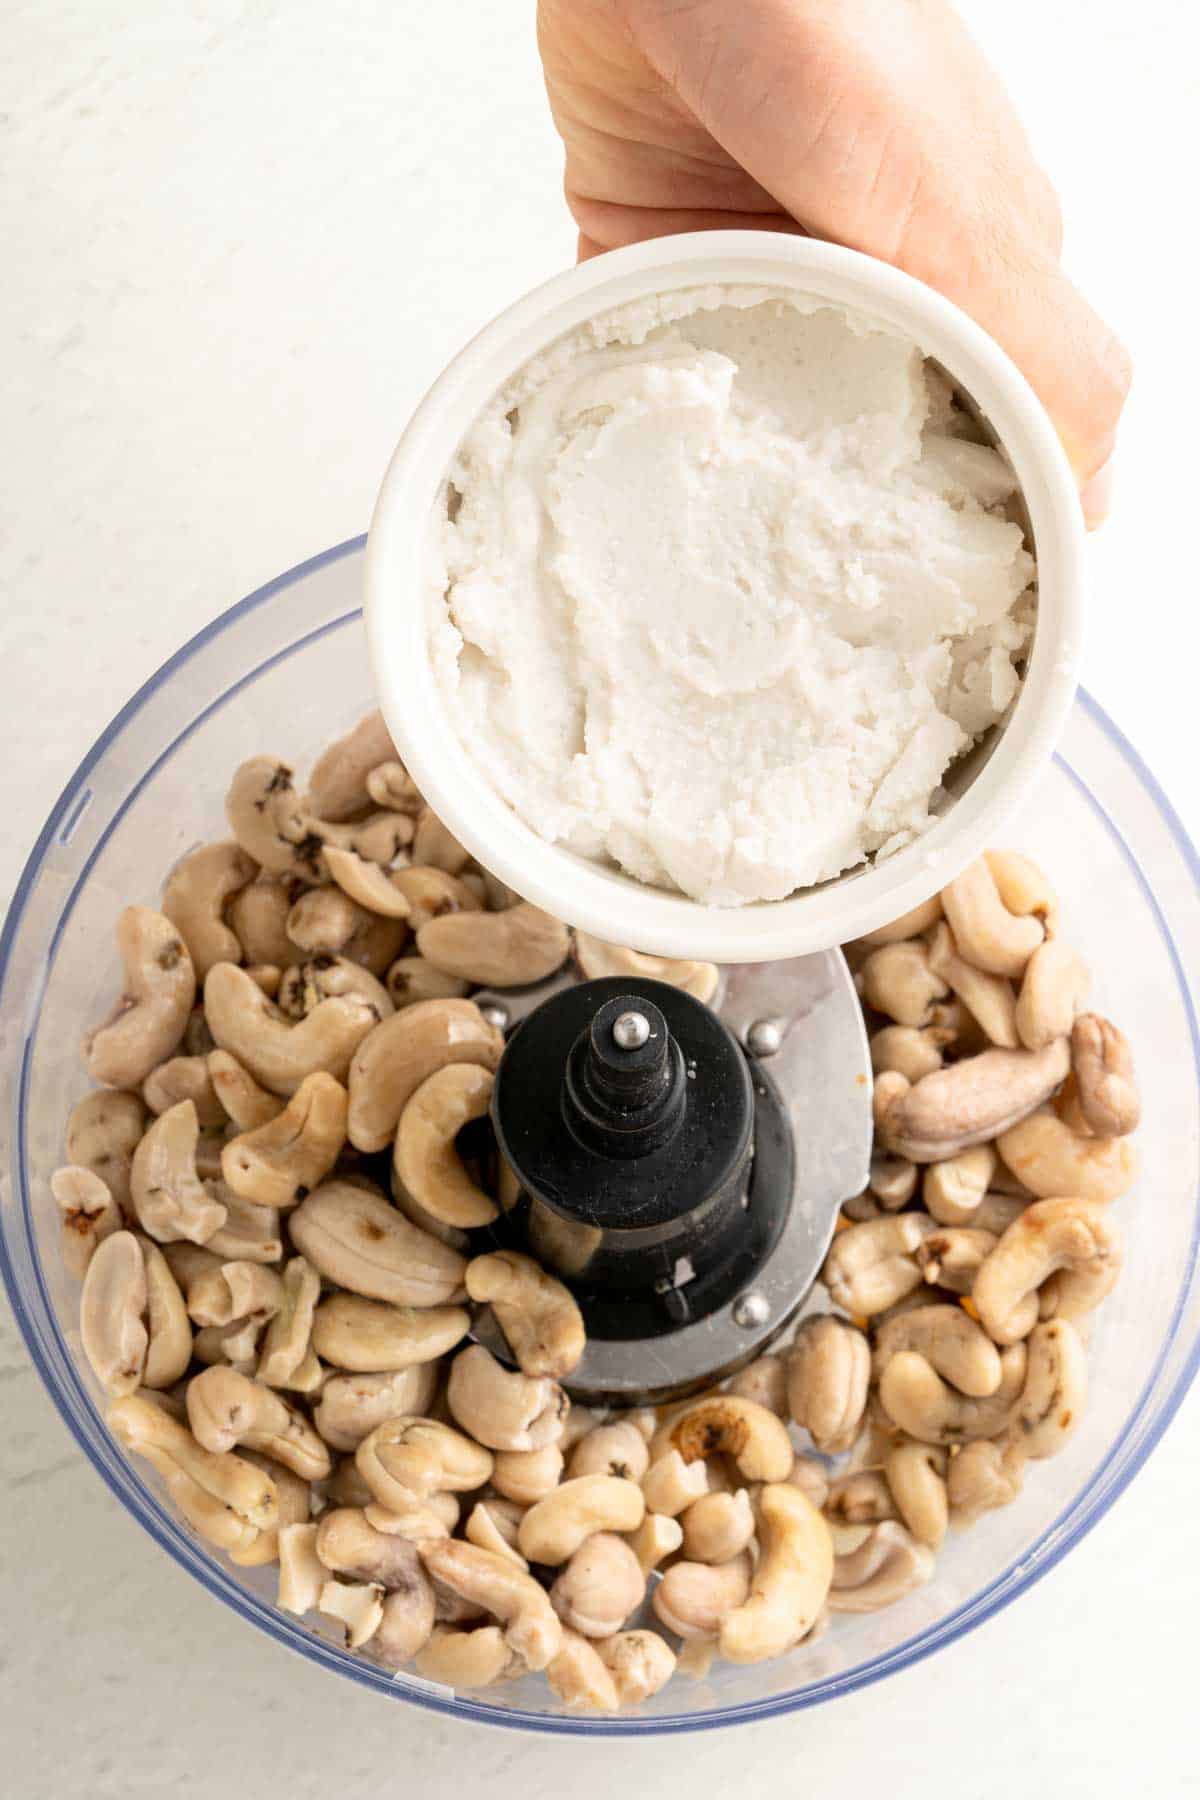
Step 4: Make the Key Lime Filling. Place soaked and drained cashews, lime juice, liquid stevia, vanilla extract, coconut oil, and canned coconut milk in a food processor or blender.
Note 3: Canned coconut milk: I spooned the solids of a 14-oz can into the cup first, then filled the remainder with the liquid.
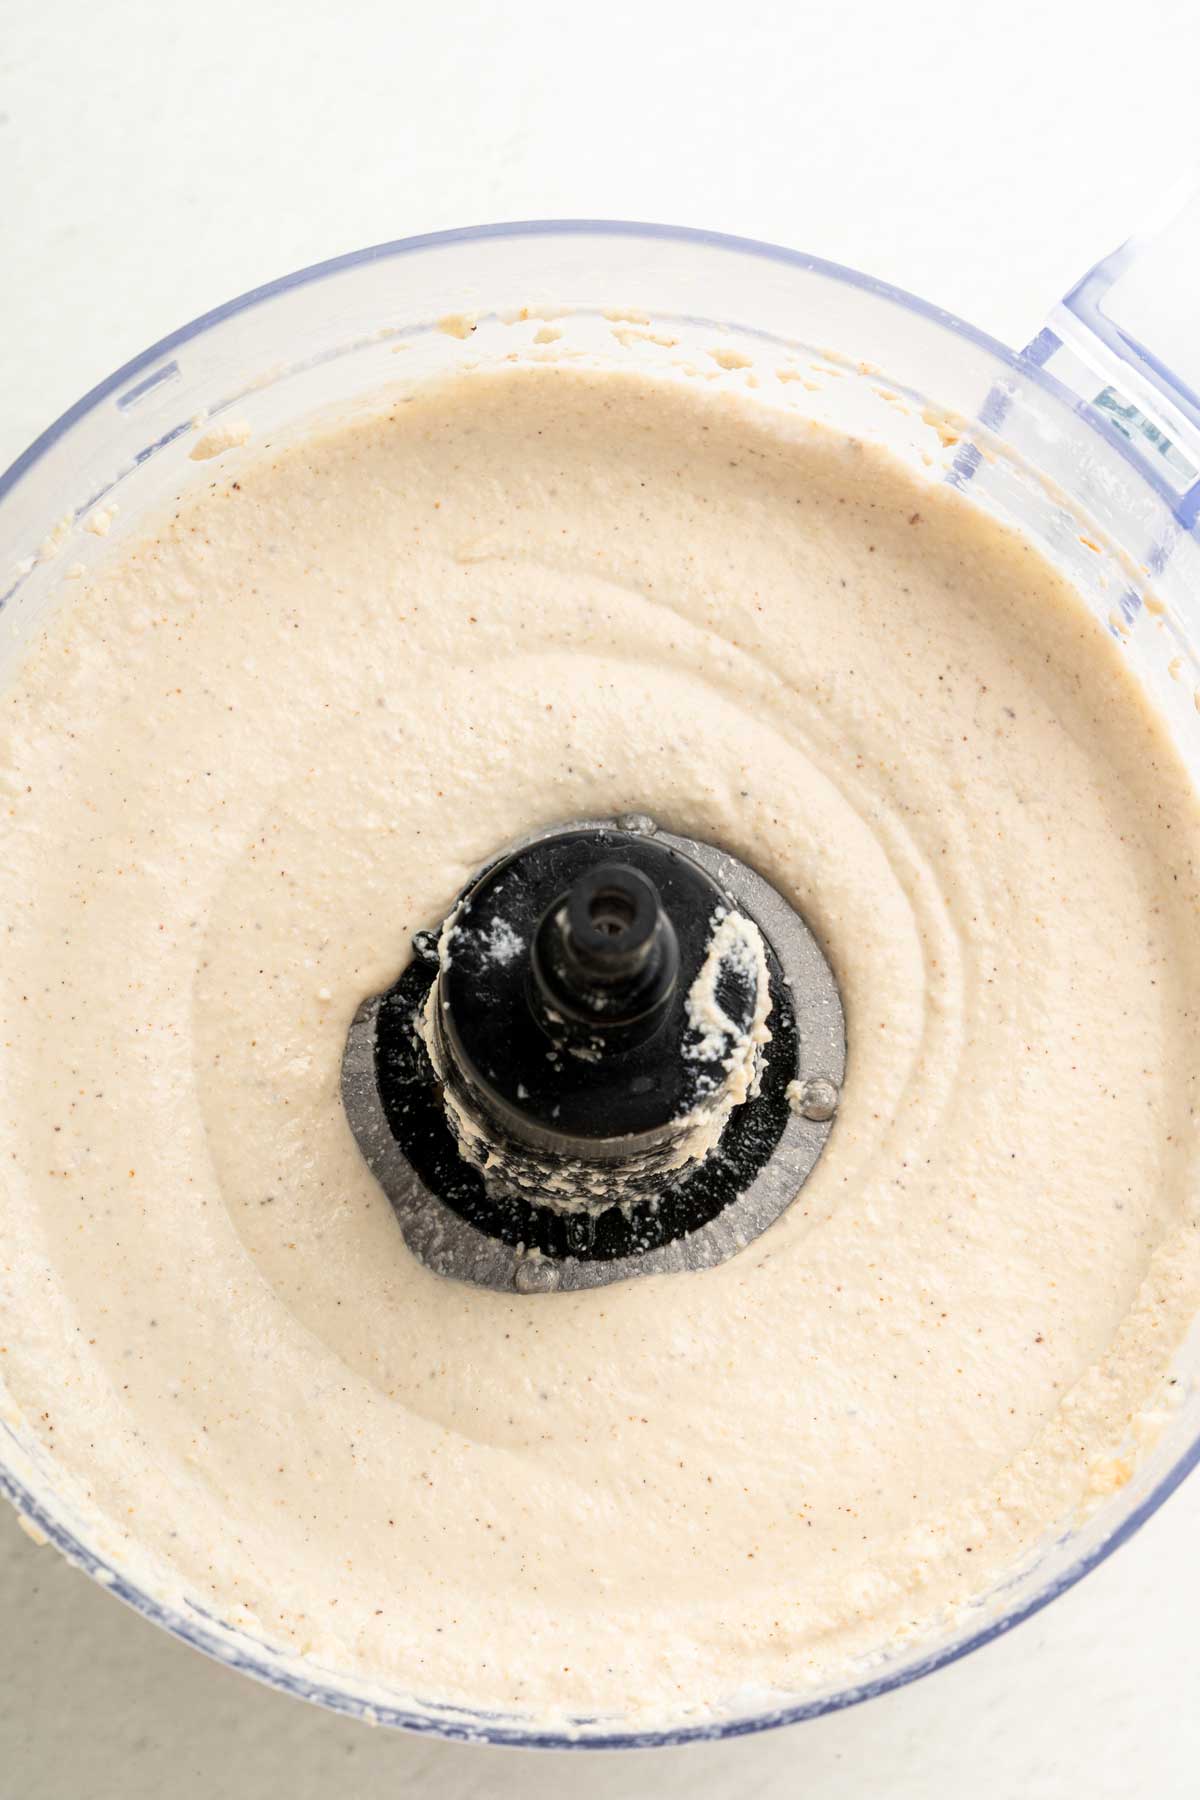
Step 5: Keep pulsing until completely smooth. In my experience, blenders and high-speed food processors achieve a softer, fluffier texture than regular food processors or immersion blenders.
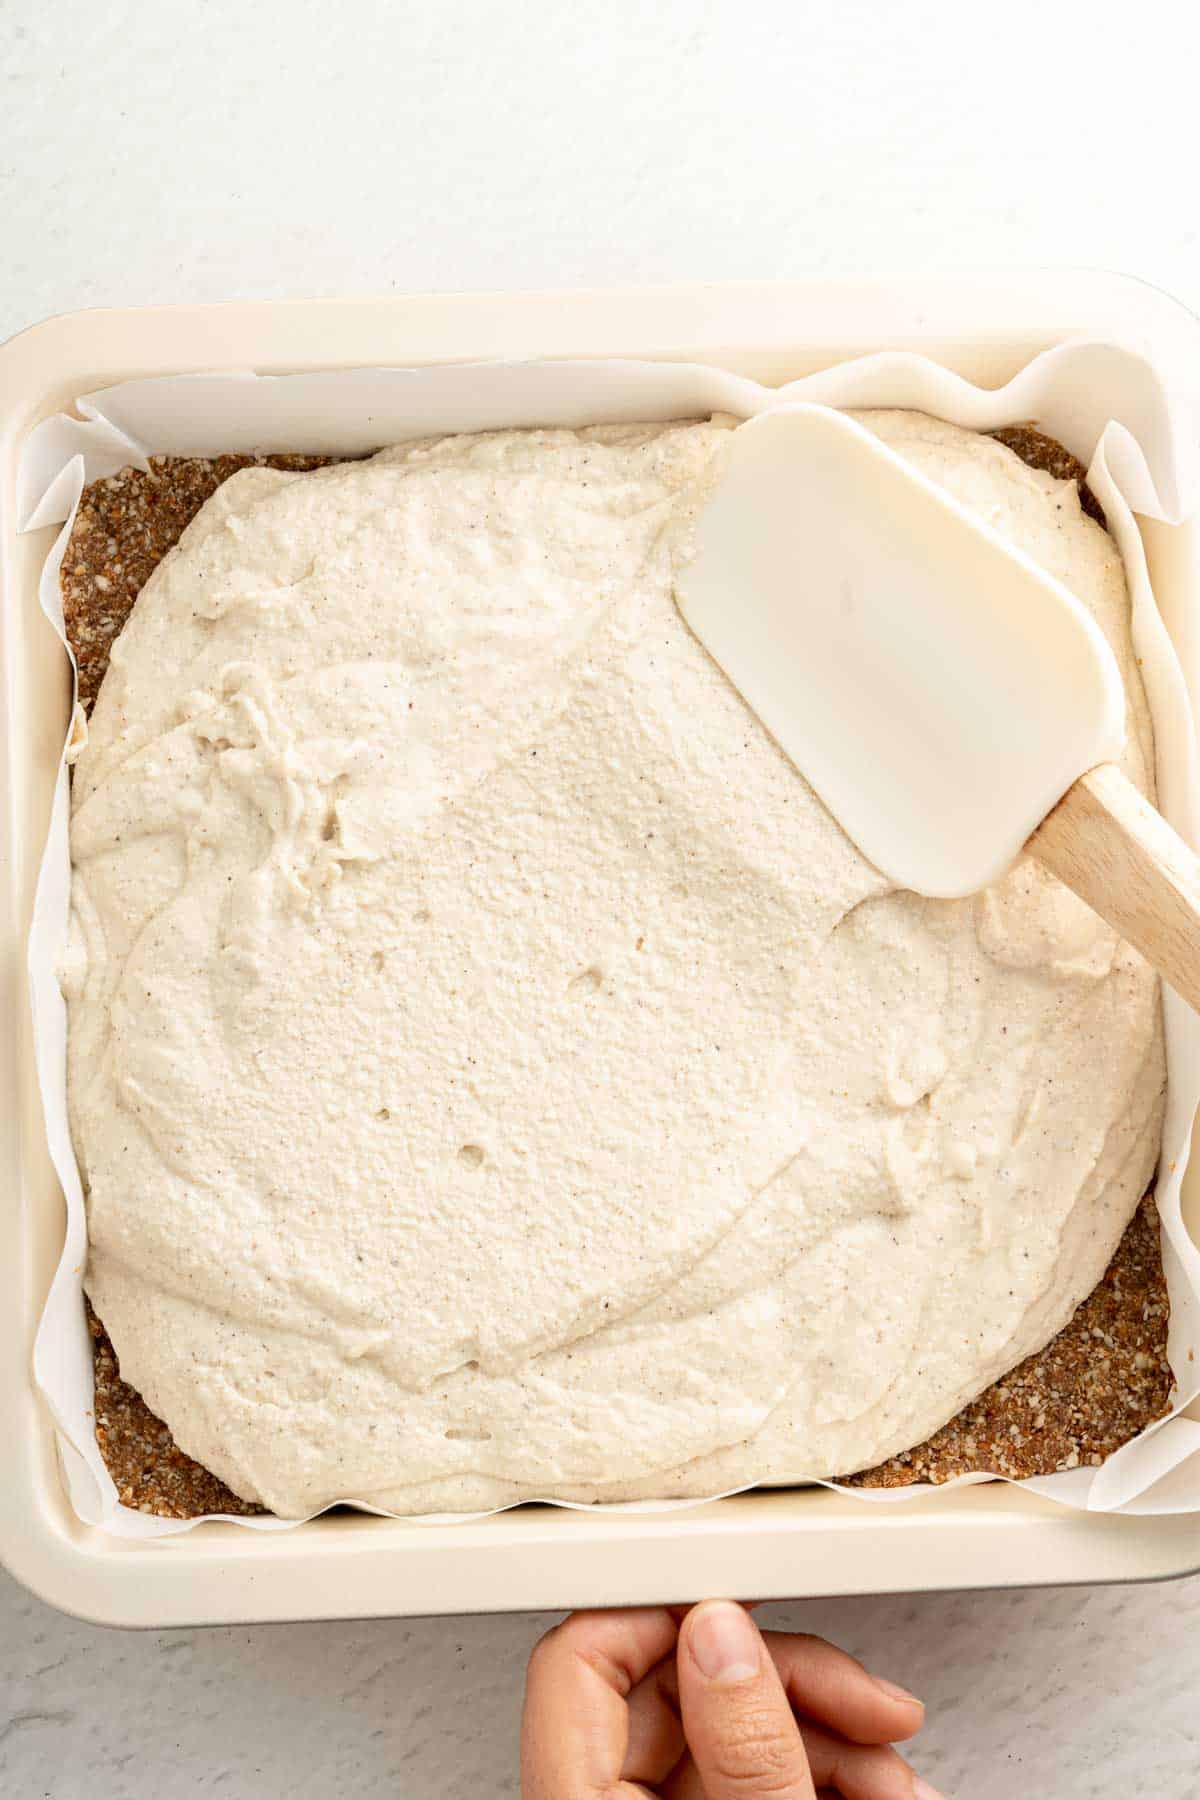
Step 6: Pour the Key Lime filling over the prepared base and spread it evenly. Refrigerate for at least 3 hours or until completely set.
Tip: To speed up the process, you can freeze the pie for one hour and then move it to the fridge to set it so it doesn’t freeze.
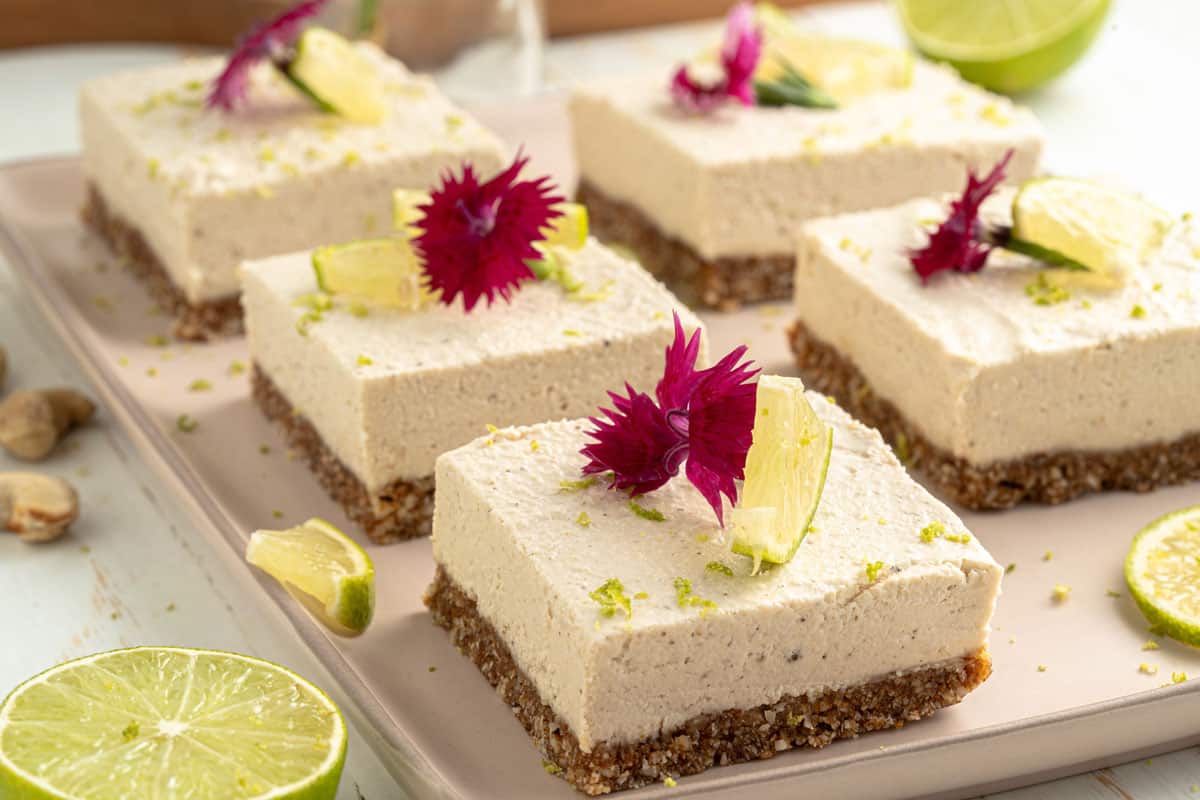
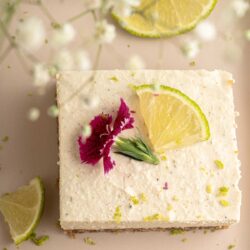
Step 7: Slice the Key Lime Pie into squares and garnish with lime slices, lime zest, edible flowers, or fresh fruit like raspberries and blueberries.
Recipe FAQs
The difference between regular limes and Key Limes (also known as Mexican or West Indian limes) is that Key Limes are very aromatic and have a more tangy-sweet taste than limes. While key lime juice has a stronger, more intense, and aromatic flavor, using regular lime juice in a Key Lime recipe is fine as they are pretty close.
Yes. It’s a dairy-free, gluten-free, and vegan plant-based dessert suitable for those with dietary restrictions or preferences.
Expert Tips
Dates for the Base: As noted in the instructions, your dates must be moist and sticky for the base. If they’re even a little dry, soak them in warm water until they are sticky and drain. This will ensure your base holds together well.
Coconut Milk: Use canned coconut milk but don’t shake it before opening. Spoon out the solids first and then fill the rest of the cup with the coconut liquid to ensure the right consistency.
Make Ahead and Freezing: You can make these Key Lime Pie Bars up to 3 days in advance and store them in the refrigerator. You can store the whole pie, slice it, and garnish it when ready to serve.
You can freeze Key Lime Pie recipes in an airtight container for up to 3 months. Thaw overnight in the refrigerator before serving.
Cutting: For clean slices, place the pie in the freezer for about half an hour before cutting. Use a warm knife to cut, and clean the knife between each slice.
Related Recipes

Did you try these No Bake Key Lime Pie Bars?
Please leave me a ⭐ rating below and let me know in the comments how you enjoyed them.
Healthy Key Lime Pie Bars (No Bake)
Ingredients
Base
- ½ cup pitted dates
- 1 cup almonds
- ½ cup shredded coconut
Filling
- 4 tablespoons fresh key lime juice - or regular lime juice
- 1 cup canned coconut milk - mainly solids
- 2 teaspoons liquid stevia - adjusted to taste
- 2 teaspoons vanilla extract
- 3 tablespoons coconut oil - melted
- 2 cups raw cashews - soaked for 8 hours, or 30 minutes in boiling water (you want tender cashew nuts)
Instructions
- Key Lime Bar Base
- Place almonds in a blender or food processor and pulse until you have a finely ground consistency.
- Add the dates and shredded coconut to the ground almonds and pulse again to combine all the ingredients. You should have a sticky, grainy mixture.Note 1: The dates should be moist and sticky. If yours are dry, soak them in warm water for 20 minutes until they are soft and sticky, then drain the excess water. Note 2: The ½ cups of dates are measured with pitted dates tightly packed.
- Line an 8’’ square pan with parchment paper. Transfer the base mixture to the prepared pan and press it down to cover it evenly.
- Key Lime Filling
- Place soaked and drained cashews, lime juice, liquid stevia, vanilla extract, coconut oil, and canned coconut milk in a food processor or blender.Note 3: Canned coconut milk: I spooned the solids of a 14-oz can into the cup first, then filled the remainder with the liquid.
- Keep pulsing until completely smooth. In my experience, blenders and high-speed food processors achieve a softer, fluffier texture than regular food processors or immersion blenders.
- Pour the Key Lime filling over the prepared base and spread it evenly. Refrigerate for at least 3 hours or until completely set.Tip: To speed up the process, you can freeze the pie for one hour and then move it to the fridge to set it so it doesn’t freeze.
- Slice the Key Lime Pie into squares and garnish with lime slices, lime zest, edible flowers, or fresh fruit like raspberries and blueberries.
Notes
- Lime Juice: For the best Key Lime flavor, use freshly squeezed lime juice. If Key Limes are not available, regular limes will work.
- Sweetener Options: You can substitute liquid stevia with other liquid or powdered sweeteners according to your preference. You can use erythritol, allulose, or a stevia blend. The important thing is to adjust quantities based on the sweetness level of your substitute, as some sweeteners are sweeter than others.
- Nuts Variation: You can experiment with different nuts for the base. Pecans or walnuts are good alternatives to almonds for this flavor profile.
Storage & Freezing
- The Key Lime Pie Bars can be stored in plastic wrap or an airtight container in the refrigerator for up to three days.
- This Key Lime dessert is freezer-friendly; store it in an airtight container and thaw it in the fridge for a few hours before serving.
Tips
- Dates for the Base: As noted in the instructions, your dates must be moist and sticky for the base. If they’re even a little dry, soak them in warm water until they are sticky and drain. This will ensure your base holds together well.
- Coconut Milk: Use canned coconut milk but don’t shake it before opening. Spoon out the solids first and then fill the rest of the cup with the coconut liquid to ensure the right consistency.


Leave a Reply