Looking for elegant picnic appetizer ideas that are easy to make and very portable? How about a grilled pear and blue cheese appetizer with fig and walnut?
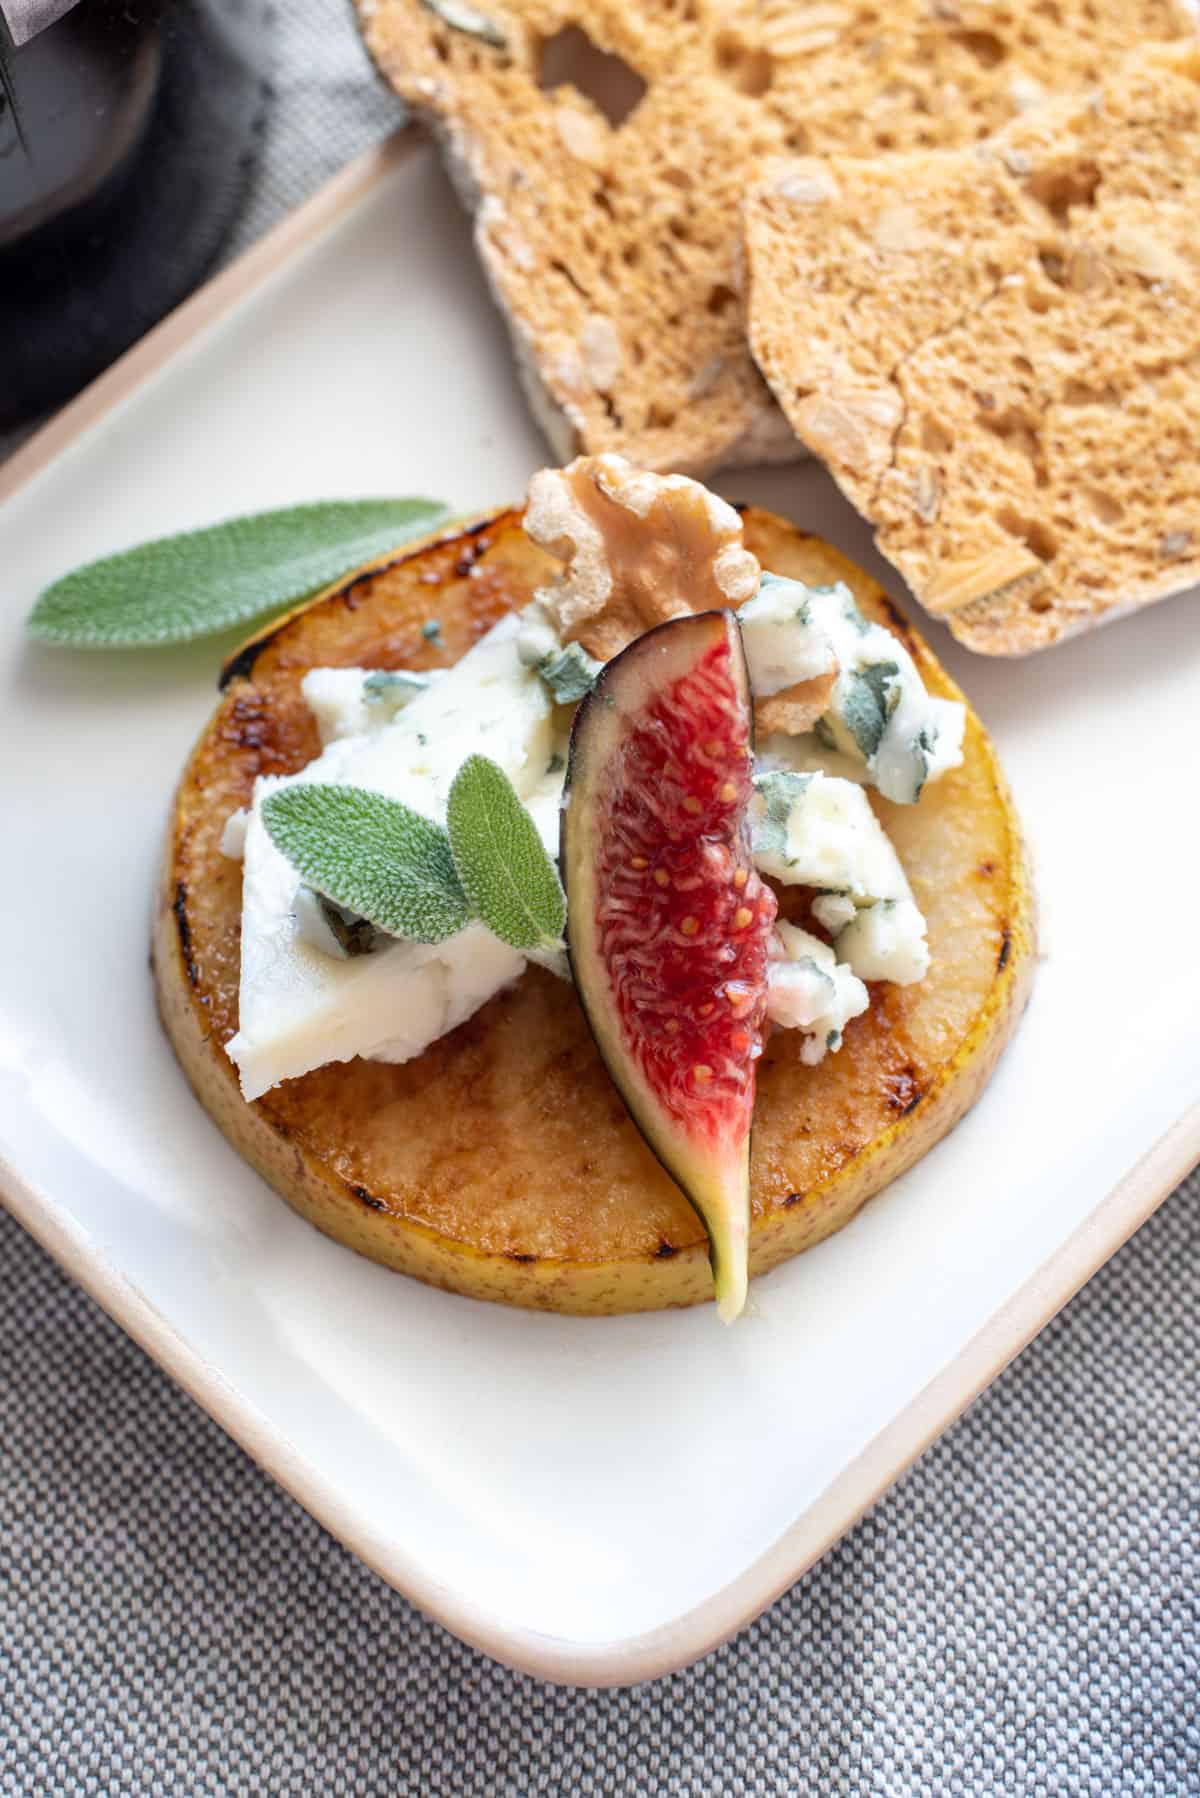
Salty, sweet, and crunchy, this delightful picnic appetizer is so easy to make and looks gorgeous as a picnic starter or centrepiece to a wine and cheese picnic.
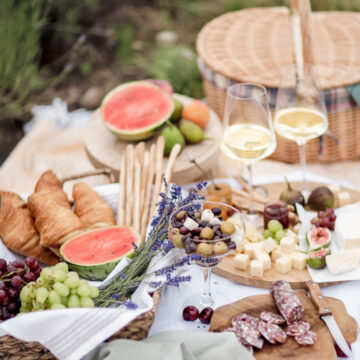
In the realm of outdoor finger foods, it is sometimes hard to find a dish that is easy to transport, yet still presents elegantly. Sure, picnic dips such as pumpkin hummus and baba ganoush are fabulous starters or finger food, as are tea sandwiches and cheese boards. But what about when you want picnic finger food that’s a little more sophisticated or something dainty for a romantic picnic? This simple four-ingredient dish has you covered.
I like this picnic appetiser because it looks nice, but also, all the bits bundle up easily for transportation and come together in no time when you arrive. You could always build them in advance and cover with plastic wrap for transportation. However, I find it is just as easy to transport the ingredients and put them together there.
More Elegant Picnic Finger Food Ideas
Give your picnic finger food repertoire a sophisticated touch.
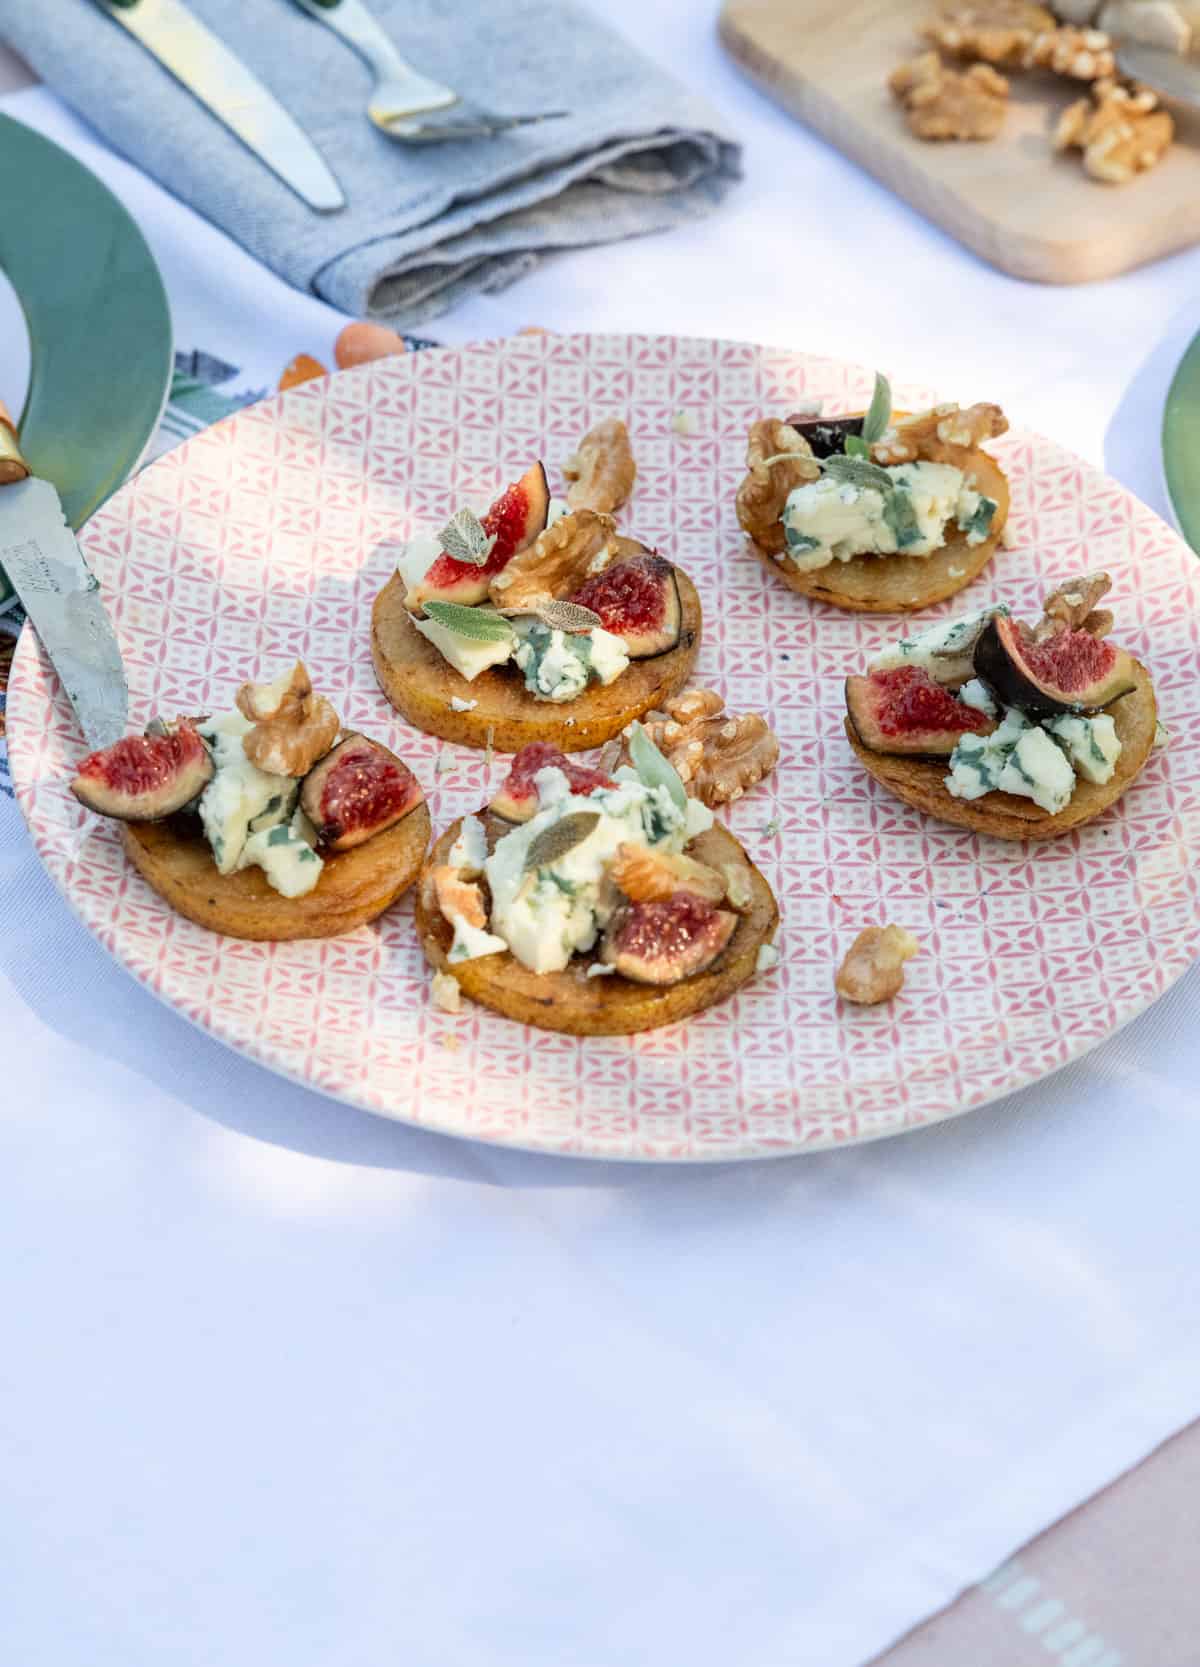
Grilled Pear Appetizer Ingredients
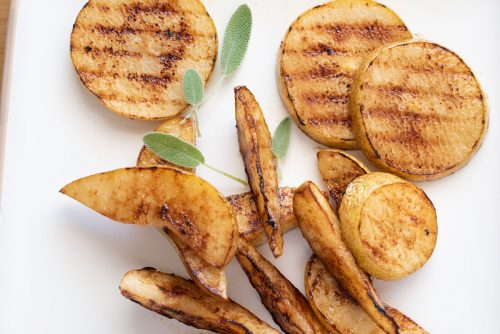
Pears: When choosing a pear variety for this recipe, go for a firm, crispy pear over the soft, juicy variety. You want them to hold firm even after grilling. I would use a Concorde or Farelle, depending on the sweetness you like. (I like to cook off a few pear wedges at the same time to have with a salad such as our pear and smoked duck salad).
Blue Cheese: I use Roquefort cheese for this recipe because it has a good strong flavor and the right balance of creamy and crumble, so it sticks nicely to the pear. Gorgonzola or Stilton will also work well. The cheese is an integral part of the dish, so don’t scrimp on cheap supermarket brand stuff. Either buy a quality pre-packaged brand or buy it by the slice fresh from the deli.
You Might Also Like: Want more portable picnic ideas with pears and blue cheese? Try our super simple pear and fennel tart with ricotta and blue cheese.
Walnuts: For this, I like to take the nut whole and break it in half down the middle to poke the walnut wedges into the cheese. I think chopped walnuts get a bit messy with this one. Depending on the nuts, if you feel inclined, quickly toasting them off in a dry pan a little adds a little more crunch as well.
Figs: If you are lucky to be on that beautiful late summer, early autumn cusp of fig and pear season, use fresh wedges of figs. If not, dried figs will work equally well.
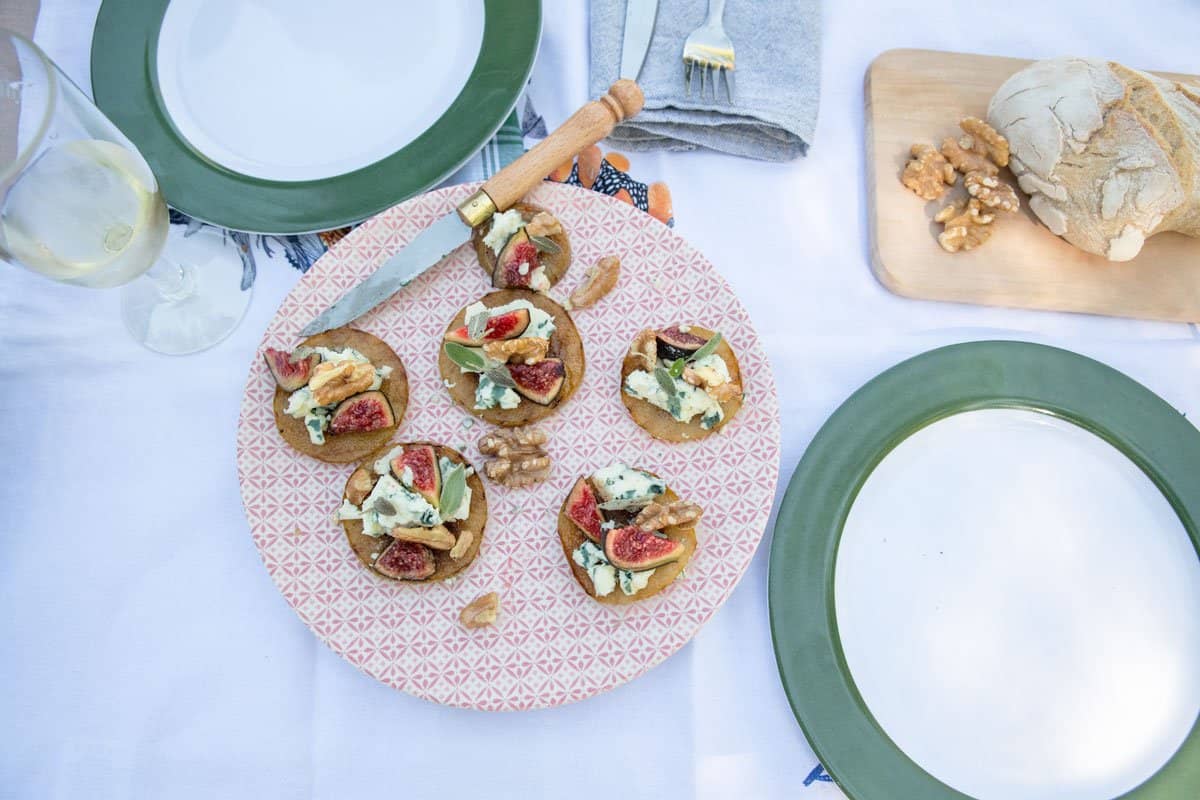
Recipe Variations
Pears: If you can’t be bothered grilling the pears, fresh sliced is just fine. However, with the portable feast in mind, you will have to slice them in situ at the picnic as sliced pears tend to go brown unless you soak them in lemon juice.
This recipe does require some construction at the picnic, but it is part of the reason I like to grill the pears first – portability. Also, I like the kind of savoury, sweet flavour the pear takes on after being cooked.
Figs: As I said, you can swap fresh figs for slices of dried figs. They will be just as sweet and look just as lovely. However, if you can’t get your hands on figs, dates make a lovely addition to this dish.
How To Make Pear Blue Cheese Appetizer
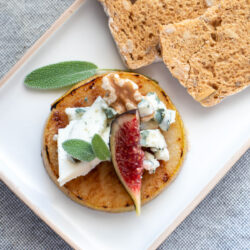
Grilled Pear Appetizer with Blue Cheese, Walnut & Fig Recipe
Equipment
Ingredients
- 1 large crisp pear - Concorde or Farelle are good varieties sliced on the round and lightly grilled.
- 50 gm quality blue cheese such as Roquefort - Stilton or Gorgonzola.
- 1 large or 2 small fresh figs cut in thin wedges - approx 2 slices per pear piece
- 8-10 whole large walnuts.
- Sage or thyme garnish optional.
Instructions
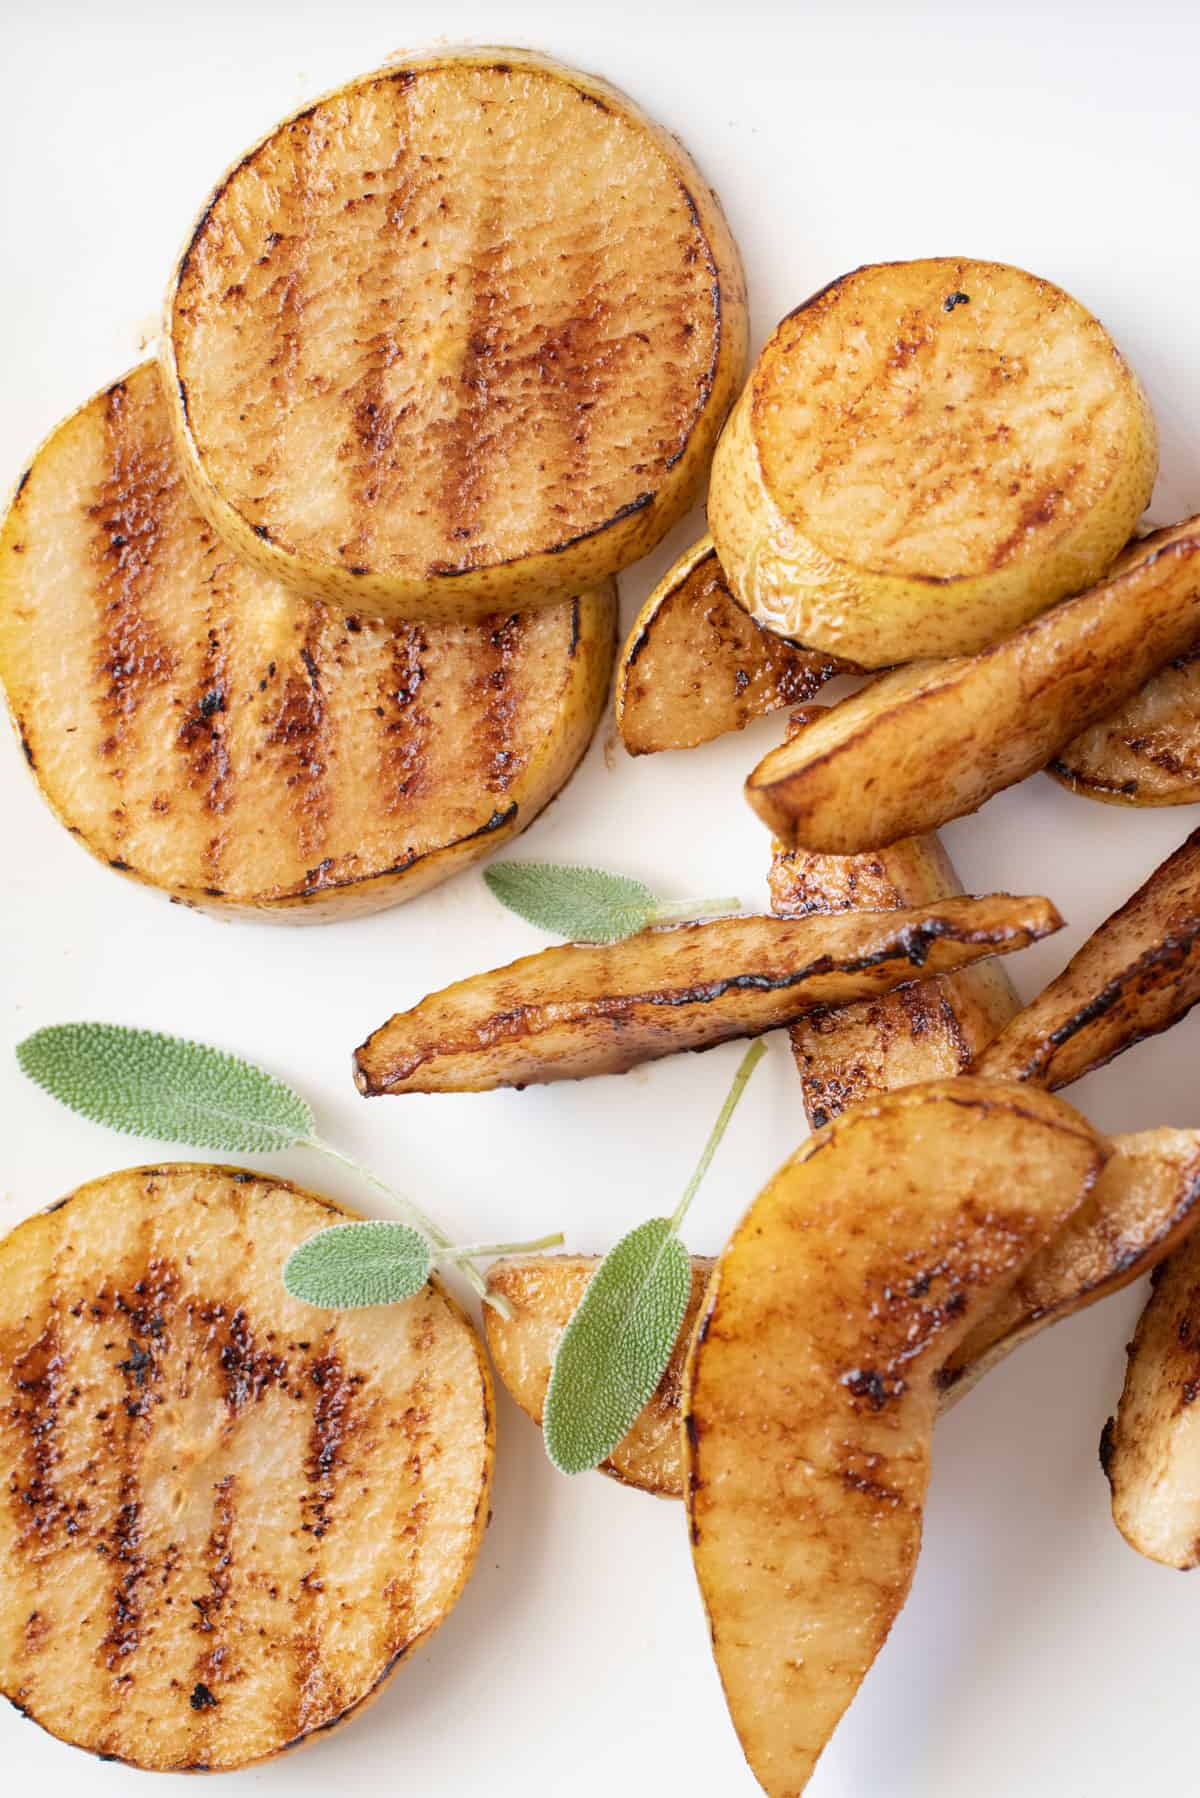
- Slice pears evenly on the round around .05cm thick (I don’t think wedges work as well). Make sure they are thick enough to hold their form when picked up. You can use a knife to slice, but I find a mandolin does a much better job. Each pear will give you roughly 6 slices of varying sizes.
- Place the pear slices on a griddle pan on med-high heat and brush both sides lightly with olive oil.
- Grill just long enough for the nice caramelised lines from the griddle to form. The pear will have softened but won’t be soft. (I like to cook a few pear wedges at the same time for a pear salad).
- Place your grilled pear slices in a container to take to the picnic.
- Pack enough figs (pre-cut if you like, or not) to top each pear piece with two fig wedge slices. A packet of blue cheese and walnuts.
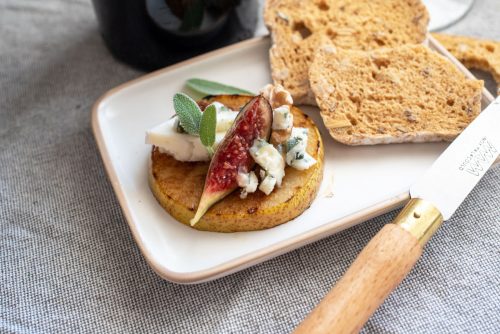
- At the picnic, plate your pear slices. Top each piece with a good chunk of blue cheese, pressing it into the pear slightly to makes sure it sticks.
- Top the blue cheese with small wedges of fresh fig and press two walnut halves into the cheese.
- While this dish doesn’t need a garnish, I like to garnish with small sage leaves, but sprigs of thyme are also lovely.
Notes
Recipe Variations
- You don't have to grill the pear but cut the slices as close to serving as possible to avoid them going brown.
- Use dry figs over fresh or substitute with slices of dates.



Leave a Reply